Viewed from left to right, the rear panel contains the following components:
•
Reset button. Press the Reset button for at least seven seconds to reset the router.
The Power LED blinks white and the router returns to its factory settings.
•
Ethernet ports. Use the four Gigabit Ethernet RJ-45 LAN ports to connect the router
to LAN devices. Ethernet port aggregation is enabled by default. Use Ethernet
aggregate ports 1 and 2 to cable a device that supports Ethernet port aggregation
to the router. Ethernet ports 3 and 4 are nonaggregate Ethernet ports.
•
WAN port. Use the yellow Gigabit Ethernet RJ-45 WAN Internet port to connect the
router to a modem.
•
Power On/Off button. Press the Power On/Off button to provide power to the
router.
•
DC power connector. Connect the power adapter that came in the product package
to the DC power connector.
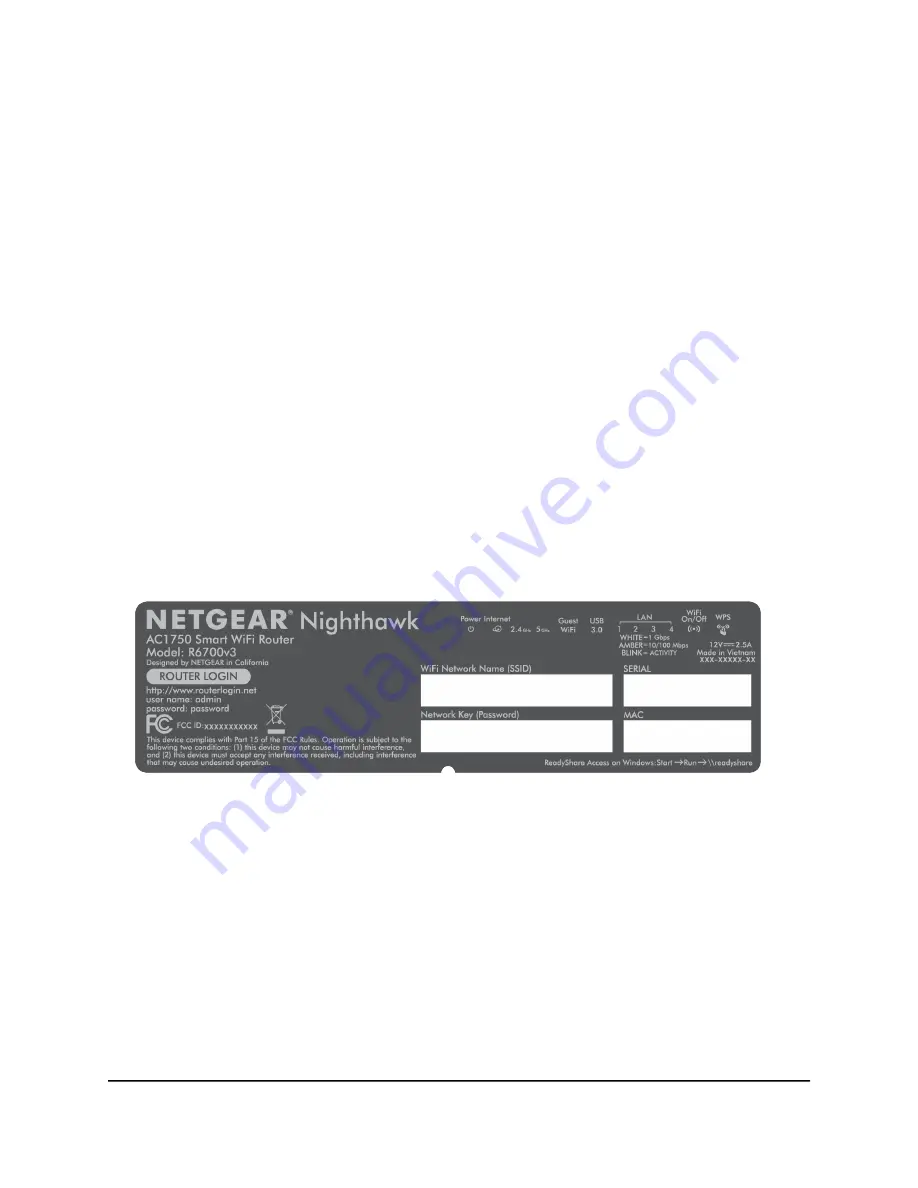
Label
The label on the router shows the login information, WiFi Network Name (SSID), network
key (Password), serial number, and MAC address.
Figure 4. Product label
Position Your Router
The router lets you access your network anywhere within the operating range of your
WiFi network. However, the operating distance or range of your WiFi connection can
vary significantly depending on the physical placement of your router.
In addition, position your router according to the following guidelines:
•
Place your router near the center of the area where your computers and other devices
operate, and within line of sight to your WiFi devices.
User Manual
13
Hardware Setup
Nighthawk AC1750 Smart WiFi Router


