


Installation and Assem-
bly Safety Instructions
230
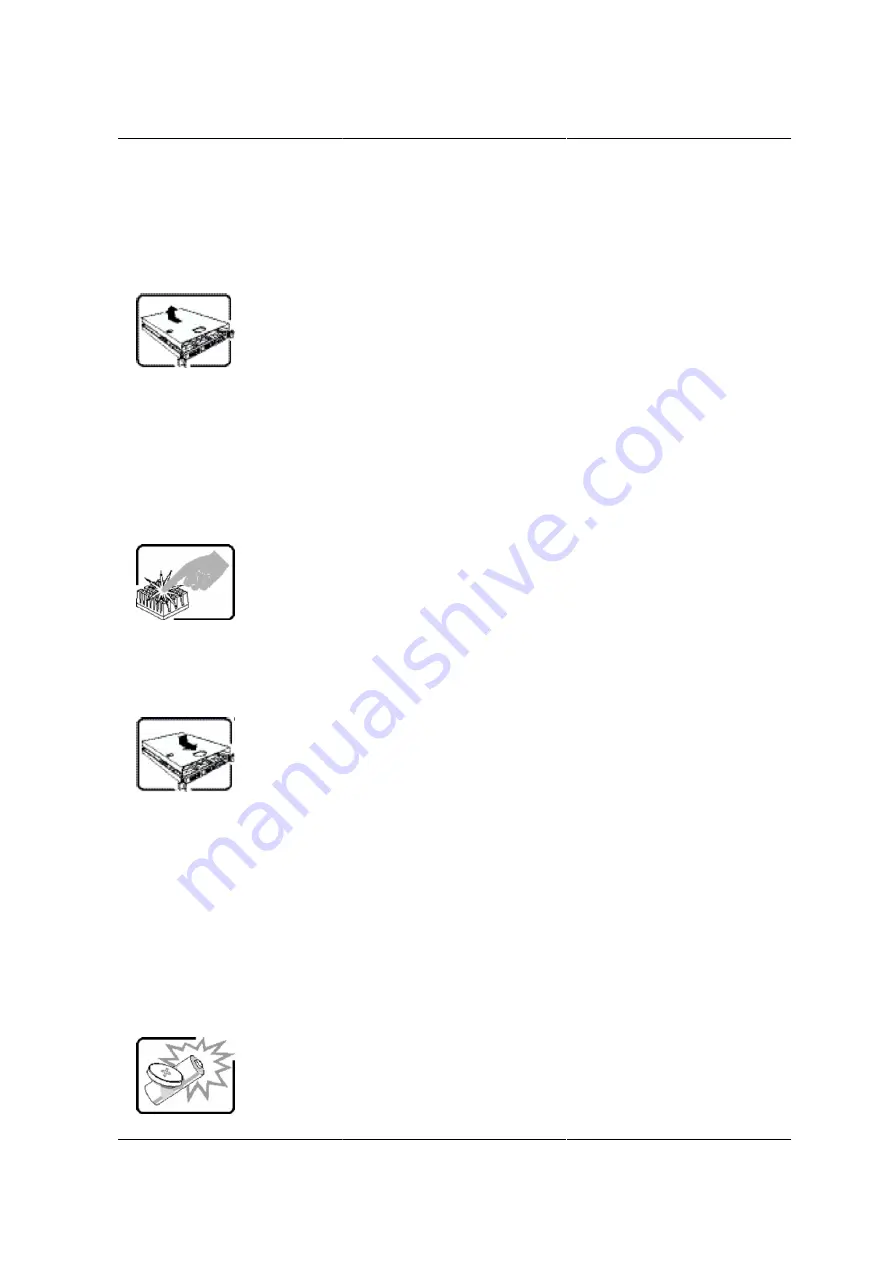
5. Provide some electrostatic discharge (ESD) protection by wearing an antistatic wrist strap at-
tached to chassis ground of the system - any unpainted metal surface - when handling compo-
nents.
6. Do not operate the system with the chassis covers removed.
After you have completed the six SAFETY steps above, you can remove the system covers. To do
this:
1. Unlock and remove the padlock from the back of the system if a padlock has been installed.
2. Remove and save all screws from the covers.
3. Remove the cover(s).
A microprocessor and heat sink may be hot if the system has been running. Also, there may be
sharp pins and edges on some board and chassis parts. Contact should be made with care. Con-
sider wearing protective gloves.
For proper cooling and airflow, always reinstall the chassis covers before turning on the system.
Operating the system without the covers in place can damage system parts. To install the covers:
1. Check first to make sure you have not left loose tools or parts inside the system.
2. Check that cables, add-in cards, and other components are properly installed.
3. Attach the covers to the chassis with the screws removed earlier, and tighten them firmly.
4. Insert and lock the padlock to the system to prevent unauthorized access inside the system.
5. Connect all external cables and the AC power cord(s) to the system.
Содержание Demos R130 M2
Страница 1: ...Netberg Demos R130 M2 server...
Страница 2: ...Netberg Demos R130 M2 server...
Страница 11: ...Netberg Demos R130 M2 server xi 9 5 Aligning the Rails 222...
Страница 14: ...1 Chapter 1 Netberg Demos R130 M2 server...
Страница 31: ...Netberg Demos R130 M2 server 18 On HDD failure HDD Fault Amber Off No failure detected...
Страница 32: ...19 Chapter 2 Installing hardware...
Страница 57: ...Installing hardware 44 Figure 2 36 Installing the Air Duct...
Страница 60: ...Installing hardware 47 Figure 2 40 Connecting the Fan Assembly Cables...
Страница 143: ...130 Chapter 6 Server Management Software...
Страница 146: ...Server Management Software 133 6 3 Power System BMC controls system power through GPIO pins and IPMI chassis commands...
Страница 166: ...153 Chapter 7 BMC Recovery This section provides guidelines on BMC recovery process in DOS and Linux systems...
Страница 169: ...156 Chapter 8 Web Graphical User Interface GUI for ESMS...
Страница 230: ...217 Chapter 9 Rail Kit Assembly...
Страница 233: ...Rail Kit Assembly 220 Figure 9 3 Securing the Inner Rail 5 Repeat steps 1 through 3 for the remaining side...
Страница 236: ...223 Chapter 10 Troubleshooting...


