Web Graphical User In-
terface (GUI) for ESMS
158
8.2. Login
Enter the IP address or URL (default DHCP\static IP address) into the address bar of the web
browser.
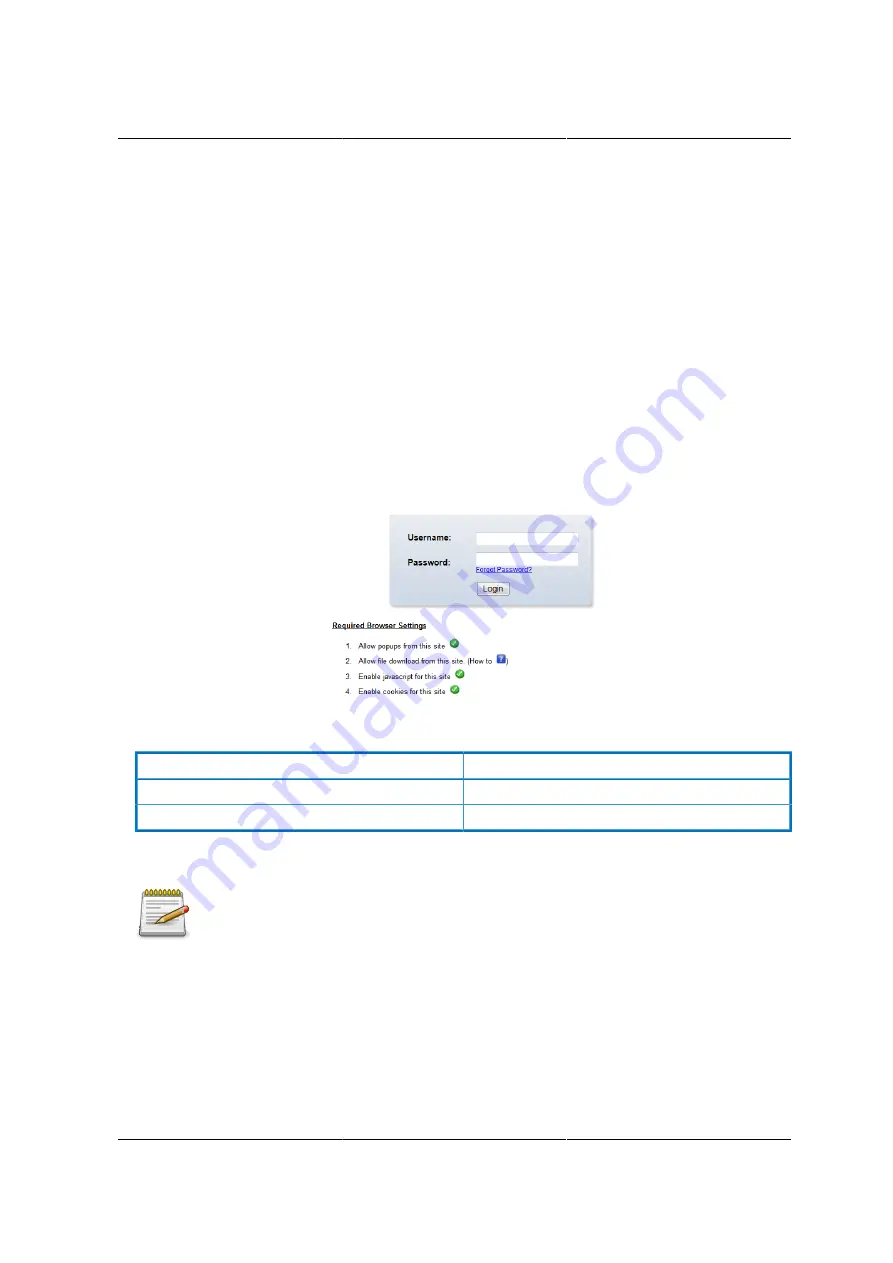
When connecting to the BMC the Login screen prompts for the username and password. This au-
thentication with SSL protection prevents unauthorized intruders from gaining access to the BMC
web server.
When a user is authenticated they can manage the server according to the privilege of their role.
The OEM Proprietary, Administrator and Operator privilege levels are authorized to login to the
web interface. The User and No Access privilege levels do not allow access through the BMC web
GUI.
Figure 8.1. Login Web Page
Table 8.1. Default Username and Password
Field
Default
Username
admin
Password
admin
After passing authentication, the following web page appears.
The default username and password are in lowercase characters. It is advised to
change the admin password once you have logged in.
Click the Help button on the right corner of the page for assistance, the Refresh button to refresh
the page, or the Logout button to exit.
Содержание Demos R130 M2
Страница 1: ...Netberg Demos R130 M2 server...
Страница 2: ...Netberg Demos R130 M2 server...
Страница 11: ...Netberg Demos R130 M2 server xi 9 5 Aligning the Rails 222...
Страница 14: ...1 Chapter 1 Netberg Demos R130 M2 server...
Страница 31: ...Netberg Demos R130 M2 server 18 On HDD failure HDD Fault Amber Off No failure detected...
Страница 32: ...19 Chapter 2 Installing hardware...
Страница 57: ...Installing hardware 44 Figure 2 36 Installing the Air Duct...
Страница 60: ...Installing hardware 47 Figure 2 40 Connecting the Fan Assembly Cables...
Страница 143: ...130 Chapter 6 Server Management Software...
Страница 146: ...Server Management Software 133 6 3 Power System BMC controls system power through GPIO pins and IPMI chassis commands...
Страница 166: ...153 Chapter 7 BMC Recovery This section provides guidelines on BMC recovery process in DOS and Linux systems...
Страница 169: ...156 Chapter 8 Web Graphical User Interface GUI for ESMS...
Страница 230: ...217 Chapter 9 Rail Kit Assembly...
Страница 233: ...Rail Kit Assembly 220 Figure 9 3 Securing the Inner Rail 5 Repeat steps 1 through 3 for the remaining side...
Страница 236: ...223 Chapter 10 Troubleshooting...


