Web Graphical User In-
terface (GUI) for ESMS
185
Modify
To modify the existing entries.
Cancel
To cancel the modification and return to Alert Policy list.
Procedure:
1. In the Alert Policy Tab, select the slot for which you have to configure the Alert policy. That is, In
the
Event Filter Entry Page
, if you have chosen Alert Policy number as 4, you have to config-
ure the 4th slot (the slot with Policy Number 4) in the Alert Policy Tab.
2. Select the slot and click
Add
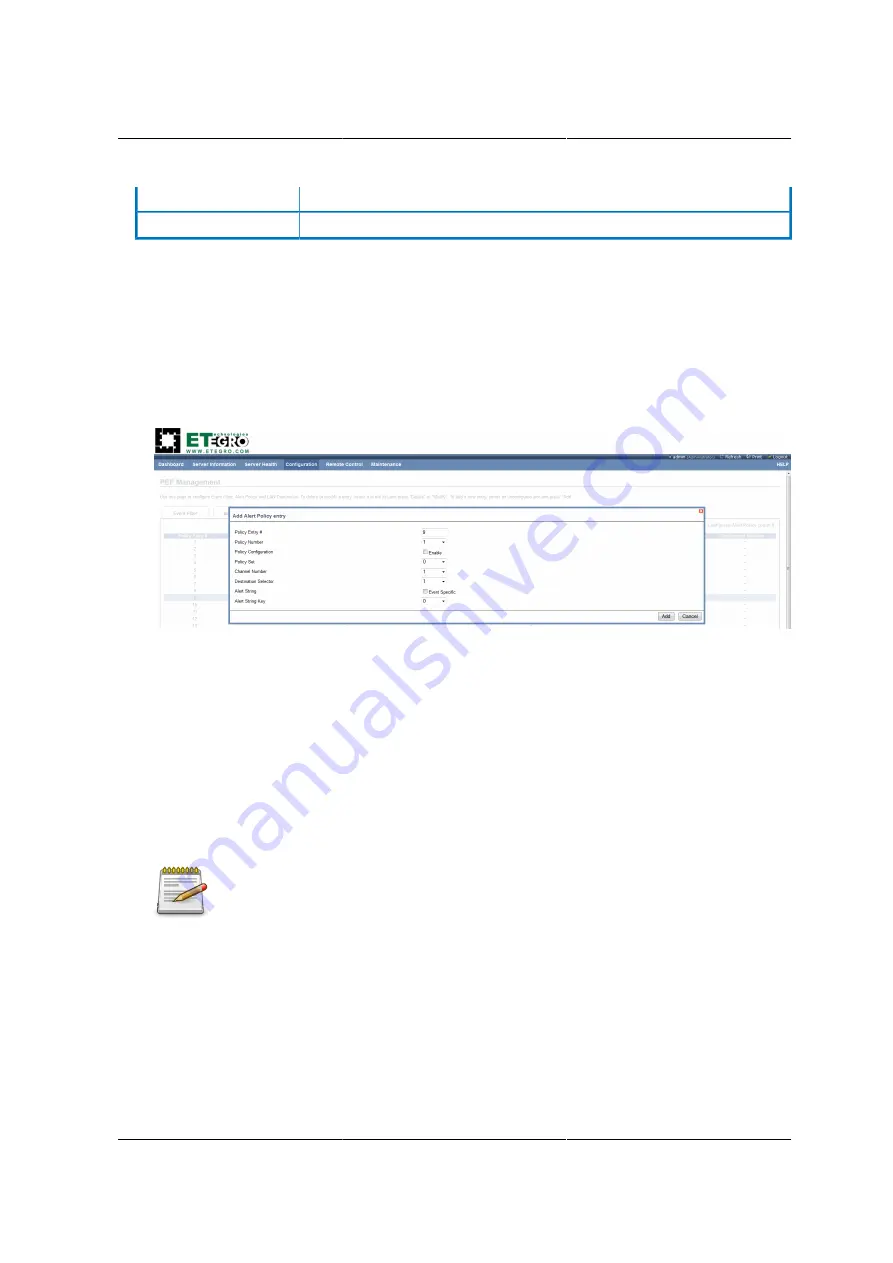
to open the
Add Alert Policy Entry Page
as shown in the screen-
shot below.
Figure 8.24. Add Alert Policy Entry Page
3.
Policy Entry #
is a read only field.
4. Select the
Policy Number
from the list.
5. In the
Policy Configuration
field, check
Enable
if you wish to enable the policy settings.
6. In the *Policy Se*t field, choose any of the Policy set from the list.
7. In the
Channel Number
field, choose particular channel from the available channel list.
8. In the
Destination Selector
field, choose particular destination from the configured destination
list.
LAN Destination has to be configured under
Configuration > PEF > LAN Destina-
tion
. That is if you select the number 4 for destination selector in Alert Policy En-
try page, then you have to configure the 4th slot (LAN Destination Number 4) in the
LAN Destination tab.
9. In the
Alert String
field, enable the check box if the Alert policy entry is Event Specific.
10.In the
Alert String Key
field, choose any one value that is used to look up the Alert String to
send for this Alert Policy entry.
11.Click
Add
to save the new alert policy and return to Alert Policy list.
12.Click
Cancel
to cancel the modification and return to Alert Policy list.
13.In the Alert Policy list, to modify a configuration, select the slot to be modified and click
Modify
.
Содержание Demos R130 M2
Страница 1: ...Netberg Demos R130 M2 server...
Страница 2: ...Netberg Demos R130 M2 server...
Страница 11: ...Netberg Demos R130 M2 server xi 9 5 Aligning the Rails 222...
Страница 14: ...1 Chapter 1 Netberg Demos R130 M2 server...
Страница 31: ...Netberg Demos R130 M2 server 18 On HDD failure HDD Fault Amber Off No failure detected...
Страница 32: ...19 Chapter 2 Installing hardware...
Страница 57: ...Installing hardware 44 Figure 2 36 Installing the Air Duct...
Страница 60: ...Installing hardware 47 Figure 2 40 Connecting the Fan Assembly Cables...
Страница 143: ...130 Chapter 6 Server Management Software...
Страница 146: ...Server Management Software 133 6 3 Power System BMC controls system power through GPIO pins and IPMI chassis commands...
Страница 166: ...153 Chapter 7 BMC Recovery This section provides guidelines on BMC recovery process in DOS and Linux systems...
Страница 169: ...156 Chapter 8 Web Graphical User Interface GUI for ESMS...
Страница 230: ...217 Chapter 9 Rail Kit Assembly...
Страница 233: ...Rail Kit Assembly 220 Figure 9 3 Securing the Inner Rail 5 Repeat steps 1 through 3 for the remaining side...
Страница 236: ...223 Chapter 10 Troubleshooting...


