5-86 Installing Options
3.
Remove the front panel.
In a small desktop system see “Removing the Front
Panel — Small Desktop.”
In a desktop system, see “Removing the Front Panel
— Desktop.”
4.
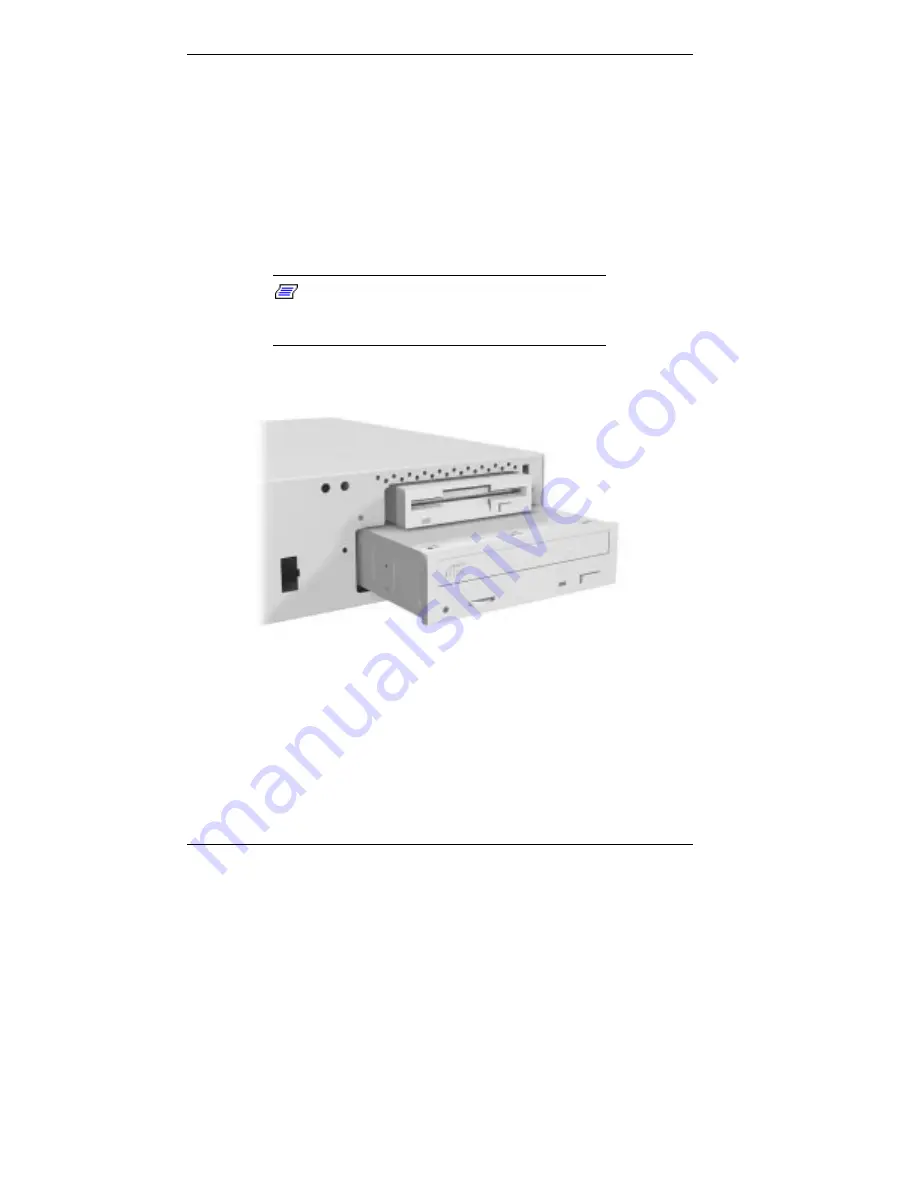
From the front of the system, insert the device, connector
end first, into the device bay (see the following figures).
Note:
To easily access device connectors
for cabling, do not insert a 5 1/4-inch device all
the way into the bay.
Inserting a 5 1/4-inch device — small desktop
5.
Connect the device cables (see “Connecting Device
Cables” and “IDE Drive Cabling”).
6.
Insert the device the rest of the way into the device bay,
making sure that the locking tabs on the sides of the drive
engage the brackets on each side of the device bay.
Содержание POWERMATE ES 5200 - SERVICE
Страница 14: ...1 Reviewing System Features Front Features Rear Features Inside Features Stand Speakers System Features ...
Страница 38: ...2 Setting Up the System Cable Connections Startup Shutdown Power Saving Operation System Care More Information ...
Страница 122: ...Installing Options 5 7 Releasing the small desktop cover A Slots C Tabs B Tabs D Metal Securing Rail ...
Страница 214: ...6 Solving System Problems Solutions to Common Problems How to Clean the Mouse Battery Replacement ...


