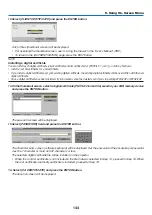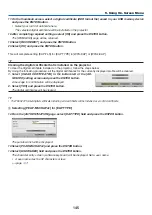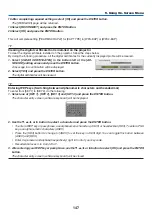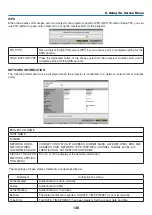
158
6. Installation and Connections
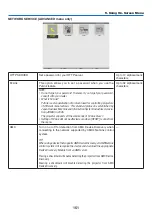
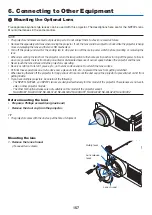
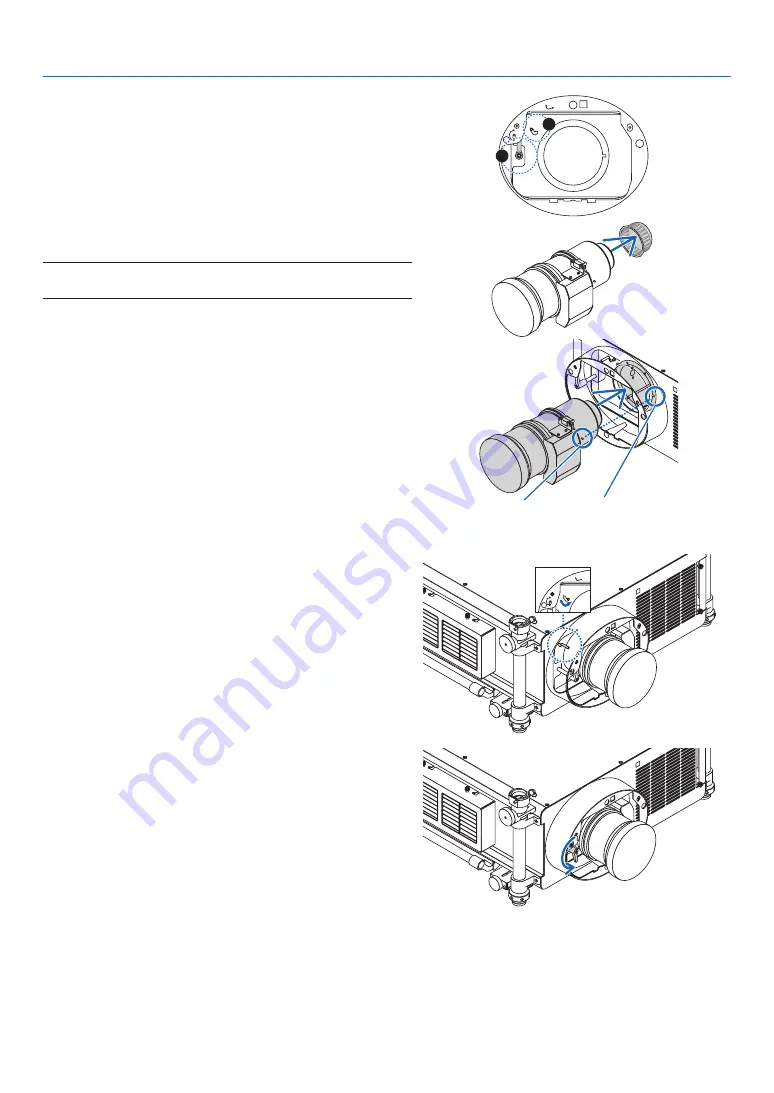
(2) Make sure that the lens release lever points upward (RE-
LEASE).
(3) Make sure that the safety lever is set to the unlocked posi-
tion (UNLOCK) to prevent the lens from falling out.
UNLOCK
LOCK
RELEASE
LOCK
LENS
2
3
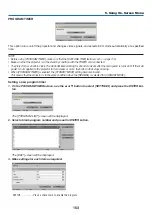
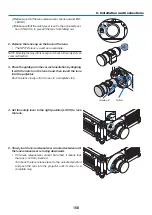
2. Remove the lens cap on the back of the lens.
• The NP27ZL lens is used as an example.
NOTE: Mounting the lens with lens cap on its back to the projector can
cause malfunction.
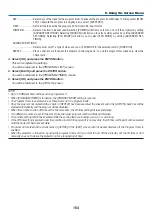
3. Place the guide pin in the correct orientation by aligning
it with the notch on the lens hood, then insert the lens
into the projector.
Push the lens slowly until it comes to a complete stop.
Guide pin
Notch
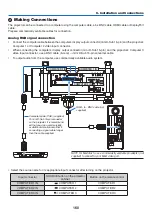
4. Set the safety lever to the right position (LOCK) to lock
the lens.
LOCK
LOCK
LENS
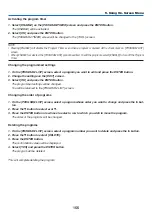
5. Slowly turn the lens release lever counterclockwise until
the lens release lever is facing downward.
• If the lens release lever cannot be turned, it means that
the lens is not fully inserted.
Turn back the lens release lever to the unlocked position
and push the lens into the projector until it comes to a
complete stop.
Содержание NP-PH1000U
Страница 1: ...Projector PH1000U User s Manual Model No NP PH1000U ...
Страница 244: ... NEC Display Solutions Ltd 2011 7N951661 ...

