127
5. Using On-Screen Menu
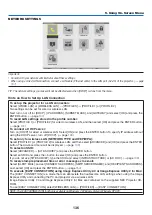
Turning On the Projector By Applying Computer Signal [AUTO POWER ON(COMP1/3)]
When the projector is in Standby mode, applying a computer signal from a computer connected to the COMPUTER1
IN or COMPUTER3 IN input will power on the projector and simultaneously project the computer’s image.
This functionality eliminates the need to always use the POWER button on the remote control or the projector cabinet
to power on the projector.
To use this function, first connect a computer to the projector and the projector to an active AC input.
NOTE:
• Disconnecting a computer signal from the computer will not power off the projector. We recommend using this function in com-
bination of the AUTO POWER OFF function.
• This function will not be available under the following conditions:
- when a component signal is applied to the COMPUTER1 IN or COMPUTER3 IN connector
- when a Sync on Green RGB signal or composite sync signal is applied
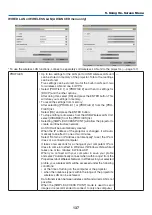
• When [AUTO POWER ON(COMP1/3] is set, the [STANDBY MODE] setting becomes invalid. This means that the projector is in
the same condition when the [NORMAL] is selected for [STANDBY MODE].
• To enable the AUTO POWER ON (COMP1/3) after turning off the projector, wait 3 seconds and input a computer signal.
If a computer signal is still present when the projector is turned off, the AUTO POWER ON (COMP1/3) will not work and the
projector remains in standby mode.
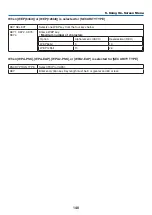
Enabling Power Management [AUTO POWER OFF]
When this option is selected you can enable the projector to automatically turn off (at the selected time: 5min., 10min.,
20min., 30min.) if there is no signal received by any input or if no operation is performed.
NOTE:
• The [AUTO POWER OFF] function will not work when [VIEWER] or [NETWORK] is selected for [SOURCE].
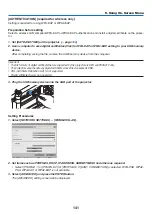
Selecting Default Source [DEFAULT SOURCE SELECT]
You can set the projector to default to any one of its inputs each time the projector is turned on.
LAST ���������������������� Sets the projector to default to the previous or last active input each time the projector is turned on�
AUTO ��������������������� Searches for an active source in order of COMPUTER1
→
COMPUTER2
→
COMPUTER3
→
HDMI
→
DisplayPort
→
VIDEO
→
S-VIDEO
→
VIEWER
→
COMPUTER1 and displays the first found source�
COMPUTER1 ��������� Displays the computer signal from the COMPUTER 1 IN connector every time the projector is turned on�
COMPUTER2 ��������� Displays the computer signal from the COMPUTER 2 IN connector every time the projector is turned on�
COMPUTER3 ��������� Displays the computer signal from the COMPUTER 3 IN connector every time the projector is turned on�
HDMI ��������������������� Displays the digital source from the HDMI IN connector every time the projector is turned on�
DisplayPort ������������ Displays the digital source from the DisplayPort every time the projector is turned on�
VIDEO �������������������� Displays the Video source from the VIDEO IN connector every time the projector is turned on�
S-VIDEO ���������������� Displays the Video source from the S-VIDEO IN connector every time the projector is turned on�
VIEWER ����������������� Displays slides or plays back movie files from the USB memory device every time the projector is turned
on�
NETWORK ������������� Displays the data sent from the computer via the LAN port (RJ-45) or the wireless LAN unit (sold separately)
mounted on the projector is projected�
SLOT ���������������������� Displays a signal from the optional (SB-01HC or other NEC’s optional boards) when it is installed�
Содержание NP-PH1000U
Страница 1: ...Projector PH1000U User s Manual Model No NP PH1000U ...
Страница 244: ... NEC Display Solutions Ltd 2011 7N951661 ...

