Upgrading Your Server 9-13
Removal
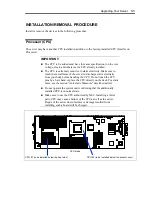
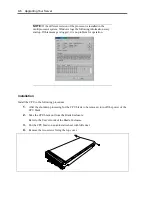
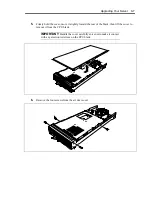
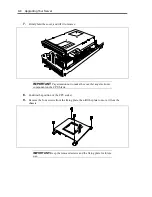
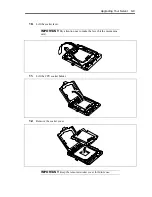
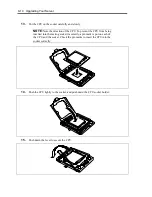
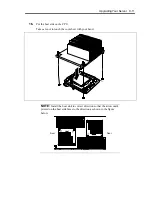
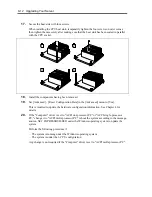
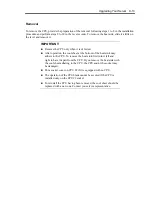
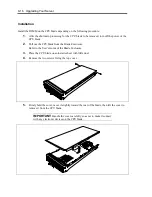
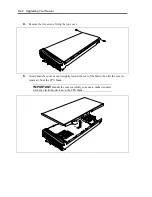
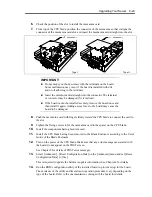
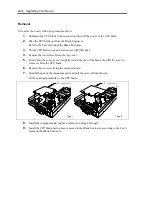
To remove the CPU, provide the preparation of the removal following steps 1 to 8 in the installation
procedure and perform steps 9 to 20 in the reverse order. To remove the heat sink, slide it a little on
the level and remove it.
IMPORTANT:
Remove the CPU only when it is defected.
After operation, the cool sheet at the bottom of the heat sink may
adhere to the CPU. To remove the heat sink, first turn it left and
right to have it apart from the CPU. If you remove the heat sink with
the cool sheet adhering to the CPU, the CPU and/or the socket may
be damaged.
Put a socket cover on CPU #2 if it is equipped with no CPU.
The operation of the CPU blade cannot be secured if the CPU is
installed only on the CPU #2 socket.
To reinstall the CPU having been removed, the cool sheet should be
replaced with a new one. Contact you service representative.
Содержание N8400-086F
Страница 14: ...viii This page is intentionally left blank...
Страница 44: ...2 20 General Description This page is intentionally left blank...
Страница 103: ...Installing the Operating System with Express Setup 5 31 5 Select Perform the Express setup from the Top Menu click Next...
Страница 137: ...Installing and Using Utilities 6 9 4 Click Parameter File Creator Parameter File Creator will appear...
Страница 152: ...6 24 Installing and Using Utilities This page is intentionally left blank...
Страница 158: ...7 6 Maintenance This page is intentionally left blank...
Страница 218: ...A 2 Specifications This page is intentionally left blank...
Страница 290: ...B 72 Installing the Operating System 4 Activate Windows The Windows activation is complete...
Страница 294: ...B 76 Installing the Operating System 3 Process Windows activation according to the following message...

