


9-28 Upgrading Your Server
NOTES:
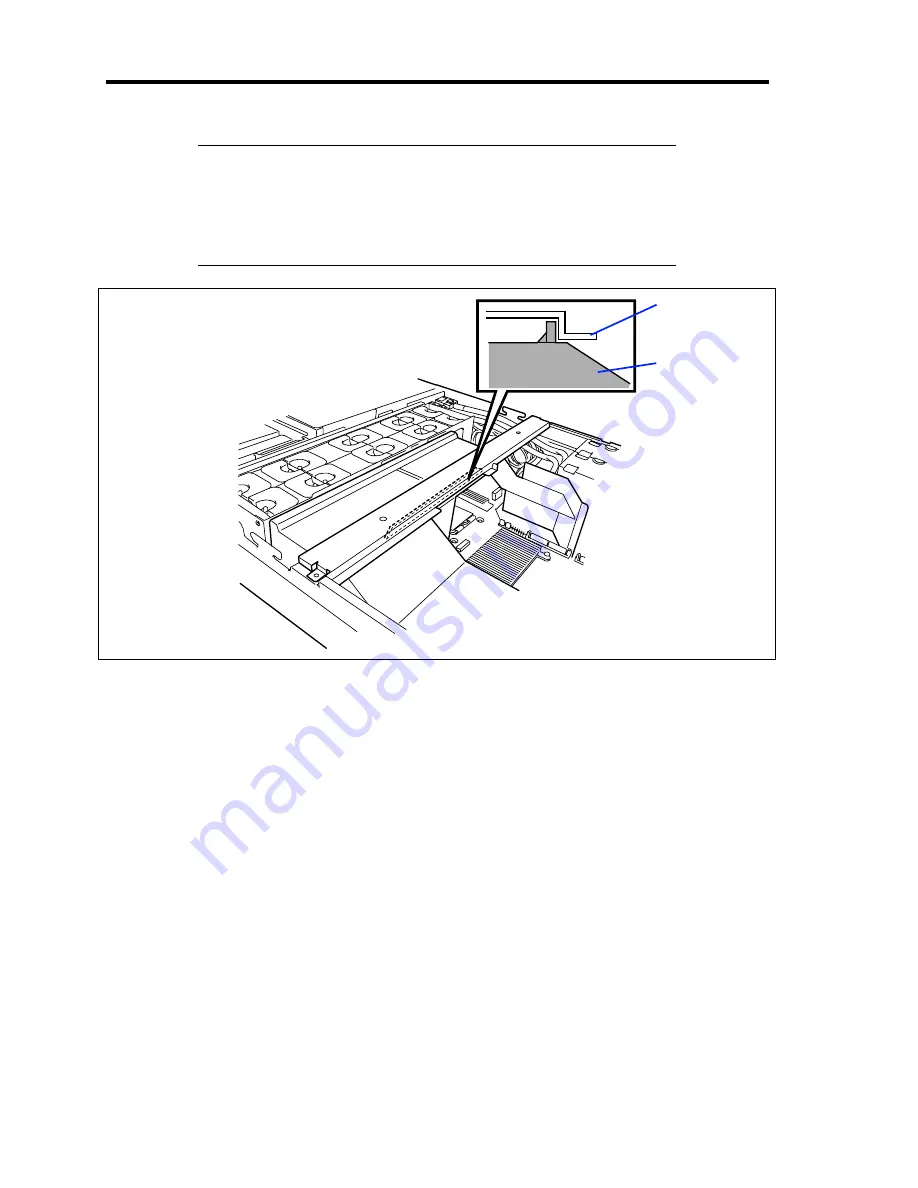
Make sure the support arm holds the processor duct firmly (see
figure below).
When the support arm comes up, you may lose the screws. Press
firmly the support arm before tightening the screws.
16.
Install the components you removed in steps 1 to 3.
17.
Power on the server and verify that POST displays no error messages.
If POST displays an error message, take a note on the message and see the POST error
messages listed in Chapter 8.
18.
Run the BIOS SETUP utility and select [Advanced]
→
[Memory Configuration] to verify
that the installed DIMM shows the status "Normal". (See Chapter 4 or details.)
19.
Select "Yes" for [Reset Configuration Data] on the [Advanced] menu.
This setting is required to change the hardware configuration data. See Chapter 4 for
details.
20.
If the Windows operating system is in use, set the paging file size to the recommended
value (total memory size × 1.5) or a greater value. See Chapter 5 for details.
Processor duct
Support arm
Содержание Express5800/120Rj-2
Страница 16: ...x This page is intentionally left blank ...
Страница 19: ...Notes on Using Your Server 1 3 Internal View ...
Страница 34: ...1 18 Notes on Using Your Server This page is intentionally left blank ...
Страница 90: ...3 24 Setting Up Your Server This page is intentionally left blank ...
Страница 129: ...Configuring Your Server 4 39 The detailed settings is continued to the next page Click Next to view more information ...
Страница 140: ...4 50 Configuring Your Server Use this menu to define several physical drives PD as a disk group DG ...
Страница 164: ...4 74 Configuring Your Server 3 Setting menu for VD 0 is displayed ...
Страница 172: ...4 82 Configuring Your Server This page is intentionally left blank ...
Страница 215: ...Installing and Using Utilities 6 9 4 Click Parameter File Creator Parameter File Creator will appear ...
Страница 240: ...7 12 Maintenance This page is intentionally left blank ...
Страница 350: ...9 74 Upgrading Your Server Removal Remove the backup device in reverse order of the installation steps ...
Страница 354: ...9 78 Upgrading Your Server This page is intentionally left blank ...
Страница 364: ...C 2 IRQ This page is intentionally left blank ...
Страница 412: ...E 24 Installing Windows Server 2003 This page is intentionally left blank ...
Страница 414: ...F 2 Using a Client Computer Which Has a CD Drive This page is intentionally left blank ...
Страница 418: ...G 4 Product Configuration Record Table This page is intentionally left blank ...


