


U S I N G M I D I T I M E P I E C E A V C O N S O L E
99
ID of the MIDI Timepiece AV is 20, and the default
ID of the ADAT connected to the MIDI Timepiece
AV is 1. Other chained ADATs are automatically set
to ID’s 2, 3, and so on. You can change these
defaults if you’d like from the console’s Advanced
MIDI window.
Direct MMC versus redistributed MMC
When you enable the
transport master
option
shown in Figure 10-18, the MIDI Timepiece AV
“swallows” all MMC transport commands sent by
MMC software running on the computer,
regardless of the MMC device the messages are
intended for (as determined by the MMC device
ID embedded in the messages). If you want to
control a MMC device from your computer, you
have two choices:
1. bypass the MIDI Timepiece AV’s MMC features,
2. or send the MMC transport commands to the
MIDI Timepiece AV instead and have it
redistribute them to the other MMC device(s)
If you would like to bypass the MIDI Timepiece AV
and control a MMC device directly from your
computer software (choice #1 above), uncheck the
transport master
option shown in Figure 10-18.
If you plan to use choice #2 above, leave the
transport master
option checked, and also make
connection shown in Figure 10-10 on page 91
(which routes the MIDI Timepiece AV’s Transport
Out port to the other MMC device).
WORKING WITH SETUPS
The MIDI Timepiece AV provides eight “Base
Setups” (“setups”), which you can configure any
way you wish.
Modifying a setup
To modify a setup:
1
Select one of the eight setups from the Setup list
in the toolbar.
2
Make any changes you like in the MIDI Routing
window, Filter window, Channel Map window,
Sync window, or Advanced MIDI windows.
After you make your first change to a setup, the
Console software indicates this interim state by
displaying the phrase “Modified” in parentheses
next to the setup name in the setup list.
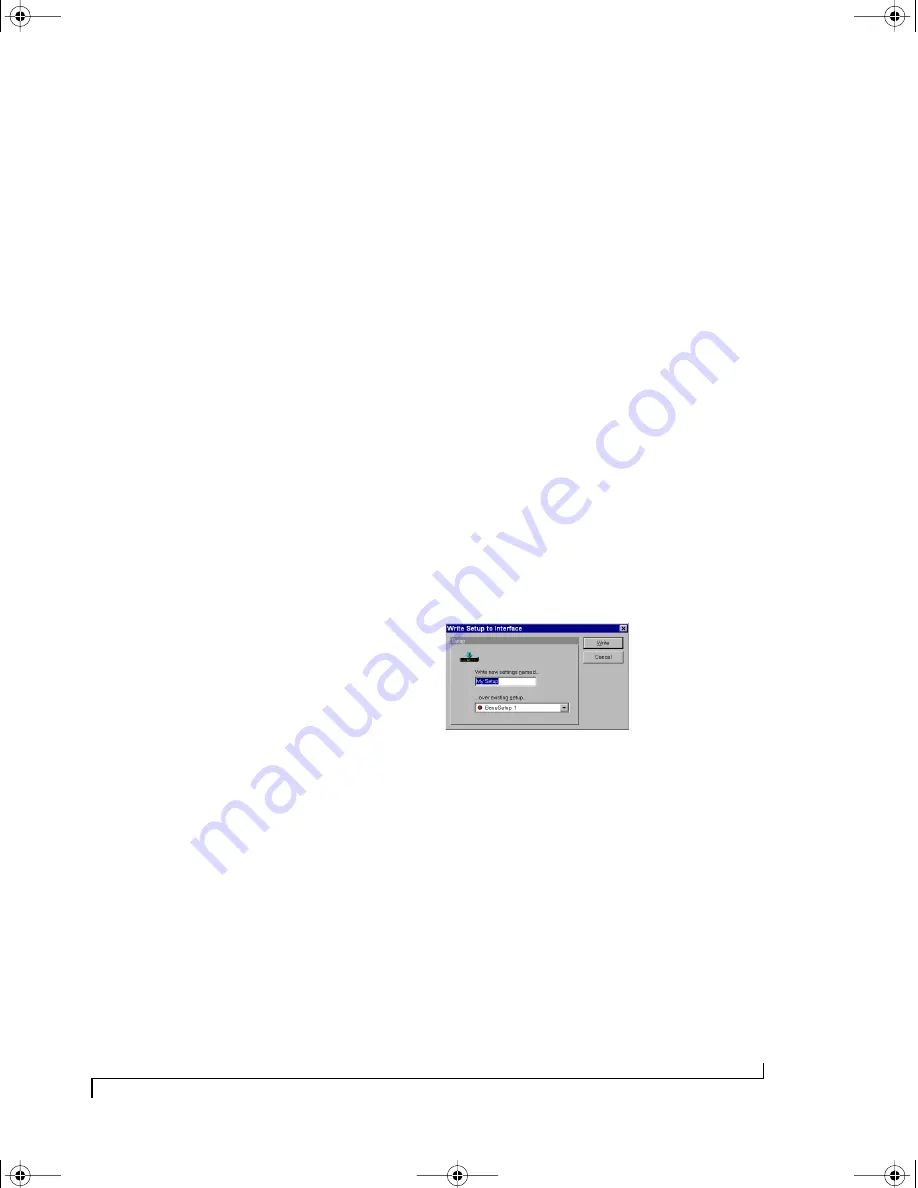
Making the MIDI Timepiece AV remember
modifications
Once you have modified a setup, you can make the
MIDI Timepiece AV remember the modifications
in one of several ways.
■
Choose Write setup from the Interface menu
■
Click the Write setup button in the toolbar (see
Figure 10-2 on page 84)
■
Turn on Auto-write, which automatically writes
the setup to the MIDI Timepiece AV when you
either switch to a different setup or exit the console
software
Figure 10-19: Writing a setup so that changes to it are remembered.
Renaming a setup
To rename a setup, choose Interface|Write setup
menu command or by clicking the Write Setup
button in the toolbar. Type in the new name and
click Write.
Saving setups and banks to disk
Use the commands in the File menu to save a single
setup or a setup bank (all eight setups) as a file on
disk. Just choose
Save setup or
bank
from the menu,
type in a name, and click OK. To load the setup or
bank from disk, use the Load bank or setup
command in the File menu.
!USB Interfaces Manual Book Page 99 Tuesday, October 10, 2000 12:43 PM
Содержание micro express-USB
Страница 1: ...C M Y CM MY CY CMY K...
Страница 6: ...IV USB Interfaces Manual Book Page iv Tuesday October 10 2000 12 43 PM...
Страница 7: ...All Users PartI ForAllUsers USB Interfaces Manual Book Page 5 Tuesday October 10 2000 12 43 PM...
Страница 8: ...All Users USB Interfaces Manual Book Page 6 Tuesday October 10 2000 12 43 PM...
Страница 27: ...XT Micro Users PartII ForXT MicroUsers USB Interfaces Manual Book Page 25 Tuesday October 10 2000 12 43 PM...
Страница 28: ...XT Micro Users USB Interfaces Manual Book Page 26 Tuesday October 10 2000 12 43 PM...
Страница 83: ...MPT AV Users PartIII ForMTPAVUsers USB Interfaces Manual Book Page 81 Tuesday October 10 2000 12 43 PM...
Страница 84: ...MPT AV Users USB Interfaces Manual Book Page 82 Tuesday October 10 2000 12 43 PM...
Страница 132: ...S Y N C H R O N I Z A T I O N W I T H T H E A V 130 USB Interfaces Manual Book Page 130 Tuesday October 10 2000 12 43 PM...
Страница 141: ...Appendices PartIV Appendices USB Interfaces Manual Book Page 139 Tuesday October 10 2000 12 43 PM...
Страница 142: ...Appendices USB Interfaces Manual Book Page 140 Tuesday October 10 2000 12 43 PM...


