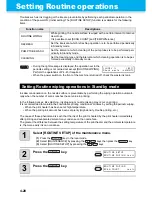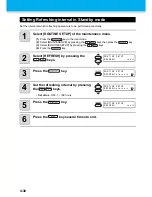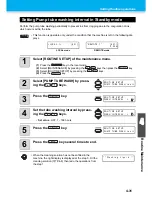
4-16
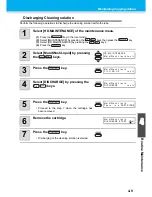
Cleaning heads and surroundings parts
Take great care, especially during cleaning, not to damage the heads, which employ very precise mecha-
nisms. Using a clean stuck, rub off the gelatinous ink that may be adhering to the lower part of the slider and
surrounding parts of the heads. In doing so, never rub the nozzle part of the heads.
1
Select [CR.MAINTENANCE] of the maintenance menu.
(1)
Press the
key in the local mode.
(2)
Select [MAINTENANCE] by pressing the
keys then press the
key.
(3)
Select [CR.MAINTENANCE] by pressing the
keys then press the
key.
(4)
Press the
key.
• The carriage moves to the left end of the machine body.
2
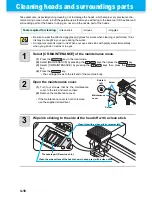
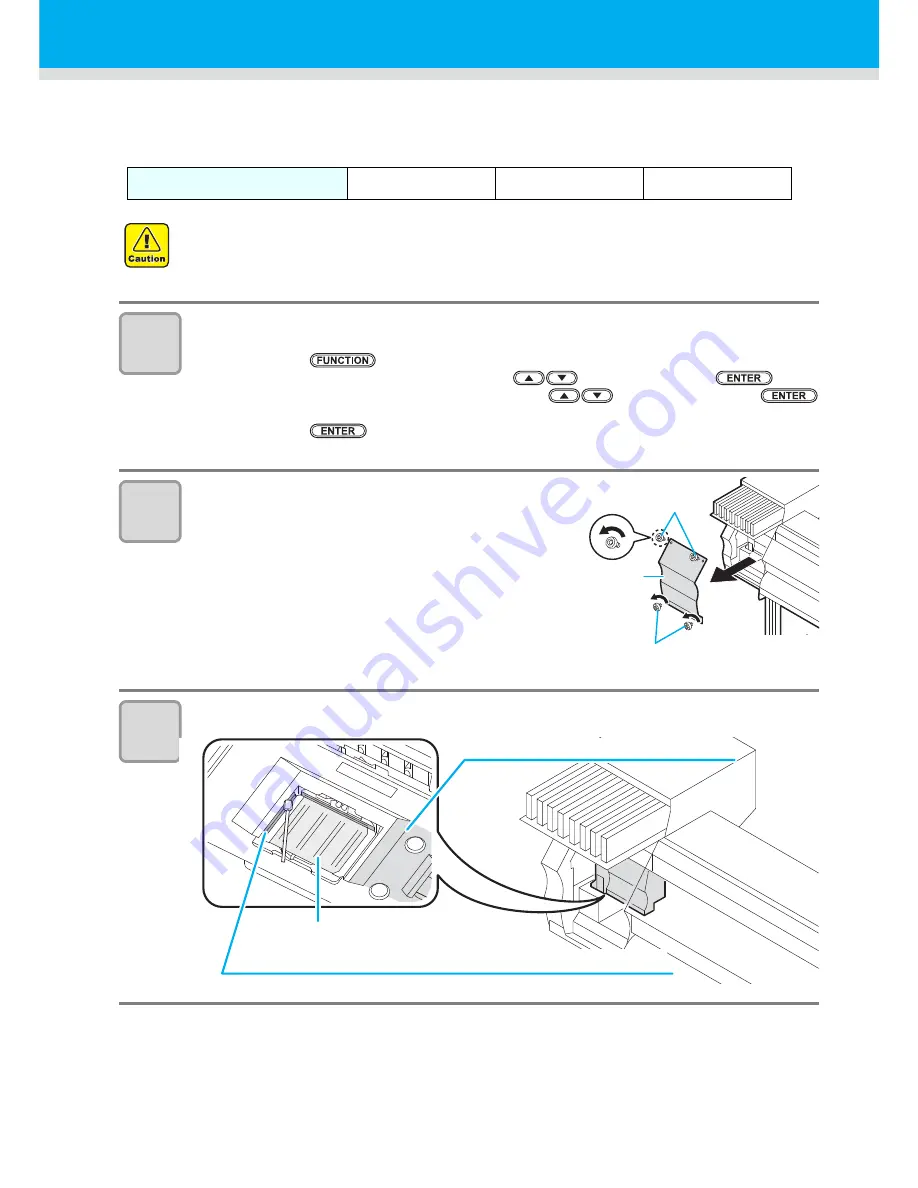
Open the maintenance cover.
(1)
Turn four screws that fix the maintenance
cover to the left, and remove them.
(2)
Remove the maintenance cover.
• If the maintenance cover is hard to remove,
use the supplied screwdriver.
3
Wipe ink sticking to the side of the head off with a clean stick.
Tools required for cleaning
• Clean stick
• Gloves
• Goggles
• Be sure to wear the attached goggles and gloves for works when cleaning is performed. If not,
ink may be caught in your eyes during the works.
• An organic solvent is used in ink. Wash your eyes and skins with plenty water immediately
when you get ink on skins or in eyes.
Screw
Screw
Maintenance
cover
Rotate it
left.
Clean the side surface of the head (shown in deep gray) with a clean stick.
The nozzle part (Never touch it.)
Clean this with a clean stick or waste cloth.
Содержание JV33-130
Страница 1: ...MIMAKI ENGINEERING CO LTD URL http www mimaki co jp D201694 16 ...
Страница 7: ...vi ...
Страница 99: ...3 35 Machine settings 3 Convenient use Examples of Output ...
Страница 101: ...3 37 Machine settings 3 Convenient use 7 Press the key 8 Press the key several times to end ...
Страница 114: ...3 50 ...
Страница 147: ...Setting Routine operations 4 33 4 Routine Maintenance 8 Press the key several times to end ...
Страница 162: ...Replacing the cutter blade 4 48 4 Close the front cover 5 Press the key The machine returns to LOCAL mode ...
Страница 181: ...Warning labels 6 7 6 Appendix No Reorder Label 1 M901549 2 M903239 3 M903330 4 M903405 5 M904810 ...
Страница 185: ...6 11 Function Flowchart 6 Appendix To P 6 12 To P 6 18 To P 6 24 To P 6 25 To P 6 26 ...
Страница 189: ...6 15 Function Flowchart 6 Appendix OFF LEVEL 1 3 1 Wh i t e L a y P r t SE L OF F ...
Страница 201: ...D201694 16 31012012 ...
Страница 202: ...NH FW 5 3 MIMAKI ENGINEERING CO LTD 2012 ...


