9.9. Checking, adjusting and synchroniz-
ing mechanical disc brakes
Regularly check whether you get a clear-cut
braking response before the lever touches the
handlebars.
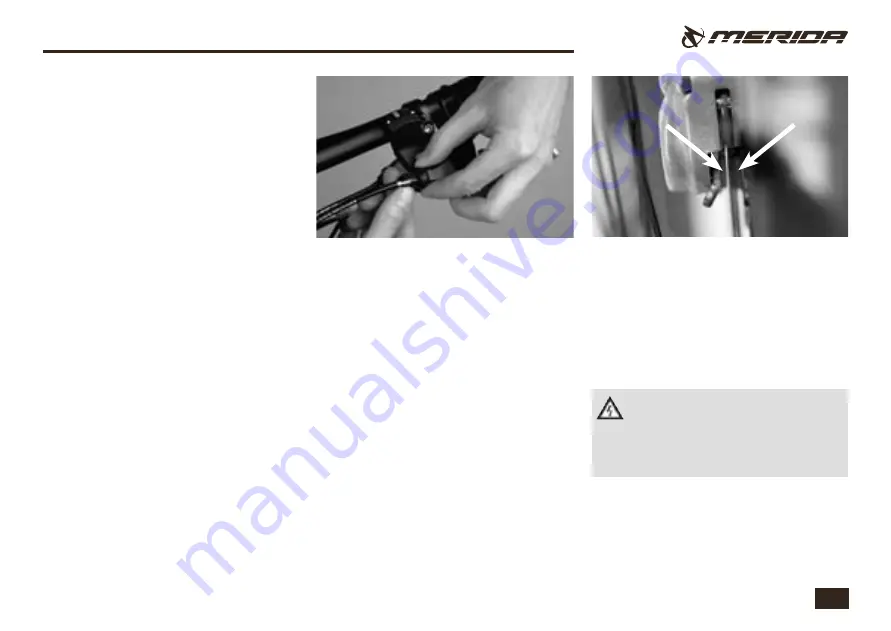
To adjust the travel of the lever, turn the
adjusting bolt located on the setting bush of
the lever by using a small screwdriver or an
Allen wrench. Keep in mind that the adjust-
ing range of the bolt is limited. Do not try to
unscrew the bolt beyond this range.
To a certain extent, wear of the brake pads
can be compensated for directly at the hand
lever. Release the union nut on the bolt
through which the cable enters the lever and
then release the bolt until the levers has the
desired travel.
Tighten the lock nut again, taking care that
the slit of the bolt head does not face upward
or forward, as this would permit an unneces-
sarily high amount of water or dirt to enter.
After this, check the function and make sure
the brake pads do not drag on the disc when
you release the brake lever and let the wheel
spin.
After several adjustments, the position of the
brake lever may change. This can reduce the
braking power so that it may not be high
enough anymore in an extreme case.
There are also ways of adjusting the brakes
directly at the brake caliper, though they
require a certain amount of skill. In any case,
be sure to read the original instructions of
the brake manufacturer before adjusting the
brakes. If in doubt, ask your MERIDA dealer
for advice.
Check the pads for wear (if necessary by
inspecting the nose or ear-shaped metal lugs
protruding from behind the brake calliper).
When these wear indicators have approached
the disc with about a millimetre to spare, you
should dismount the pads according to the
manufacturer’s instructions and examine them
carefully.
Damaged cables should be replaced
immediately, as they can tear. Brakes
that have only been adjusted at the hand
lever may have a severely reduced braking
power.
9. The brake system


