7. How to use the quick-releases
7. Use of quick-releases
Although handling quick-releases is very
easy, they have repeatedly been the cause of
accidents resulting from improper use. Quick-
release retention mechanisms essentially con-
sist of two manipulable parts:
1. The hand lever on one side of the hub
which creates a clamping force via a cam
when you close it.
2. The tightening nut on the other side of the
hub with which to set the preliminary ten-
sion on the threaded rod.
Make sure the levers of both quick-
releases are always on the side oppo-
site the chain. This will help you to avoid
mounting the front wheel the wrong way
round.
How to fasten components securely
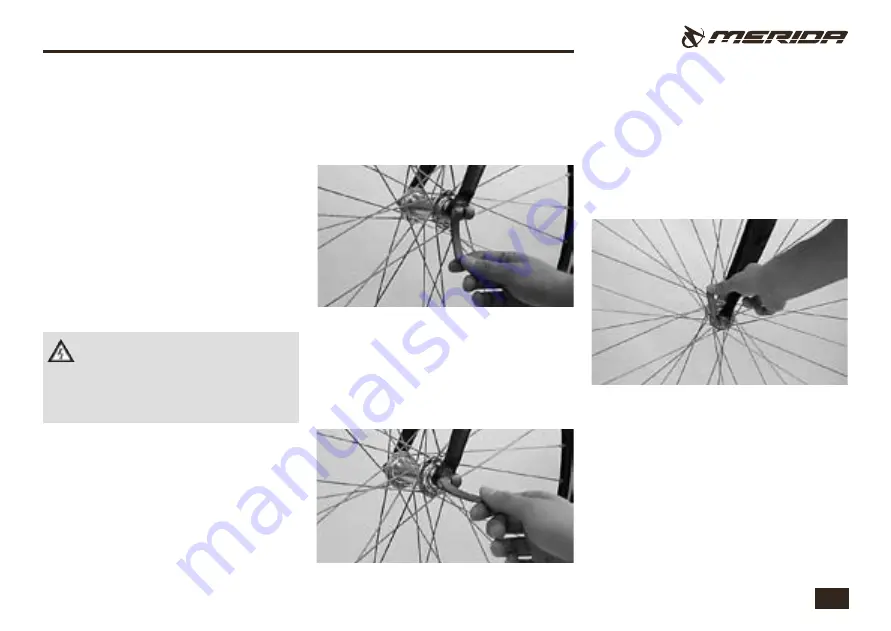
Open the quick-release. The word “Open“
should now be readable on the lever.
Over the second half of its travel, the force
you need to move it, should increase consid-
erably. Towards the end of its travel, the lever
should be very hard to move. Use the ball
of your thumb while your fingers pull on an
immovable part such as the fork or a rear
stay, but not on a brake disc or spoke, to push
it in all the way.
Move the lever back as if to close it. Now you
should be able to read the word “Close” on
the outside of the lever. From the start of the
closing movement up to about the first half of
its travel, the lever should move very easily,
i.e. without clamping the wheel.
In its end position the lever should be parallel
to the bike, i.e. it should not stick out to the
side. The lever should lie close to the frame,
i.e. the fork, so that it cannot be opened acci-
dentally.
To check whether the lever is securely locked,
try to turn it while it is closed. Apply pressure
to the end of the hand lever as if to turn it in
a circle.


