Chapter 4 Configuring the Basic System
Configuring the System for Your Site
4-20
255-700-025
PacketStar
™
Access Concentrator 60 User Guide
, Issue 1
Release 6.3.0
Commands
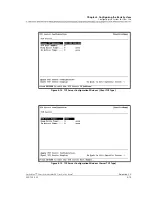
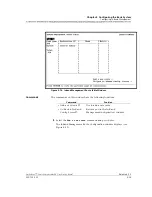
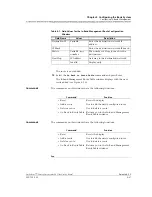
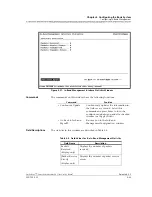
The commands on this window have the following functions:
3
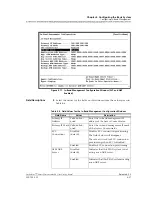
You can enter data into the fields on the TCP Server Configuration
window as described in Table 4-4.
Select the
Apply TCP Server Configuration
command and press Enter.
4
To return to the Site-Specific Configuration window, select the
Go Back
to Site-Specific Screen
command and press Enter.
End
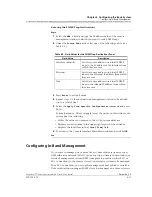
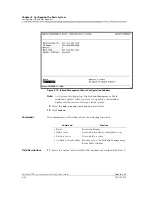
Configuring SNMP Trap Destinations
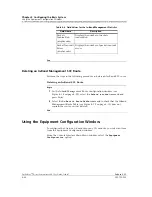
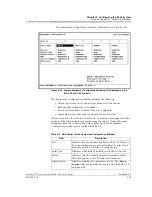
You can send SNMP traps to a remote network management system (NMS),
to alert it of a problem with the AC 60. To set the destinations for SNMP trap
messages from your AC 60 system, perform the steps in the following
procedure.
Command
Function
• Apply TCP Server Con-
figuration
Applies the configuration.
• Reset TCP Server Dis-
play
Resets the display.
• Go Back to Site-Specific
Screen
Redisplays the Site-Specific Configuration
window.
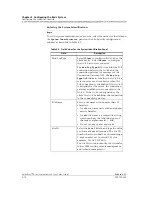
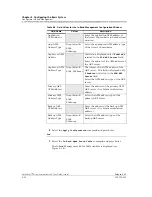
Table 4-4. Field Values for the T CP Server Configuration Panel
Field
Description
Server IP Address
Enter the IP address of the server, such as
the call control gateway. This field is only
available for configuration if the PSAX
system has been designated as a client.
This field is display-only if the PSAX
system is acting as the TCP server.
TCP Port Number
Enter the server port number.
Keep Alive Timer (secs) Enter the frequency at which the keep-
alive message is to be sent for the
connection (in seconds).
In Active Timer (secs)
Enter the amount of time that the server
must be inactive, in seconds, before the
TCP/IP session is automatically
terminated.
Содержание PacketStar AC 60
Страница 38: ...Chapter 1 Getting Started 1 14 255 700 025 PacketStar Access Concentrator 60 User Guide Issue 1 Release 6 3 0 ...
Страница 128: ...Chapter 3 System Features 3 80 255 700 025 PacketStar Access Concentrator 60 User Guide Issue 1 Release 6 3 0 ...
Страница 404: ......
Страница 406: ......
Страница 408: ......
Страница 409: ......

