•
Newspaper
—The original document is from a newspaper.
•
Other
—The original document was printed using an alternate or unknown printer.
7
Touch
>
Copy It
.
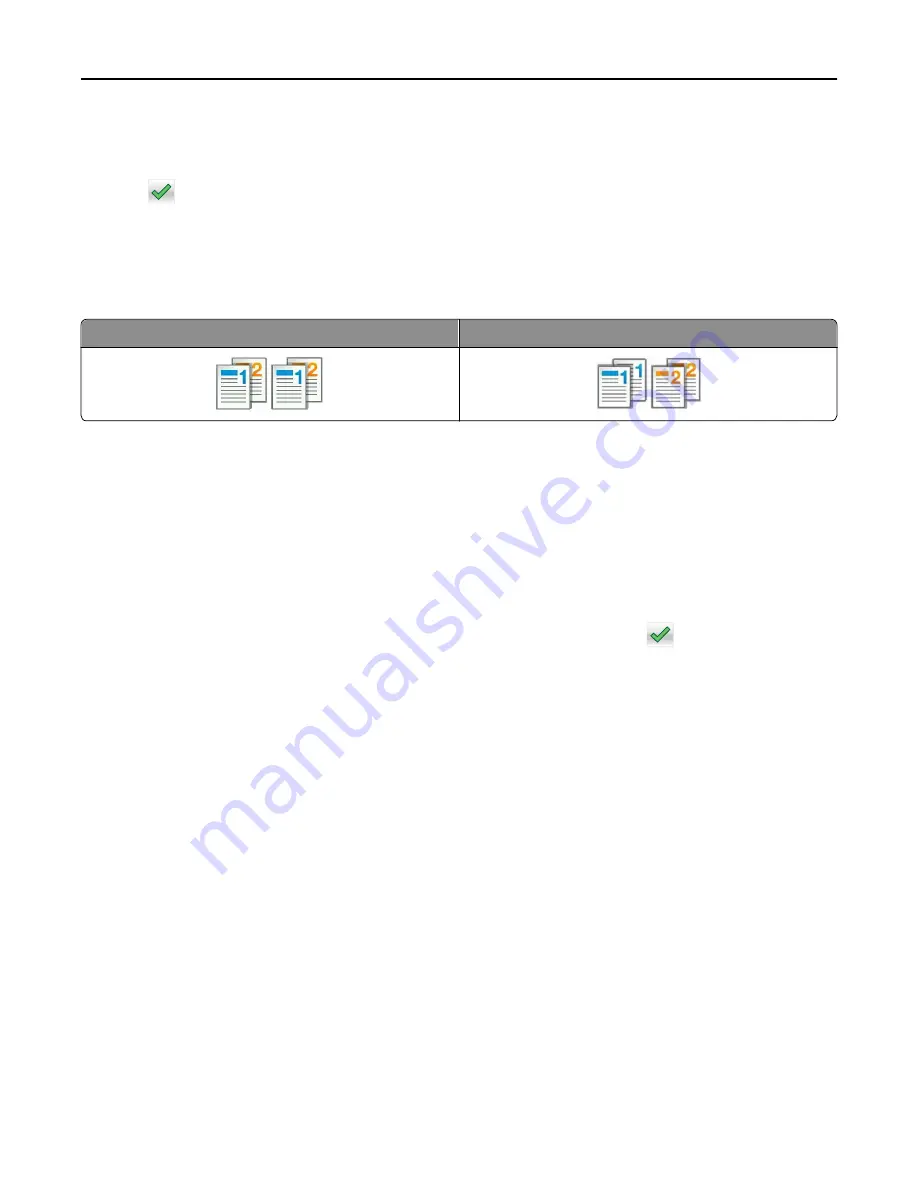
Collating copies
If you print multiple copies of a document, then you can choose to print the copies as a set (collated) or to print the
copies as groups of pages (not collated).
Collated
Not collated
1
Load an original document faceup, short edge first into the ADF tray or facedown on the scanner glass.
Notes:
•
Do not load postcards, photos, small items, transparencies, photo paper, or thin media (such as magazine
clippings) into the ADF tray. Place these items on the scanner glass.
•
The ADF indicator light comes on when the paper is loaded properly.
2
If you are loading a document into the ADF tray, then adjust the paper guides.
3
From the home screen, navigate to:
Copy
> enter the number of copies >
Collate
> select the preferred order of pages >
>
Copy It
Placing separator sheets between copies
1
Load an original document faceup, short edge first into the ADF tray or facedown on the scanner glass.
Notes:
•
Do not load postcards, photos, small items, transparencies, photo paper, or thin media (such as magazine
clippings) into the ADF tray. Place these items on the scanner glass.
•
The ADF indicator light comes on when the paper is loaded properly.
2
If you are loading a document into the ADF tray, then adjust the paper guides.
3
From the home screen, navigate to:
Copy
>
Separator Sheets
Note:
Set Collate to “1,2,3
‑
1,2,3” to place separator sheets between copies. If Collate is set to “1,1,1
‑
2,2,2,”
then the separator sheets are added to the end of the copy job. For more information, see “Collating copies” on
page 78.
4
Select one of the following:
•
Between Copies
•
Between Jobs
Copying
78
Содержание CX410 series
Страница 1: ...CX410 Series User s Guide July 2012 www lexmark com Machine type s 7527 Model s 415 436 ...
Страница 28: ...1 2 1 Memory card connector 2 Option card connector 5 Reattach the cover 1 2 Additional printer setup 28 ...
Страница 215: ...3 Open the top door 4 Remove the right side cover Maintaining the printer 215 ...
Страница 245: ...2 Open the top door Clearing jams 245 ...


