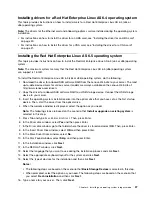
Installing drivers for a Red Hat Enterprise Linux AS 6.4 operating system
This topic provides instructions on how to install drivers for a Red Hat Enterprise Linux AS 6.4 (x64 or
x86) operating system.
Note:
The drivers for the Ethernet card and onboard graphics card are installed during the operating system
installation.
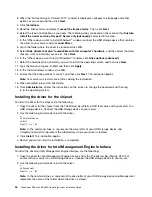
• For instructions on how to install the driver for an HBA card, see “Installing the driver for an HBA card”
on page 30.
• For instructions on how to install the driver for a CNA card, see “Installing the driver for a CNA card”
on page 31.
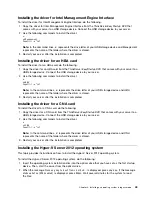
Installing the Red Hat Enterprise Linux AS 6.5 operating system
This topic provides instructions on how to install the Red Hat Enterprise Linux AS 6.5 (x64 or x86) operating
system.
Note:
The maximum system memory that the Red Hat Enterprise Linux AS 6.5 (x86) operating system
can support is 16 GB.
To install the Red Hat Enterprise Linux AS 6.5 (x64 or x86) operating system, do the following:
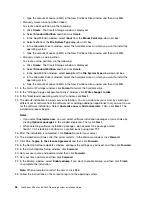
1. Download the driver for onboard SAS software RAID from the Lenovo Web site to your server. The most
up-to-date device drivers for various server models are always available on the Lenovo Web site at:
http://www.lenovo.com/drivers
2. Copy the driver for onboard SAS software RAID to a USB storage device. Connect the USB storage
device to your server.
3. Insert the operating system installation disc into the optical drive that you have set as the first startup
device. Then, start the server from the optical drive.
4. When the welcome window is displayed, select the option as you need.
Note:
The following steps are based on the scenario that
Install or upgrade an existing system
is
selected in this step.
5. Press Tab and type
linux dd blacklist=isci
. Then, press Enter.
6. In the Driver disk window, select
Yes
and then press Enter.
7. In the Driver disk window, go to the folder where the driver is stored and select
OK
. Then, press Enter.
8. In the Insert Driver Disk window, select
OK
and then press Enter.
9. In the More Driver Disks window, select
No
.
10. In the Disc Found window, select
Skip
, and then press Enter.
11. In the installation window, click
Next
.
12. In the RED HAT window, click
Next
.
13. Select the language that you want to use during the installation process and click
Next
.
14. Select the appropriate keyboard layout for the system and click
Next
.
15. Select the type of devices for the installation and then click
Next
.
Notes:
• The following steps are based on the scenario that
Basic Storage Devices
is selected in this step.
• When prompted, select the option as you need. The following steps are based on the scenario that
you select
Fresh installation
and then click
Next
.
16. Type a name for your server. Then, click
Next
.
Chapter 2
.
Installing an operating system in legacy mode
37
Содержание ThinkServer RD340
Страница 1: ...ThinkServer RD340 and RD440 Operating System Installation Guide ...
Страница 6: ...iv ThinkServer RD340 and RD440 Operating System Installation Guide ...
Страница 8: ...2 ThinkServer RD340 and RD440 Operating System Installation Guide ...
Страница 56: ...50 ThinkServer RD340 and RD440 Operating System Installation Guide ...
Страница 68: ...62 ThinkServer RD340 and RD440 Operating System Installation Guide ...
Страница 69: ......
Страница 70: ......

