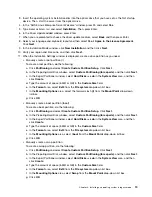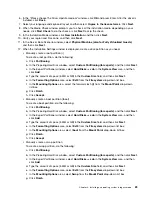
b. In the Add Partition window, select
/boot
from the
Mount Point
drop-down list box.
c. Select
ext3
from the
File System Type
drop-down list box.
d. Type the amount of space (in MB) in the
Size
field, and then click
OK
.
• Manually create a swap partition
To create a swap partition, do the following:
a. Click
New
.
b. In the Add Partition window, select
swap
from the
File System Type
drop-down list box.
c. Type the amount of space (in MB) in the
Size
field, and then click
OK
.
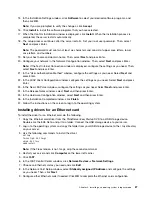
13. In the GRUB boot loader window, configure the settings as you need and then click
Next
.
14. In the Network Devices window, select the device that you want to activate when you start the server,
and then click
Next
.
15. Select your region and then click
Next
.
16. Set your root password and then click
Next
. The root account is for administrative use.
17. The default installation includes a set of software programs applicable for general Internet usage.
Select
Customize later
or
Customize now
to add additional software programs to your server, and
then click
Next
.
Note:
If you select
Customize now
, you can select the desired software packages by clicking
Optional
packages
. Then, click
Next
.
18. Click
Next
to begin the installation process of the Red Hat Enterprise Linux Server operating system.
19. When the installation is completed, remove the operating system installation disc from the optical drive.
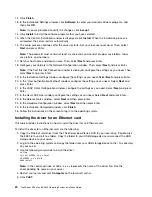
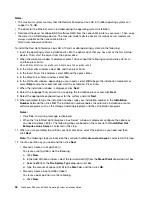
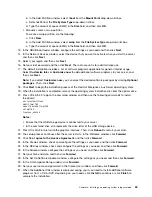
20. Press Ctrl+Alt+F2 to go to the command window and then use the following commands to install
the drivers:
cat /proc/partitions
mkdir /tmp/fd0
mount /dev/sdb /tmp/fd0
cd tmp/fd0
./replace_ahci.sh
Notes:
• Ensure that the USB storage device is connected to your server.
• In the command lines,
sdb
represents the drive letter of the USB storage device.
21. Press Ctrl+Alt+F6 to return to the graphics interface. Then, click
Reboot
to restart your server.
22. The setup process continues after the server restarts. In the Welcome window, click
Forward
.
23. Click
Yes, I agree to the License Agreement
, and then click
Forward
.
24. In the Firewall window, check and configure the settings as you need, and then click
Forward
.
25. In the SELinux window, check and configure the settings as you need, and then click
Forward
.
26. In the Kdump window, configure the settings as you need, and then click
Forward
.
27. Set your time and date, and then click
Forward
.
28. In the Set Up Software Updates window, configure the settings as you need, and then click
Forward
.
29. In the Finish Update Setup window, click
Forward
.
30. Set your user name and password in the Create User window, and then click
Forward
.
31. When the Additional CDs window is displayed asking you if you need to install additional software
programs from a CD or DVD, depending on your needs, click
Install
to continue or click
Finish
to
complete the installation.
Chapter 2
.
Installing an operating system in legacy mode
33
Содержание ThinkServer RD340
Страница 1: ...ThinkServer RD340 and RD440 Operating System Installation Guide ...
Страница 6: ...iv ThinkServer RD340 and RD440 Operating System Installation Guide ...
Страница 8: ...2 ThinkServer RD340 and RD440 Operating System Installation Guide ...
Страница 56: ...50 ThinkServer RD340 and RD440 Operating System Installation Guide ...
Страница 68: ...62 ThinkServer RD340 and RD440 Operating System Installation Guide ...
Страница 69: ......
Страница 70: ......

