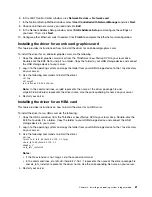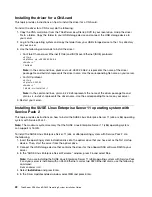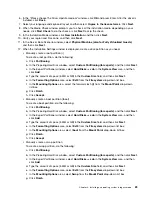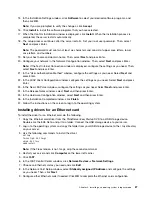
15. In the Installation Settings window, click
Software
to select your desired software programs, and
then click
OK
.
Note:
If you are prompted to verify the changes, click
Accept
.
16. Click
Install
to install the software programs that you have selected.
17. When the Confirm Installation window is displayed, click
Install
. When the installation process is
completed, the server restarts automatically.
18. The setup process continues after the server restarts. Set your root user password. Then, select
Next
and press Enter.
Note:
The password must contain at least six characters and consist of upper case letters, lower
case letters, and numbers.
19. Set your host name and domain name. Then, select
Next
and press Enter.
20. Configure your network in the Network Configuration window. Then, select
Next
and press Enter.
Note:
If the Test Internet Connection window is displayed, configure the settings as you need. Then,
select
Next
and press Enter.
21. In the “User Authentication Method” window, configure the settings as you need. Select
Next
and
press Enter.
22. In the LDAP Client Configuration window, configure the settings as you need. Select
Next
and press
Enter.
23. In the New LDAP User window, configure the settings as you need. Select
Next
and press Enter.
24. In the Release Notes window, select
Next
and then press Enter.
25. In the Hardware Configuration window, select
Next
and then press Enter.
26. In the Installation Completed window, click
Finish
.
27. Follow the instructions on the screen to log in to the operating system.
Installing drivers for an Ethernet card
To install the driver for an Ethernet card, do the following:
1. Copy the Ethernet card driver from the
ThinkServer EasyStartup
DVD to a USB storage device.
Double-click the EXE file to unzip it to a folder. Connect the USB storage device to your server.
2. Log in to the operating system and copy the folder from your USB storage device to the
/tmp
directory
on your server.
3. Use the following commands to install the driver:
cd /tmp
tar zxvf igb-4.3.1.tar.gz
cd igb-4.3.1 /src
make install
Note:
If the file extension is not .tar.gz, skip the second command.
4. Restart your server and click
Computer
on the lower left corner.
5. Click
YaST
.
6. In the YaST Control Center window, click
Network Devices
➙
Network Settings
.
7. Choose an Ethernet card as you need and click
Edit
.
8. In the Network Card Setup window, select
Statically assigned IP Address
and configure the settings
as you need. Then, click
Next
.
9. Configure other Ethernet cards if needed. Click
OK
to complete the Ethernet card configuration.
Chapter 2
.
Installing an operating system in legacy mode
27
Содержание ThinkServer RD340
Страница 1: ...ThinkServer RD340 and RD440 Operating System Installation Guide ...
Страница 6: ...iv ThinkServer RD340 and RD440 Operating System Installation Guide ...
Страница 8: ...2 ThinkServer RD340 and RD440 Operating System Installation Guide ...
Страница 56: ...50 ThinkServer RD340 and RD440 Operating System Installation Guide ...
Страница 68: ...62 ThinkServer RD340 and RD440 Operating System Installation Guide ...
Страница 69: ......
Страница 70: ......

