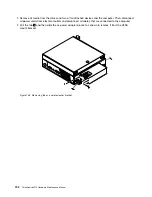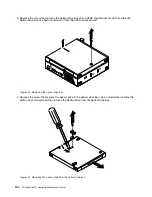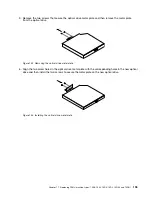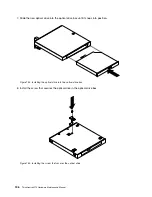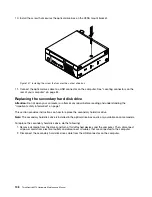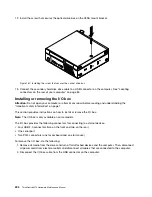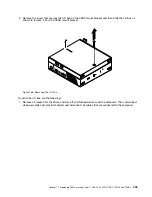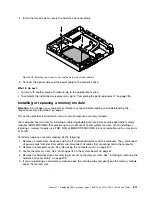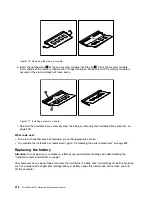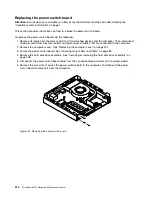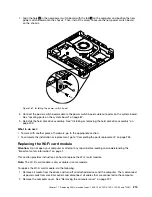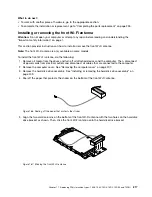
3. Remove the screw that secures the I/O box on the VESA mount bracket and then slide the I/O box as
shown to remove it from the VESA mount bracket.
Figure 168. Removing the I/O box
To install the I/O box, do the following:
1. Remove all media from the drives and turn off all attached devices and the computer. Then, disconnect
all power cords from electrical outlets and disconnect all cables that are connected to the computer.
Chapter 11
.
Replacing FRUs (machine types: 10AX, 10AY, 10DK, 10DL, 10DM, and 10DN)
205
Содержание ThinkCentre M73 10B0
Страница 6: ...iv ThinkCentre M73 Hardware Maintenance Manual ...
Страница 8: ...2 ThinkCentre M73 Hardware Maintenance Manual ...
Страница 15: ...Chapter 2 Safety information 9 ...
Страница 19: ...Chapter 2 Safety information 13 ...
Страница 20: ...1 2 14 ThinkCentre M73 Hardware Maintenance Manual ...
Страница 21: ...1 2 Chapter 2 Safety information 15 ...
Страница 26: ...1 2 20 ThinkCentre M73 Hardware Maintenance Manual ...
Страница 27: ...1 2 Chapter 2 Safety information 21 ...
Страница 30: ...24 ThinkCentre M73 Hardware Maintenance Manual ...
Страница 34: ...28 ThinkCentre M73 Hardware Maintenance Manual ...
Страница 62: ...56 ThinkCentre M73 Hardware Maintenance Manual ...
Страница 74: ...68 ThinkCentre M73 Hardware Maintenance Manual ...
Страница 92: ...86 ThinkCentre M73 Hardware Maintenance Manual ...
Страница 140: ...134 ThinkCentre M73 Hardware Maintenance Manual ...
Страница 244: ...238 ThinkCentre M73 Hardware Maintenance Manual ...
Страница 248: ...242 ThinkCentre M73 Hardware Maintenance Manual ...
Страница 254: ...248 ThinkCentre M73 Hardware Maintenance Manual ...
Страница 255: ......
Страница 256: ......


