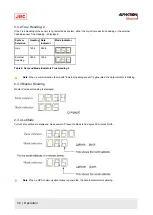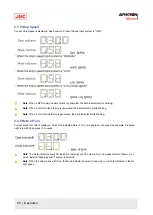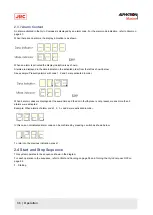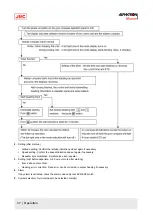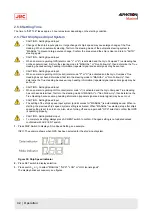
System selection (switching) may cause large change of the True Heading.
1. During automatic steering, first turn the steering mode of the automatic steering system to "MANUAL" to prevent
large change of course.
2. Confirm surrounding area of ship is clear and turn to "AUTO" steering again.
•
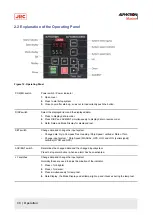
Select the Gyro Compass: While pressing ACK/ENT switch press GYRO switch.
•
Select the external heading sensor: While pressing ACK/ENT switch press GYRO switch.
Repeater synchronization: Synchronize the each repeater indication with the selected True Heading
information¹.
Note ¹ When repeater is a serial signal type, this operation is not required because it will synchronize
automatically. However, confirm that the indicated value coincides with "the True Heading" selected
by this system after the repeater switch is turned "ON".
6. Stop
Turn each repeater switch to OFF and turn the Power Switch on the Gyro Compass operation panel to OFF. The
Gyro Compass stops.
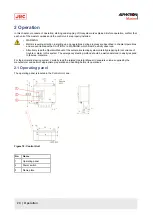
2.5 Start and Running
•
CAUTION - Start Up
•
Start up this product after turning the automatic steering system to other mode than "AUTO".
2.5.1 Start
Turn power on.
1. Press the Power Switch on the operating panel.
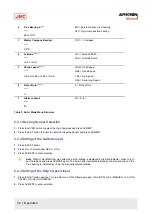
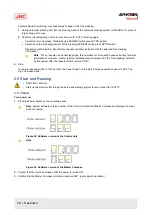
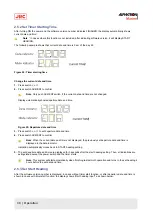
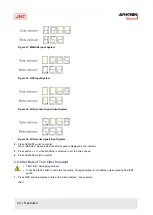
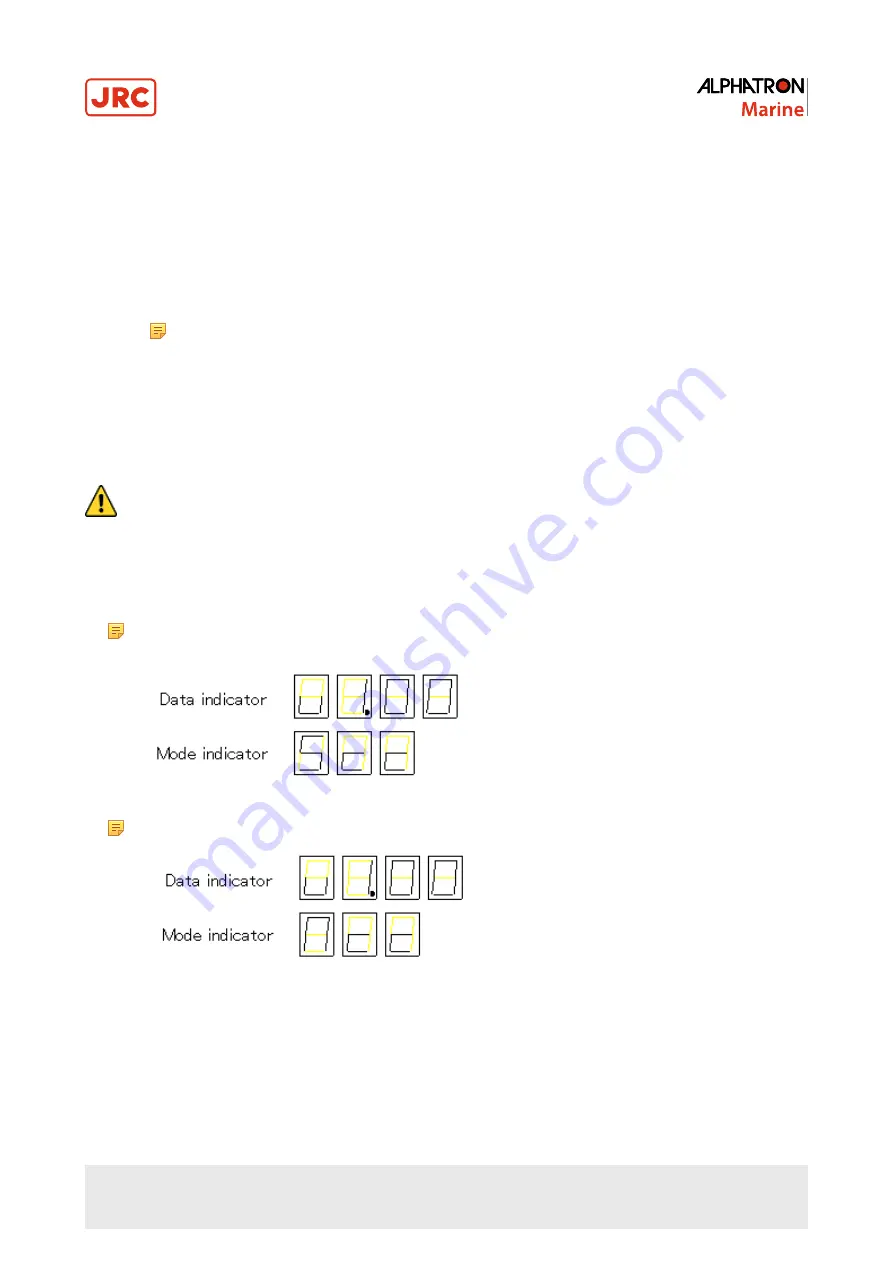
Note System software version number of the Control Unit and the Master Compass are displayed in order,
as shown below.
Figure 22: Software version of the Control Unit
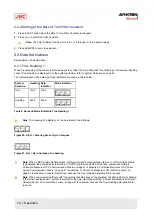
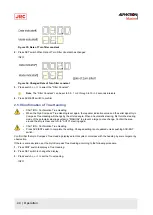
Note
Figure 23: Software version of the Master Compass
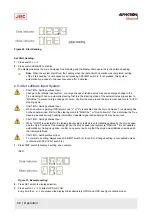
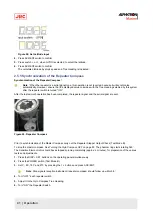
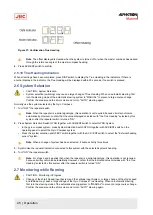
2. Confirm that the rotor has stopped after the power is turned ON.
3. Confirm that the Master Compass is rotated clockwise
360˚.
(Last azimuth operation)
38 | Operation
Содержание Alpatron AlphaMidiCourse
Страница 1: ...AlphaMidiCourse Gyro Compass Installation and Operation Manual www jrc am ...
Страница 68: ...5 1 1 Outline Control Unit One Gyro Compass System Figure 41 Control Box 68 Appendices ...
Страница 69: ...5 1 2 Operating Panel Figure 42 Operating Panel 69 Appendices ...
Страница 70: ...5 1 3 Master Compass Figure 43 Main Unit 70 Appendices ...
Страница 71: ...Figure 44 Open Gyro Compass 71 Appendices ...
Страница 73: ...5 1 5 Connection Diagram Figure 46 Connection Diagram 73 Appendices ...
Страница 74: ...5 1 6 Cable Diagram Figure 47 Cable Diagram 74 Appendices ...
Страница 75: ...5 1 7 Installation Drawing Figure 48 Installation Drawing 75 Appendices ...
Страница 76: ...5 1 8 Terminal Board Figure 49 Terminal Board 76 Appendices ...

