


Chapter 8 1-Port Phase Testing
74
CellAdvisor JD720C User's Manual
d
Enter a value by using the numeric keys or the rotary knob.
–
To set the center frequency and the span, complete the following steps:
a
Select the cell next to the
Center Frequency
.
b
Enter a value by using the numeric keys or the rotary knob.
c
Select the cell next to the
Span
.
d
Enter a value by using the numeric keys or the rotary knob.
–
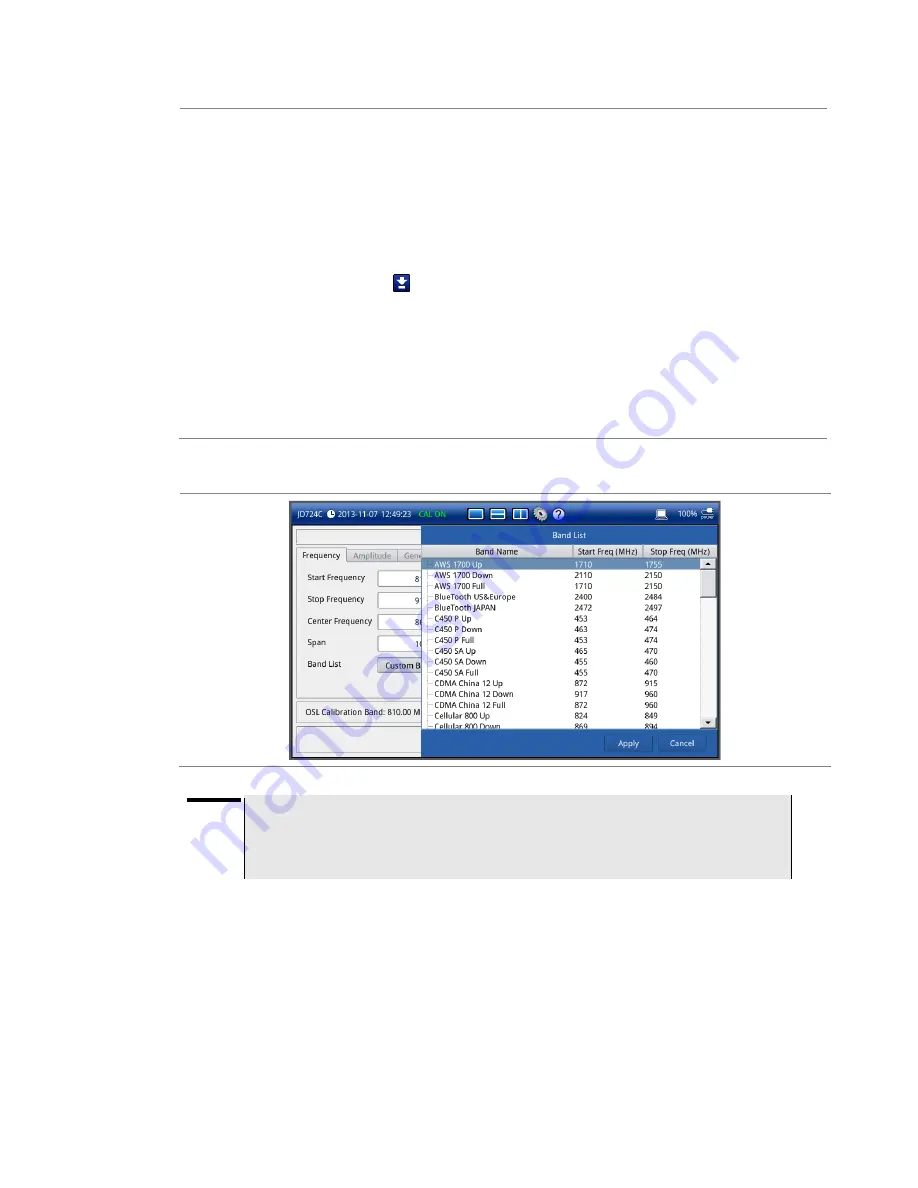
To select a band from the band list, complete the following steps:
a
Touch the icon
next to the band list.
The Band List window appears. It displays a list of standard bands stored in the
instrument and custom bands created in the JDViewer. See
b
Highlight your choice from the list, and then tap the
Apply
button on the Band List
window.
The instrument automatically updates the values in the
Start Frequency
and
Stop
Frequency
cells with the selected band's start and stop frequencies.
3
Tap the
Apply
button in the lower-right corner of the setup screen to save the change(s).
Figure 41
Band list window
NOTE
Frequency changes after calibration affect the calibration status. If changed within the
registered band, the status turns into CAL ON (I) and it does not require re-calibration. If
changed off the registered band, the status turns into CAL OFF and it requires
re-calibration.
Amplitude
You can set maximum and minimum values of the Y-scale manually by setting the Top and
Bottom amplitudes or restore the instrument's default full scale defined for each
measurement mode. You can also optimize the Y-scale automatically so that an entire trace
can be displayed on the measurement chart. Adjusting Y-scale does not affect calibration
status.


