


Chapter 16 Analysis
CellAdvisor JD720C Series User
’s Manual
127
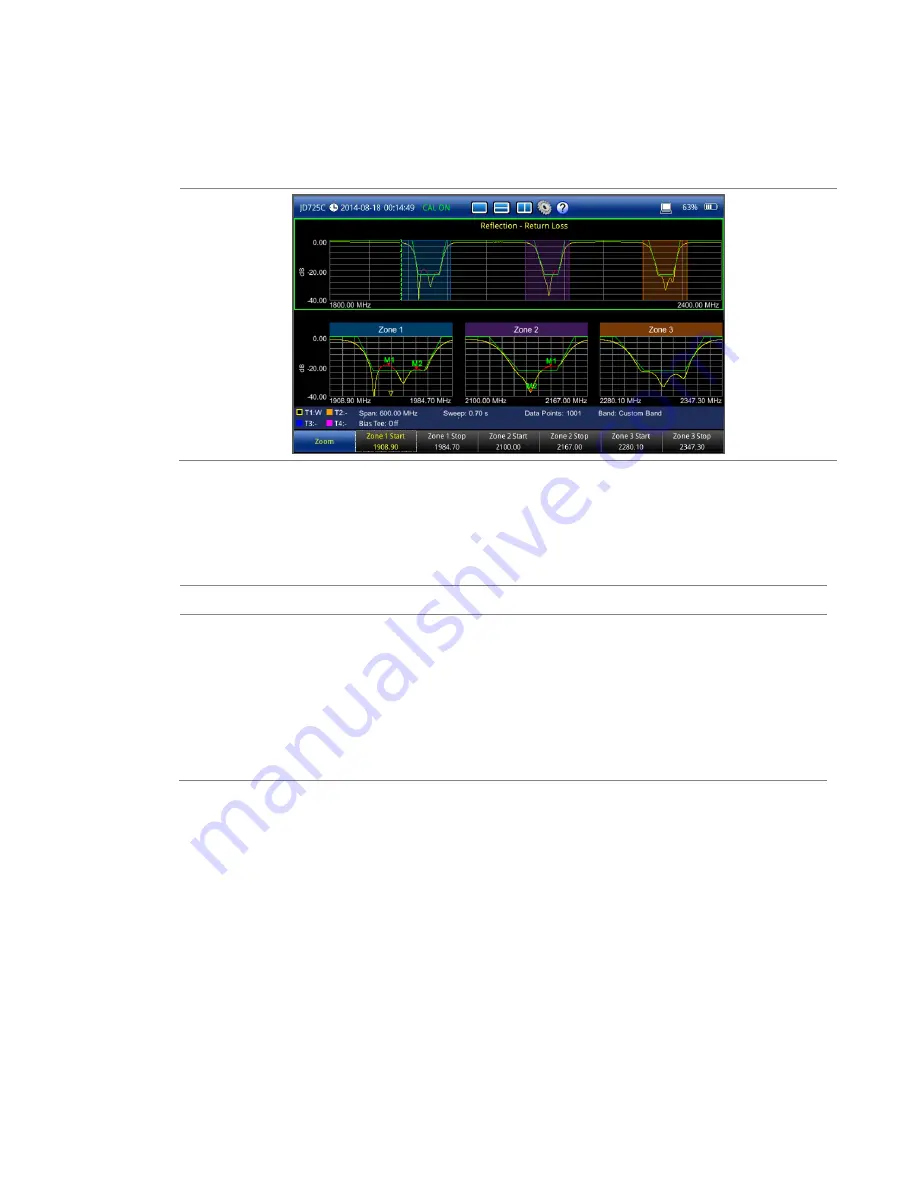
Example of zoom zones
Figure 83
Reflection return loss measurement with zoom zones
Changing sub-band frequency
For the enabled zoom zones, you can change the sub-band frequencies directly from the
measurement screen.
Procedure
1
Tap on the top window of the full measurement band you have set.
The screen menu changes to
Zoom
.
2
Touch the
Zone [1|2|3] [Start|Stop]
screen key for the zone that you desire to change.
3
Change the frequency value by using the following options:
–
Turn the rotary knob.
–
Enter a value using the numeric keys, and then press the
ENTER
hard key.
–
Tap directly on the frequency where you want to set.
Tips for zoom zones
The top half of the screen shows the chart with the trace for the full O-S-L calibration band
while the bottom half of the screen displays zoom zones that you have enabled in the Zoom
setting.
Individual zoom zones on the screen are independent from one other. Function hard keys
correspond only with the selected zone, which is called as the "active" chart with outside
borders surrounded.
When the top chart is selected, the
MARKER
and
PEAK
hard keys become inactive.
When a zoom zone is selected, the
MARKER
and
PEAK
hard keys become active.


