SEL-1FS1/SEL-2FS1 and SEL-1XD1/SEL-2XD1
Installation and Operation Manual
Installation, Operation, and Specifications
© 2015 Imagine Communications Corp.
Proprietary and Confidential.
Version 2.8 | Page 60
Step 2: Convert Files to the .mg2 Format
Using LogoCreator, you need a source image file for the fill portion of your logo, and a source image file
for the key portion. The fill is the picture or image you want to overlay onto the program output. The
key is the cutout or shape of the desired logo, which may or may not be the same shape as the fill. Using
LogoCreator, you will set the fill and key images to the same size (resolution) as the standard of the FS1
and XD1 output. LogoCreator infers the key from the alpha channel in a targa (.tga) file.
After you save the logo, the logo displays in your LogoCreator workspace. To save your logo files using
LogoCreator, follow these steps:
1.
In LogoCreator, open the
Logo Set-Up
dialog box.
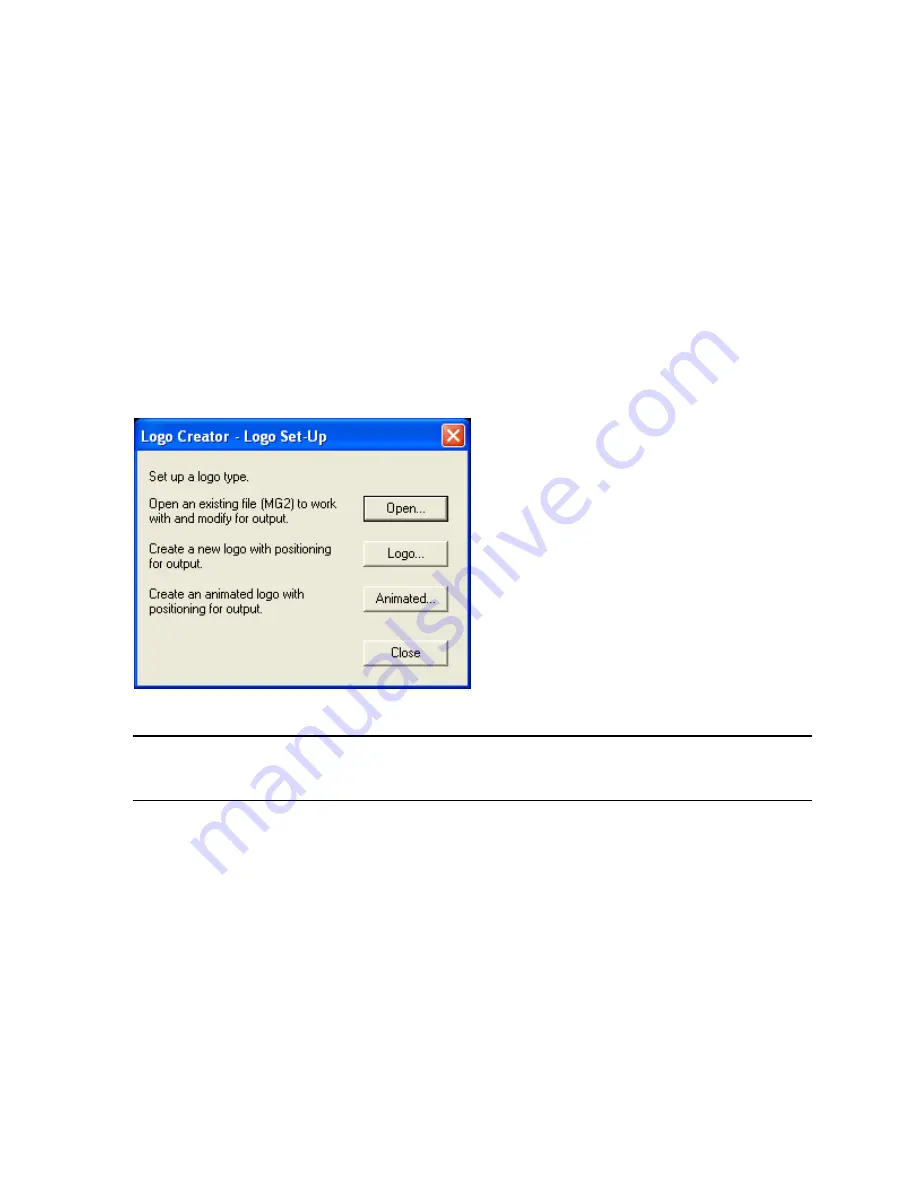
When you first open LogoCreator, the
Logo Set-Up
dialog box opens automatically. If the
Logo Set-
Up
dialog box is closed, select
File > New
to open the dialog box.
Figure 39:
LogoCreator Setup Dialog Box
Note
: If you click the
Open
button directly in the
Logo Set-Up
box, the program will only launch files
with a .mg2 prefix. If you attempt to open a file with any other prefix, the program will generate
error messages.
2.
Click the
Logo
button to open the Static Logo dialog box.
3.
Use the
Logo ID
box to assign the logo to a specific slot on your IconLogo system.
4.
Enter a name for the logo in the
Name
box.
5.
Click the
Open
button below the
Logo Image Preview
window.


