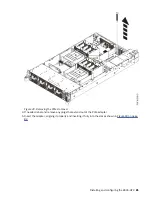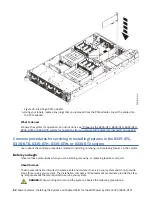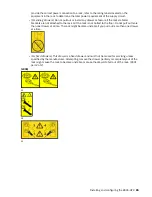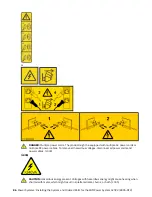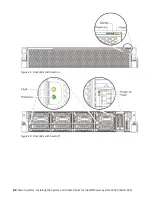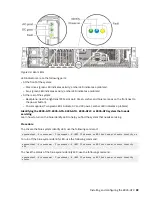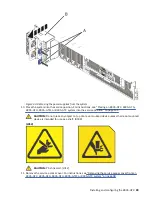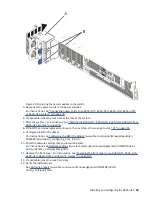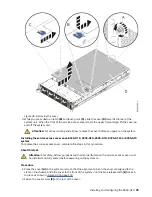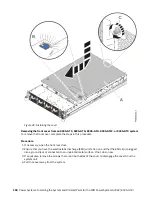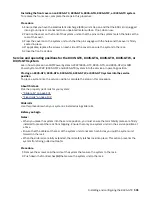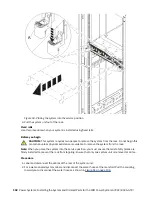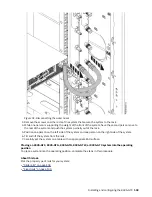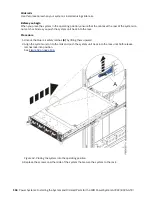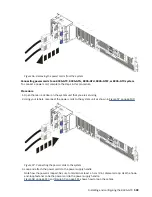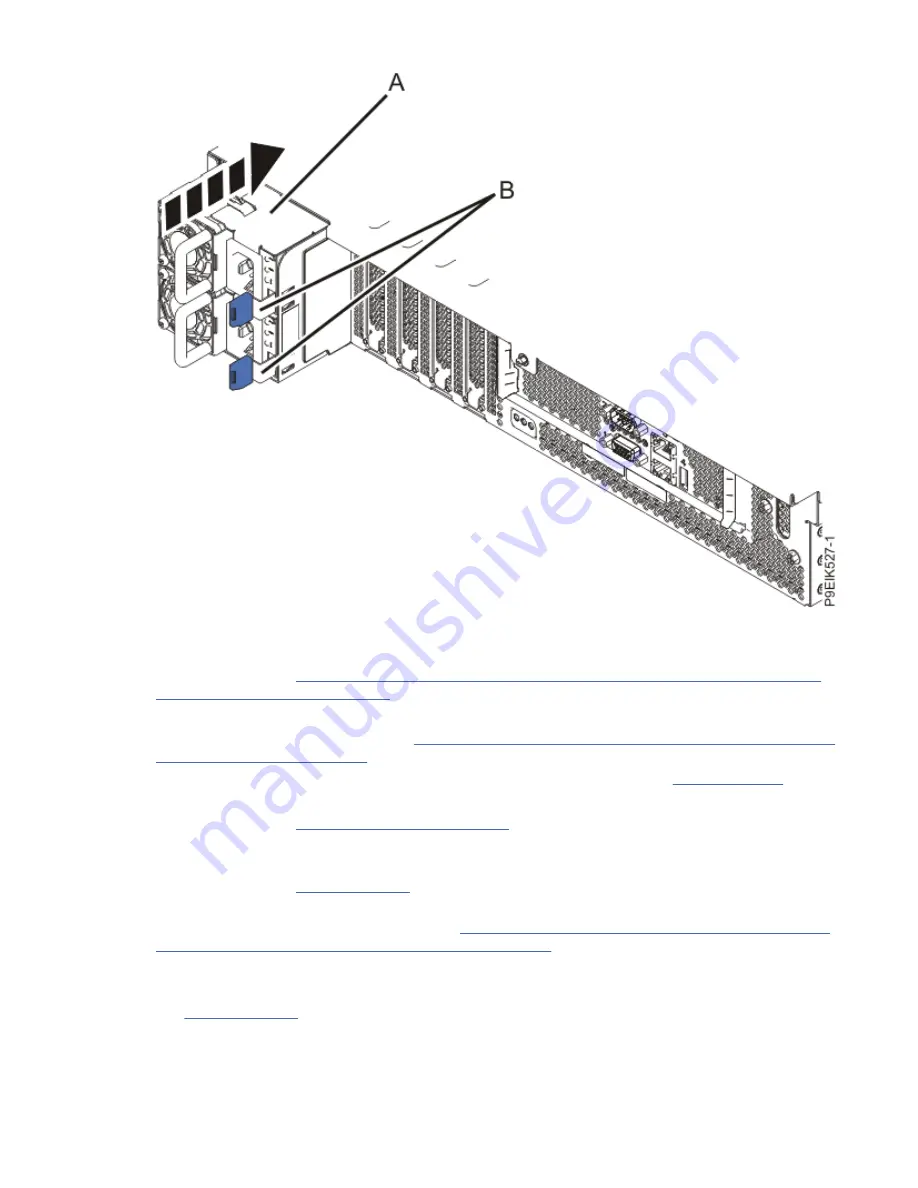
Figure 45. Replacing the power supplies in the system
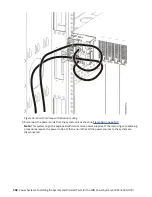
5. Reconnect the power cords to the power supplies.
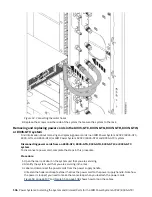
For instructions, see “Connecting power cords to an 8335-GTC, 8335-GTG, 8335-GTH, 8335-GTW,
or 8335-GTX system” on page 109.
6. If applicable, close the rack door at the rear of the system.
7. Start the system. For instructions, see “Starting the 8335-GTC, 8335-GTG, 8335-GTH, 8335-GTW, or
8. If the BMC card was replaced continue to the next step, otherwise go to step “11” on page 95.
9. Configure the BMC IP address.
For instructions, see Configuring the BMC IP address (www.ibm.com/support/knowledgecenter/
POWER9/p9eih/p9eih_configuring_bmc_ip.htm).
10. Enter the network settings that you recorded earlier.
For instructions, see Network settings (www.ibm.com/support/knowledgecenter/POWER9/p9eih/
p9eih_openbmc_networksetting.htm).
11. Replace the front cover. For instructions, see “Installing the front cover on an 8335-GTC, 8335-GTG,
8335-GTH, 8335-GTW, or 8335-GTX system” on page 101.
12. If applicable, close the rack front door.
13. Verify the installed part.
See Verifying a repair (www.ibm.com/support/knowledgecenter/POWER9/p9ei3/
p9ei3_verifyrepair.htm).
Installing and configuring the 8335-GTX 95
Содержание Power System AC922
Страница 1: ...Power Systems Installing the System and Ordered Parts for the IBM Power System AC922 8335 GTX IBM...
Страница 4: ...iv...
Страница 14: ...xiv Power Systems Installing the System and Ordered Parts for the IBM Power System AC922 8335 GTX...
Страница 105: ...or or or or Installing and configuring the 8335 GTX 91...
Страница 121: ...Figure 54 Routing the power cord loop in the cable management arm Installing and configuring the 8335 GTX 107...
Страница 126: ...112 Power Systems Installing the System and Ordered Parts for the IBM Power System AC922 8335 GTX...
Страница 137: ......
Страница 138: ...IBM...

