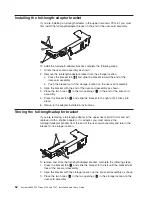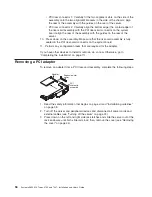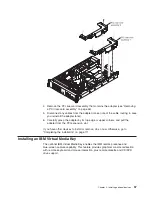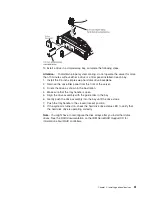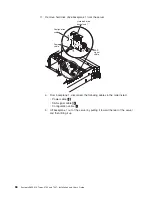
4. Press the bracket tab
3
and slide the bracket toward the
expansion-slot-opening end of the assembly until the bracket clicks into place.
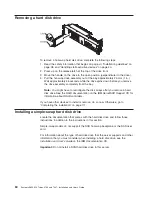
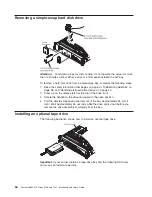
5. Return to “Installing a PCI adapter” or “Installing a PCI riser-card assembly” on
page 47, as applicable.
Installing a PCI adapter
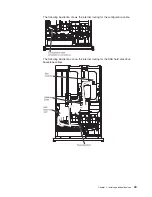
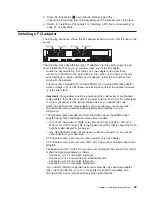
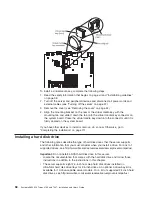
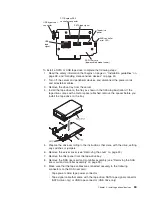
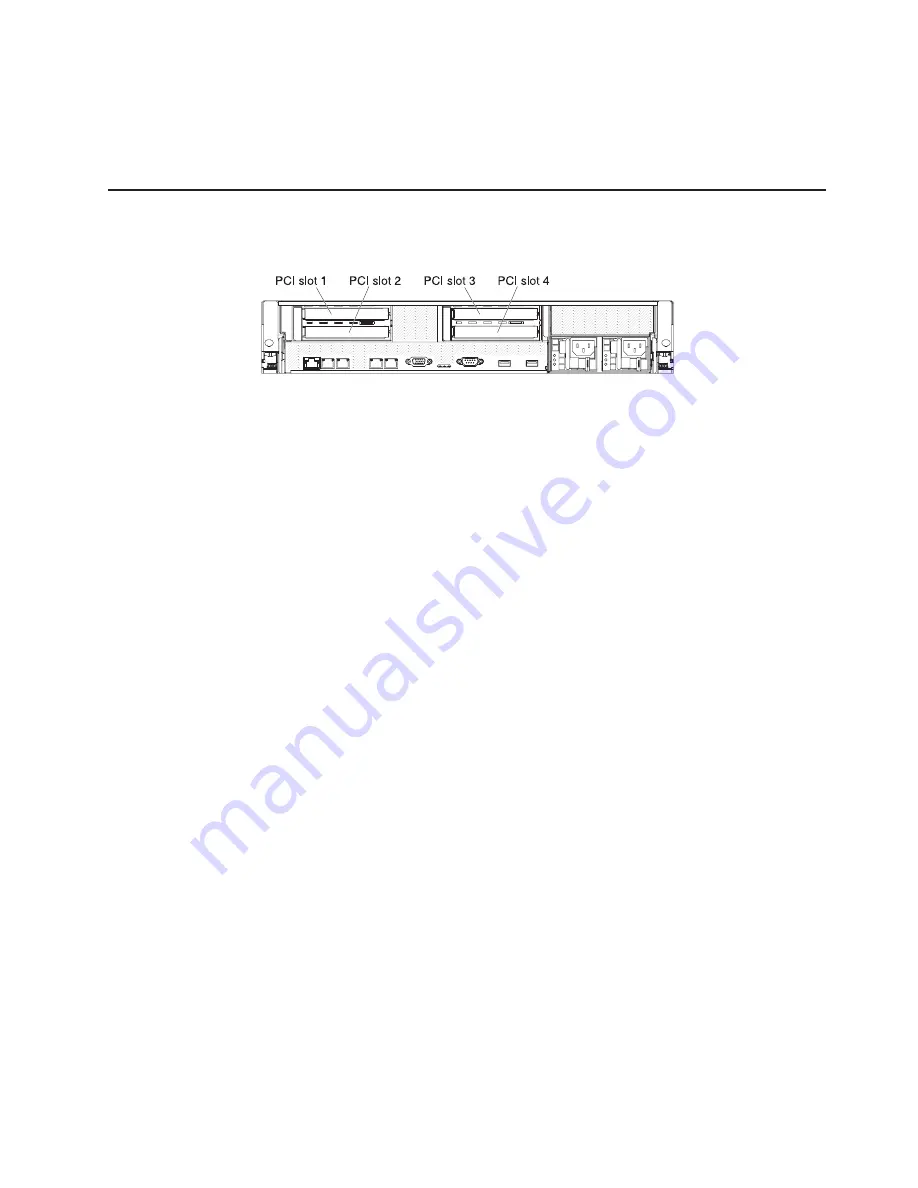
The following illustration shows the PCI adapter expansion slots from the rear of the
server.
The following notes describe the types of adapters that the server supports and
other information that you must consider when you install an adapter:
v
Locate the documentation that comes with the adapter and follow those
instruction in addition to the instructions in this section. If you have to change
switch settings or jumper settings on the adapter, follow the instructions that
come with the adapter.
v
To ensure that a ServeRAID-10i, ServeRAID-10is, or ServeRAID-10M adapter
works correctly in your UEFI-based server, make sure that the adapter firmware
is at the latest level.
Important:
Some cluster solutions require specific code levels or coordinated
code updates. If the device is part of a cluster solution, verify that the latest level
of code is supported for the cluster solution before you update the code.
v
Some high performance video adapters are supported by your server. See
http://www.ibm.com/servers/eserver/serverproven/compat/us/ for more
information.
v
The following notes describe important information about the NVIDIA video
adapter that comes preinstalled in some server models:
– Do not set the maximum digital video resolution above 1600 x 1200 at 75
MHz for an LCD monitor. This is the highest resolution that is supported for an
optional video adapter in the server.
– Any high-definition video-out connector or stereo connector on an optional
video adapter is not supported.
v
A PCI Express Gen 2 x16 riser card can support only one adapter.
v
A PCI Express Gen 2 x8 riser card and a PCI-X riser card can each support two
adapters.
v
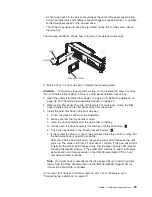
The expansion slots in the PCI riser cards accommodate the various form factors
of the non-hot-plug adapters as follows:
– Expansion slot 1: Full-height, full-length
– Expansion slot 2: Low-profile with standard bracket
– Expansion slot 3: Full-height, full-length
– Expansion slot 4: Full-height, half-length
If you install a different supported riser-card assembly, the supported adapter
types might be different. For a list of supported riser-card assemblies, see
http://www.ibm.com/servers/eserver/serverproven/compat/us/.
Chapter 2. Installing optional devices
53
Содержание 7947E3U
Страница 1: ......
Страница 2: ......
Страница 3: ...System x3650 M2 Types 4199 and 7947 Installation and User s Guide...
Страница 8: ...vi System x3650 M2 Types 4199 and 7947 Installation and User s Guide...
Страница 16: ...xiv System x3650 M2 Types 4199 and 7947 Installation and User s Guide...
Страница 40: ...24 System x3650 M2 Types 4199 and 7947 Installation and User s Guide...
Страница 150: ...134 System x3650 M2 Types 4199 and 7947 Installation and User s Guide...
Страница 162: ...Taiwan Class A compliance statement 146 System x3650 M2 Types 4199 and 7947 Installation and User s Guide...
Страница 168: ...152 System x3650 M2 Types 4199 and 7947 Installation and User s Guide...
Страница 169: ......
Страница 170: ...Part Number 81Y6111 Printed in USA 1P P N 81Y6111...

