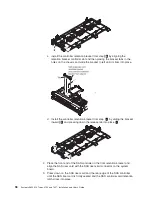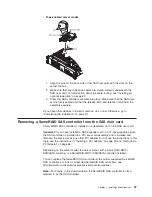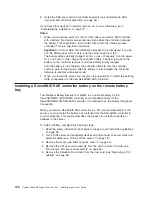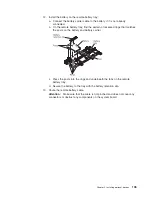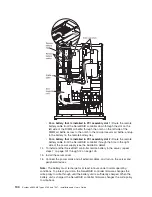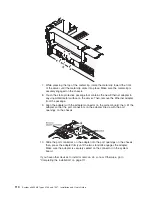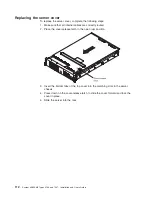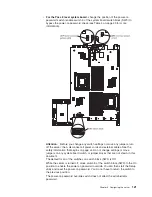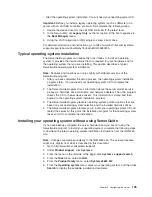
7. While pressing the top of the metal clip, rotate the metal clip toward the front
of the server until the metal clip clicks into place. Make sure the metal clip is
securely engaged on the chassis.
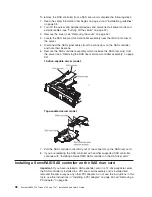
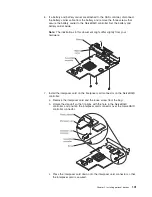
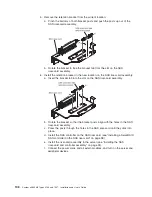
8. Touch the static-protective package that contains the new Ethernet adapter to
any unpainted metal surface on the server. Then, remove the Ethernet adapter
from the package.
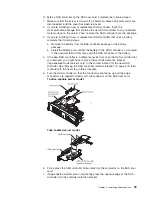
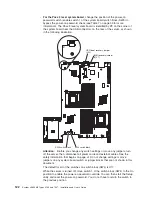
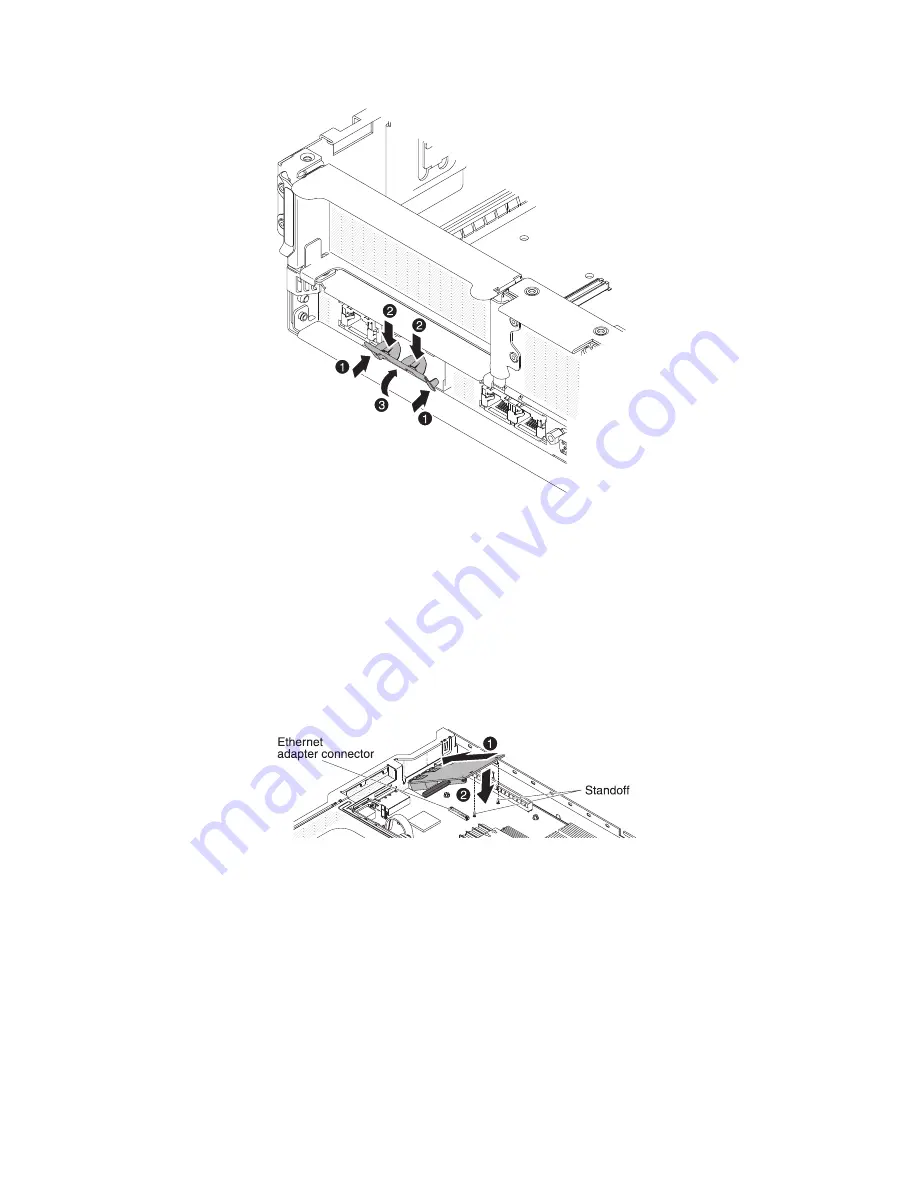
9. Align the adapter with the adapter connector on the system board; then, tilt the
adapter so that the port connectors on the adapter line up with the port
openings on the chassis.
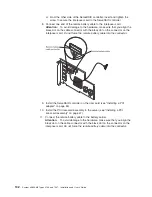
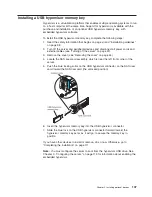
10. Slide the port connectors on the adapter into the port openings on the chassis;
then, press the adapter firmly until the two standoffs engages the adapter.
Make sure the adapter is securely seated on the connector on the system
board.
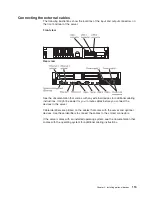
If you have other devices to install or remove, do so now. Otherwise, go to
“Completing the installation” on page 111.
110
System x3650 M2 Types 4199 and 7947: Installation and User’s Guide
Содержание 7947E3U
Страница 1: ......
Страница 2: ......
Страница 3: ...System x3650 M2 Types 4199 and 7947 Installation and User s Guide...
Страница 8: ...vi System x3650 M2 Types 4199 and 7947 Installation and User s Guide...
Страница 16: ...xiv System x3650 M2 Types 4199 and 7947 Installation and User s Guide...
Страница 40: ...24 System x3650 M2 Types 4199 and 7947 Installation and User s Guide...
Страница 150: ...134 System x3650 M2 Types 4199 and 7947 Installation and User s Guide...
Страница 162: ...Taiwan Class A compliance statement 146 System x3650 M2 Types 4199 and 7947 Installation and User s Guide...
Страница 168: ...152 System x3650 M2 Types 4199 and 7947 Installation and User s Guide...
Страница 169: ......
Страница 170: ...Part Number 81Y6111 Printed in USA 1P P N 81Y6111...

