Studio Color LCD Controller
Connecting Fixtures
2-13
2
However, the Studio Color fixture has several built-in
random (or unsynchronized) effects which work
randomly even if multiple fixtures are assigned the
same fixture number. For more information, see the
section titled “Programming Hints” on page 3-2.
4.
Press the
<Enter>
button to save the fixture number and
continue with the section titled “Cables and Terminators” on
page 2-14.
Selecting Fixture Numbering
The Studio Color LCD controller requires each fixture to be
assigned a fixture number rather than a DMX address, so if
the display as shown in Figure 2-6 indicates the fixture is
currently set for DMX address, you must change it using the
procedure below:
1.
Keep pressing the
<Menu>
button on the fixture until the
display shows ADDR as shown in Figure 2-5 on page 2-12.
2.
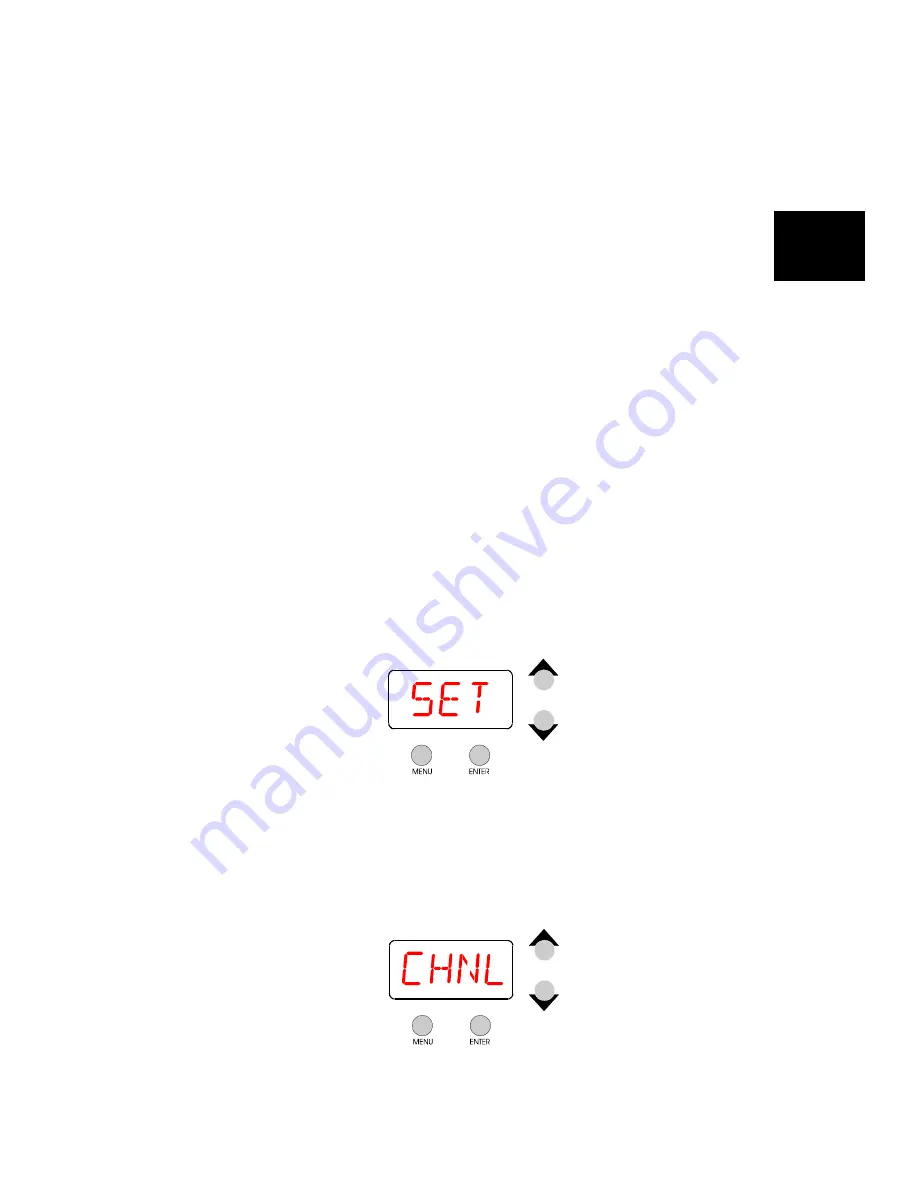
Use the
<Up>
and
<Down>
arrow buttons to select SET as
shown below:
Figure 2-7. The Set menu allows you to change various
fixture parameters, including how fixtures are addressed.
3.
Press the
<Enter>
button, then use the
<Up>
and
<Down>
arrow
buttons to select CHNL as shown below:
Figure 2-8. The CHNL menu option selects either DMX
addressing or fixture number “addressing”.
Содержание High End LCD Controller for Studio Color
Страница 9: ...viii Studio Color LCD Controller...
Страница 16: ...xv Table of Tables Studio Color LCD Controller...
Страница 34: ...1 12 Power Cord Cap Studio Color LCD Controller...
Страница 114: ...4 30 Homing Fixtures Studio Color LCD Controller...
Страница 130: ...5 16 Setting the Backlight Intensity Studio Color LCD Controller...
Страница 162: ...6 32 Lightwave Control Center Studio Color LCD Controller...
Страница 196: ...7 34 Crossloading Studio Color LCD Controller...
Страница 210: ...G 14 Glossary Studio Color LCD Controller...
Страница 260: ...D 6 Important Safety Information Studio Color LCD Controller Appendiks D Vigtig Sikkerhedsin formation DANMARK...


