English
_9
Starting the SyStem
1.
Connect the power cable of the recorder to the wall outlet.
2.
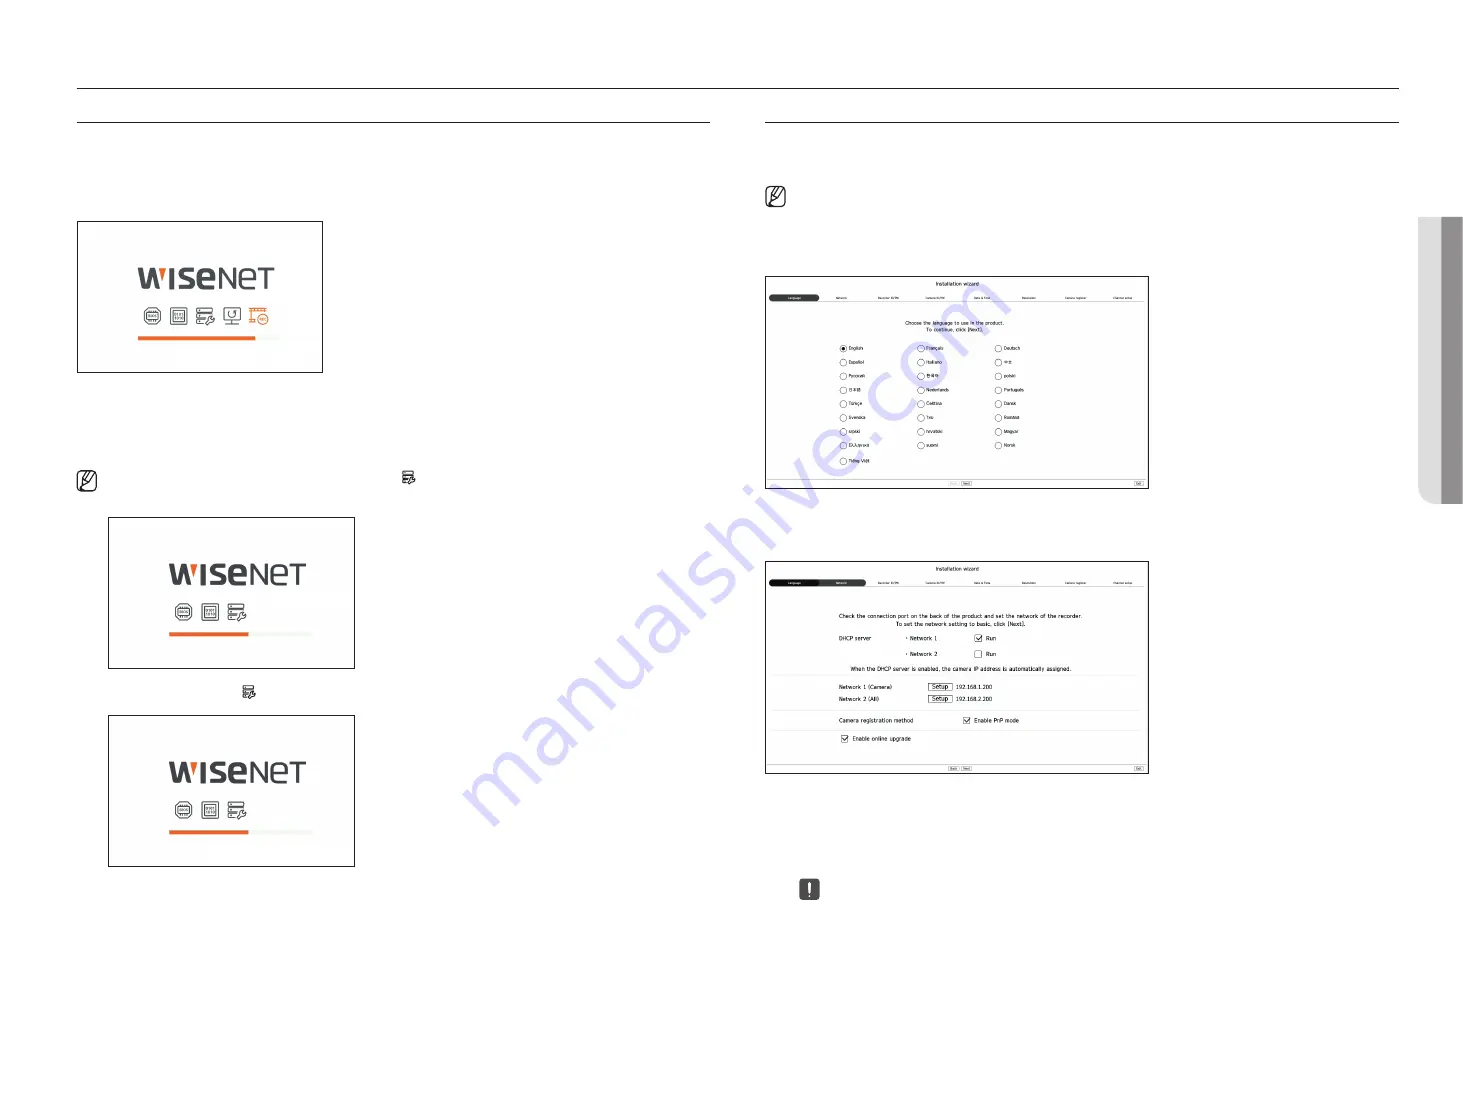
You will see the initialization screen.
The initialization process will last about 2 minute. If a new HDD is installed, the initialization process may take longer.
3.
The live screen appears with a beep.
The following symptoms might be observed when starting the system.
■
If the HDD number is displayed at the bottom of the screen along with < > while the product is booting up, it indicates that the HDD is in recovery,
and for this reason booting up may take longer.
HDD 1, 2
■
If the progress stalls while in < > state, it indicates that the HDD has problems. Visit your nearest customer service center to check the HDD.
HDD 2
getting started
inStallation Wizard
As shown below, proceed through each step of the <
installation wizard
>.
Install Wizard can only be accessed at factory reset. If you do not want to proceed, click <
exit
>.
■
It will automatically change to the optimal monitor resolution and run the install wizard.
■
If the install wizard does not run, remove the monitor connection from the back of the recorder, reboot the recorder and reconnect the monitor.
1.
In the <
language
> screen, select the language and press the <
next
> button.
2.
Set the network connection type and the connection environment on the <
network
> screen, and then click the
<
next
>.
Setting up the dhCP server
If you set up the DHCP server to <
run
>, the IP address is automatically assigned to your camera.
For more details, refer to the "
Setup
>
Setting the network
>
dhCP Server
" page in the Table of Contents.
■
Depending on the camera's state, no IP may be automatically assigned to the camera. After exiting the installation wizard, go to the menu to
assign an IP to DHCP, or set the IP manually.
• ge
tting
S
tarted
Содержание Wisenet PRN-6400DB4
Страница 1: ...NETWORKVIDEO RECORDER User Manual Wisenet NVR...
Страница 125: ......


