English
_57
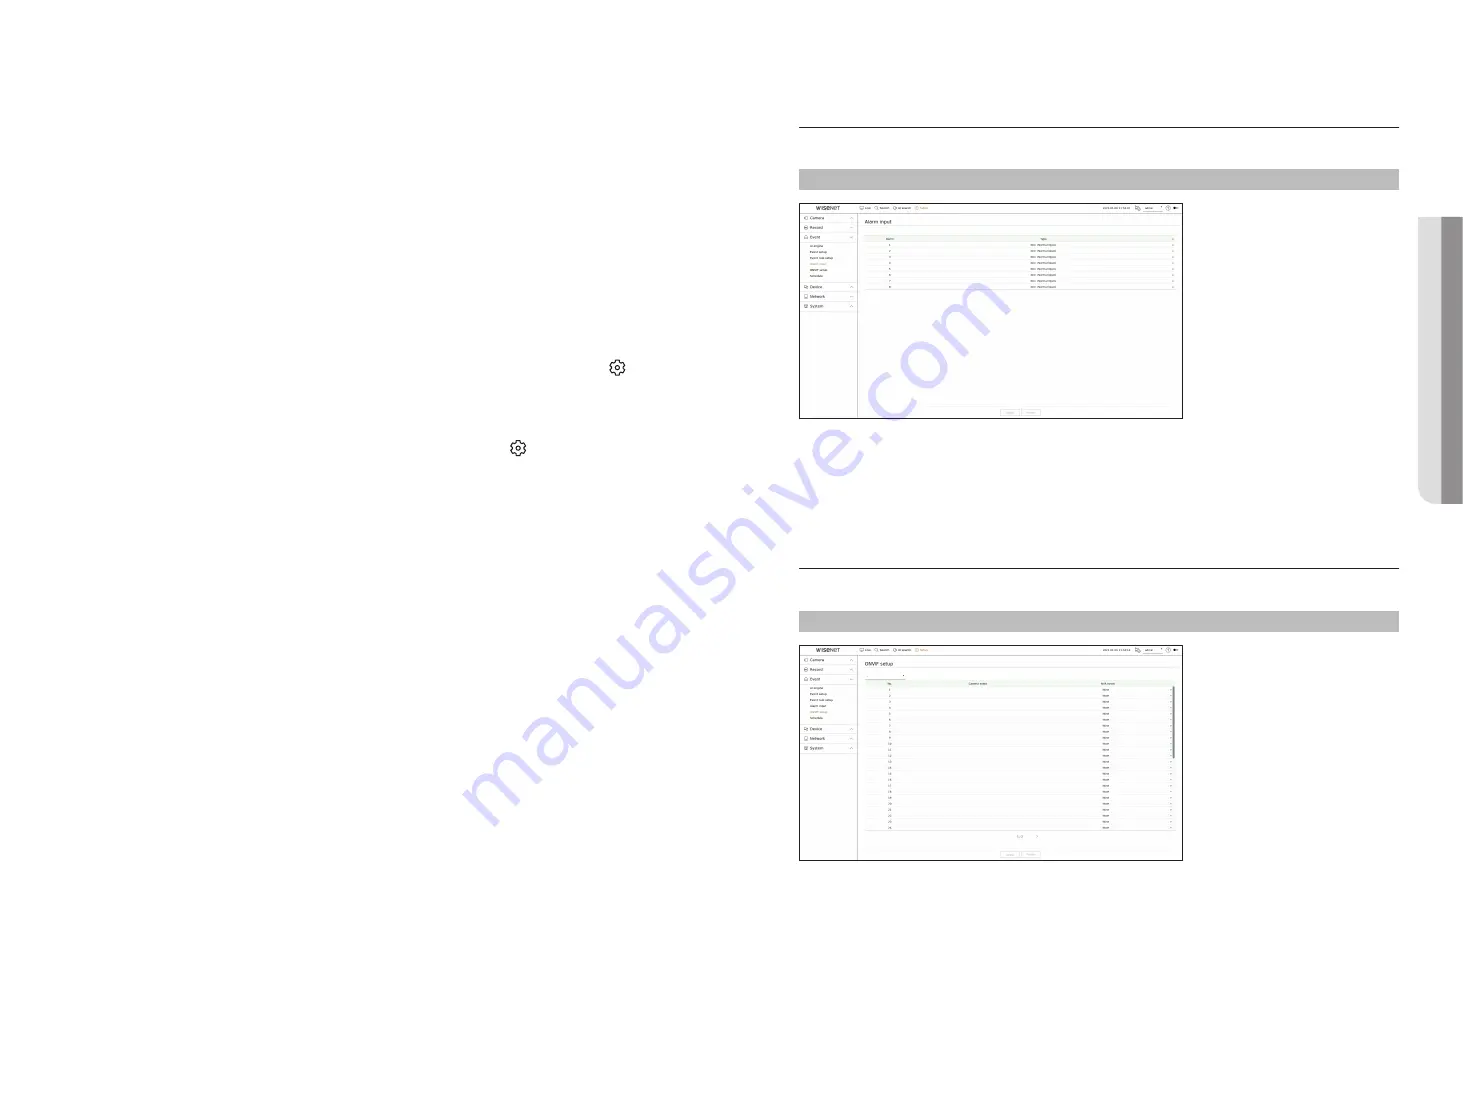
alarm input
You can set the operation of the alarm sensor.
Setup > event > alarm input
●
Type : Set the mode in which the alarm sensor will operate.
– Off : Alarm sensor is disabled. Alarm is not used.
– N.O. (Normal Open) : Sensor is opened. If the sensor is closed, it generates alarm.
– N.C. (Normal Close) : Sensor is closed. If the sensor is opened, it generates alarm.
onVif Setup
You can set the details related to camera events registered with the ONVIF protocol.
Setup > event > onVif setup
●
No. : Select the channel to which the ONVIF camera is registered.
●
Camera event : It shows the list of all the events supported by a camera by using the ONVIF protocol.
●
NVR event : You can map the list of events supported by a camera to events that the Recorder can detect. There
is no default value. It only shows the value sent by a camera.
3.
Set the details when the event rule setting window is displayed.
●
Rule name : Enter the name of the event rule.
●
Event trigger : Click <
+ add trigger
> to set the event trigger and channel.
■
Up to three event triggers can be added.
■
The event trigger option may vary depending on the recorder model.
■
Duration is the waiting time to recognize the occurrence of a selected event. You have to select two or more event triggers to set this option.
The event action will run only when all the selected event triggers occur within the duration time.
■
Event triggers will be displayed on the live screen when an event occurs and are used for event log recording.
■
To select a channel to detect an event trigger, click or drag the desired channel in the channel table. It will be displayed in orange when a
channel is selected.
●
Schedule : Select the schedule to run the event action.
●
Event action : Click <
+ add action
> to set the event action.
– Record/Go to preset : Set the PTZ preset to be displayed when an event occurs. Click < > to set camera
presets for each channel.
– Alarm output : Set the alarm out to be generated when an event occurs. Select the output terminal
according to the number of alarm terminals on the recorder to set the alarm duration.
– E-mail : Set up users to receive e-mail when an event occurs. Click < > to select users to receive the
e-mail.
■
Set the interval for sending events in the “
Setup
>
Network
>
>
Events
" menu.
– FTP: When an event occurs, the images are transferred to the designated FTP server. The overlapping
events that occurred during the set delivery interval will be sent as text in an html format file.
■
Set the FTP connection and delivery interval in the “
Setup
>
Network
>
FTP
" menu.
– Mobile push notification : When an event occurs, the event push notification will be displayed on the
connected smart phone.
– Monitor event : When an event occurs, the screen of the corresponding channel will be displayed by
switching to the live screen. When selecting event monitoring, set the alarm duration in consideration of
network conditions.
– Shutdown: When an event occurs, a pop-up window will appear. You can select <
Shutdown
> or
<
cancel
>.
– User coding: It can be selected when <
manual trigger
> is set. You can set the WISENET camera to
execute the SUNAPI command entered in <
user coding
> when an event occurs. Click <
test
> to test the
execution of the entered SUNAPI command.
■
Event action will run only when all set event triggers occur. If only one of the multiple events set has occurred, the event action will not run.
■
Set the event action only when necessary.
4.
Click <
oK
> at the bottom of the setting window to register the event rule.
• S
etup
Содержание Wisenet PRN-6400DB4
Страница 1: ...NETWORKVIDEO RECORDER User Manual Wisenet NVR...
Страница 125: ......


