10_
getting started
getting started
3.
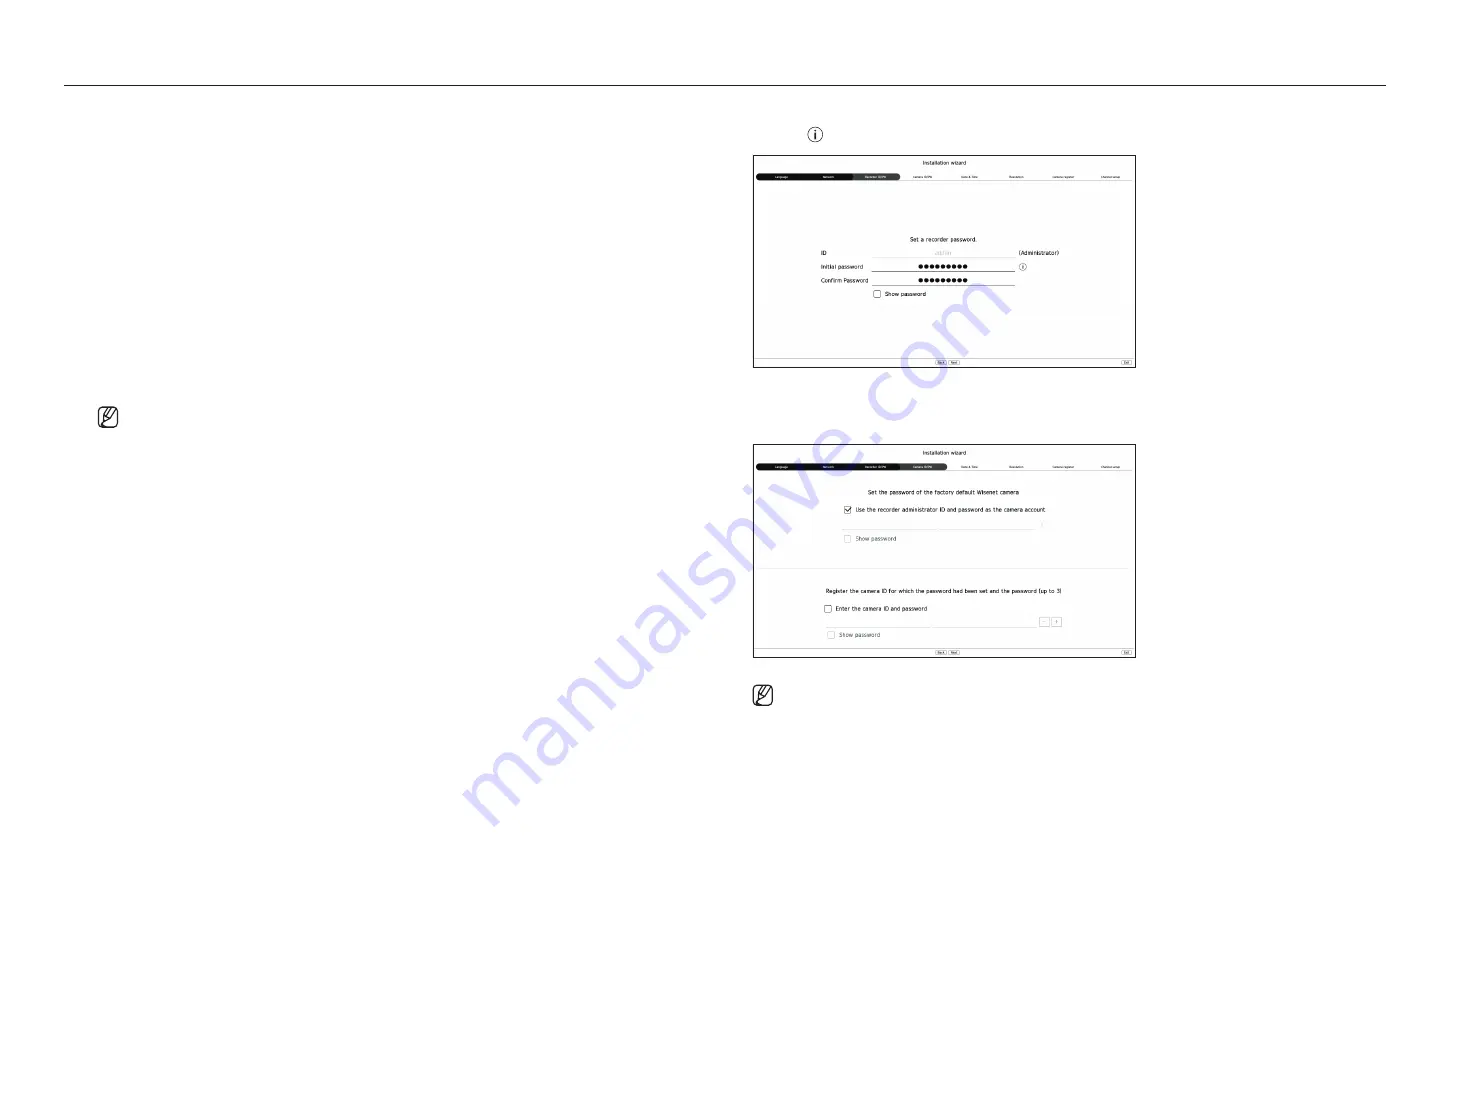
Set the administrator password on the <
recorder id/PW
> screen and click the <
next
>.
Click < > to view the basic guide for setting a password. Refer to the password setup rules.
4.
Set the camera password in factory reset on the <
Camera id/PW
> screen.
If ID/PW is already set in the camera, register the ID/PW and click <
next
>.
■
When the password is in factory reset, it can be changed and managed in a batch.
■
Up to 3 sets of camera ID with password and password can be registered.
■
You may change the passwords of registered cameras all at once in the "
Setup
>
Camera
>
Camera password
" menu.
■
You cannot change the password for cameras registered with ONVIF and RTSP.
Setting up the network
Each product supports a different number of network ports. If it supports two or more network ports, you can set
the network for each function as follows. Click <
Setup
> of the network connected to the recorder.
●
Network 1 (Camera) : Can be used as a port for connecting a camera. If you connect a camera, then the camera
video will be transmitted.
●
Network 2 (Viewer) : Can be used as a port transmitting video to the web viewer. If you access the network
information on your browser, then you can remotely monitor video in your web viewer.
●
Network 3 (iSCSI) : Can be used as a port for an iSCSI connection.
■
Only provided for products that support Network 3.
●
Network (All) : Can be used as a common port for connecting camera, web viewer, and iSCSI.
– IP type : Allows you to select the type of network access.
– IP Address, Subnet Mask, Gateway, DNS
■
Manual : IP address, subnet mask, gateway, and DNS can be directly entered.
■
DHCP : IP address, subnet mask, gateway, and DNS can be automatically set.
■
If the LAN cable is not connected to the port, <
Setup
> button will not be activated for use. Check the LAN cable connection.
(In case of a PoE product, Network 1 is activated.)
■
The built-in DHCP Server in Recorder will turn on automatically at stage 1. At this stage, using the existing DHCP server in the same network
may cause a problem, as two DHCP servers would be simultaneously operating.
■
A product with multiple network ports cannot use a single bandwidth for all of them.
Example)
–
Port 1 : 192.168.100.199 / Port 2 : 192.168.100.198 (X)
–
Port 1 : 192.168.100.199 / Port 2 : 192.168.101.198 (O)
Setting the camera registration method
This function is only available for products that support PoE. For products that support PoE, see "
Products
supporting each feature
" (Page 4) in the Product Specification Manual.
●
Enable PnP mode: Cameras connected to the PoE port of the product will automatically be registered for each
channel in order of port number.
– When the camera resets to factory default, it defaults to the ID and password set during the <
Camera id/
PW
> step. If the camera ID and password are not set, the recorder ID and password will be set automatically.
– If the camera's ID and password have already been set, the information that matches the ID and password
set during the <
Camera id/PW
> step will be registered (up to 3 sets).
If your camera uses a manual IP, its bandwidth should match with that of Network 1 IP for registration.
– If manual mode is used, it automatically detects and registers cameras connected to the recorder’s PoE port
and cameras connected to a separate switch.
online Upgrade
You can receive a new firmware notification when the recorder is connected to a network.
Содержание Wisenet PRN-6400DB4
Страница 1: ...NETWORKVIDEO RECORDER User Manual Wisenet NVR...
Страница 125: ......


