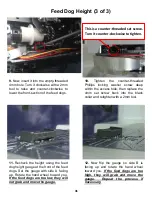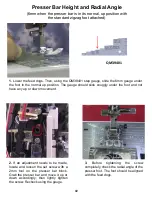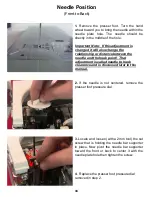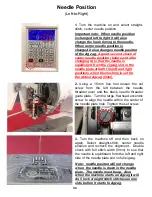
Needle Threader Plate
1.
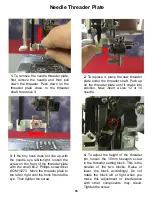
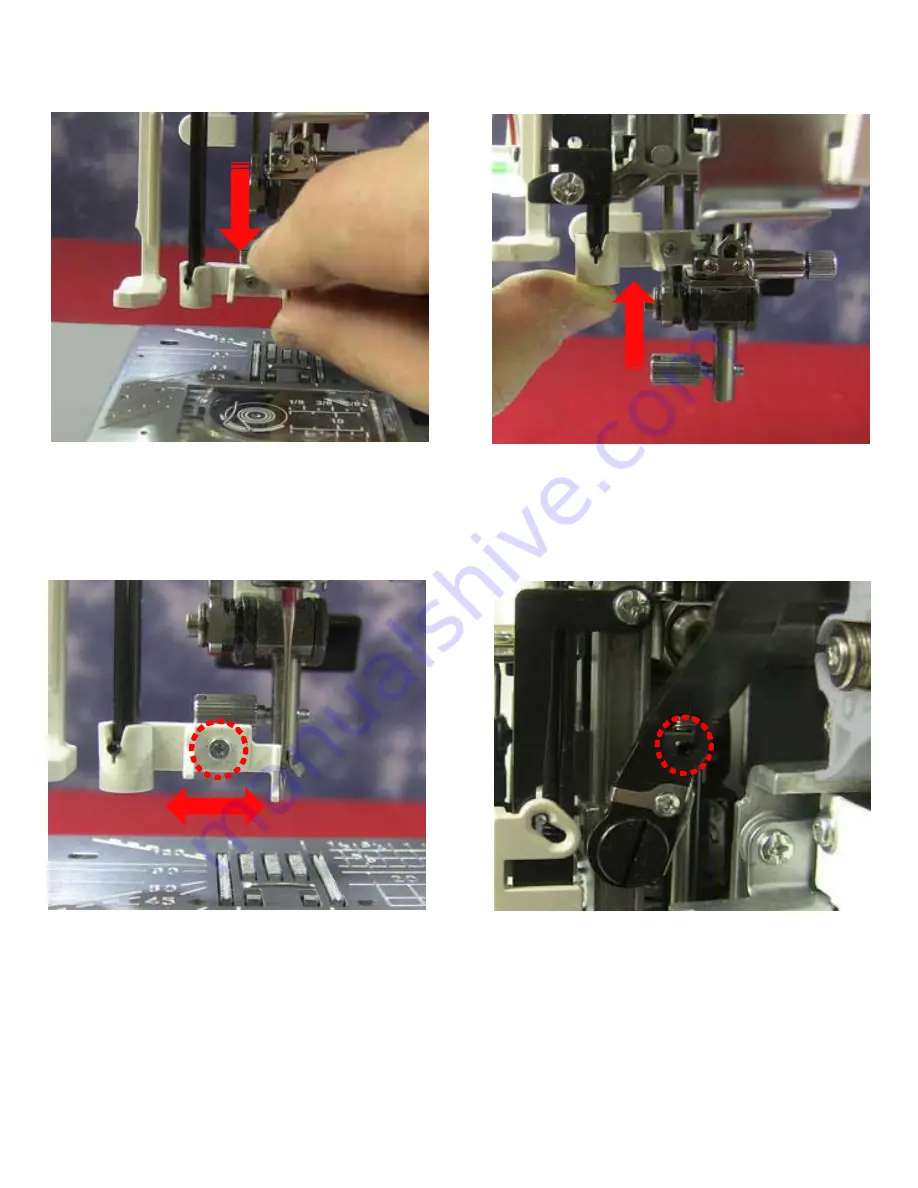
To remove the needle threader plate,
first remove the needle and then pull
down the threader. Push down on the
threader plate close to the threader
shaft to remove it.
2.
To replace it, place the new threader
plate under the threader shaft. Push up
on the threader plate until it snaps into
position. Now, insert a size 12 or 14
needle.
3.
If the tiny hook does not line up with
the needle eye left-to-right, loosen the
screw on the front of the threader plate
with the small #0-2 Phillips screwdriver
# QM10273. Move the threader plate to
the left or right until the hook fits into the
eye. Then tighten the screw.
4.
To adjust the height of the threader
pin, loosen the 1.5mm hexagon screw
in the threader setting block. This is the
smaller of the two blocks. Raise or
lower the block accordingly. Do not
rotate the block left or right when you
make this adjustment or interference
with other components may result.
Tighten the screw.
4
5
Содержание HQ Stitch 710
Страница 1: ...Service Manual 05 29 18 HQ Stitch 710...
Страница 18: ...Oil Put a drop of oil on the following 1 The presser bar at the bottom bushing inside the left hinged cover 15...
Страница 24: ...Oil Put a drop of oil on the following 7 The hook felt under the needle plate and the bobbin case 21...
Страница 92: ...Appendix II Diagnostic Tests 89...

