28
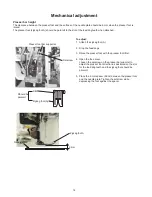
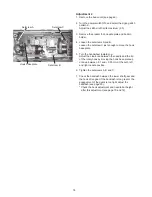
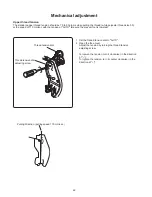
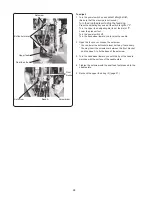
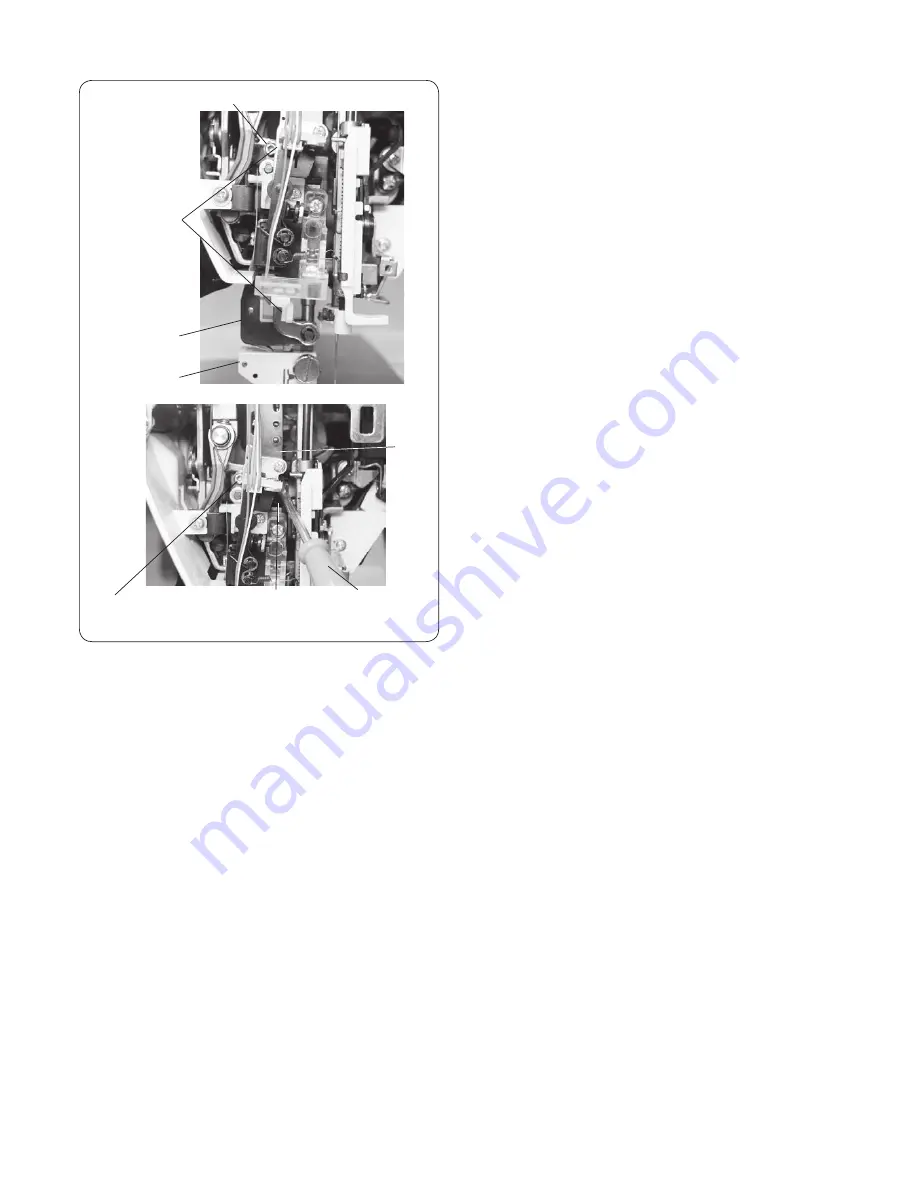
Front
bracket
Setscrew
Upper feed
Setscrew
Base A
Screwdriver
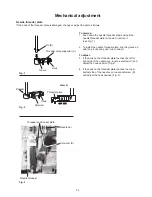
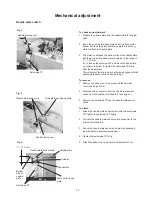
To adjust:
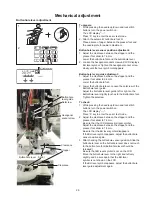
1. Turn the power switch on and
select straigh stitch.
(Be sure that the machine is not locked.)
Turn the drop feed lever to drop the feed dog.
Press the adjusting key and set the stitch length at "0".
Turn the upper feed adjusting dial to set the dial at "0".
Lower the presser foot.
Turn the power switch off.
Turn the handwheel toward you to raise the needle.
2. Open the face cover. Loosen the setscrew.
* You can lower the buttonhole lever half-way if necessary.
* You may insert the screwdriver between the front bracket
and the base A to fix the base of the setscrew.
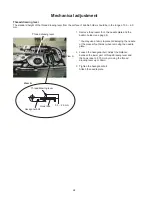
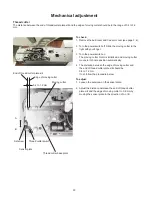
3. Turn the handwheel toward you until the tip of the needle
matches with the surface of the needle plate.
4. Tighten the setscrew with the dual feed foot pressed to the
needle plate.
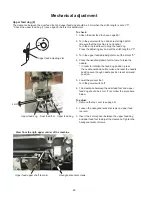
5. Recheck the upper feed dog (3) (page 27).
Dual feed foot
Buttonhole lever
Содержание HQ Stitch 710
Страница 1: ...Service Manual 05 29 18 HQ Stitch 710...
Страница 18: ...Oil Put a drop of oil on the following 1 The presser bar at the bottom bushing inside the left hinged cover 15...
Страница 24: ...Oil Put a drop of oil on the following 7 The hook felt under the needle plate and the bobbin case 21...
Страница 92: ...Appendix II Diagnostic Tests 89...

