32
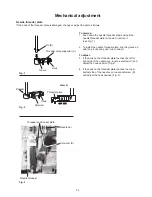
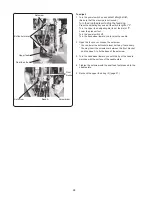
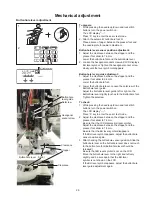
To adjust:
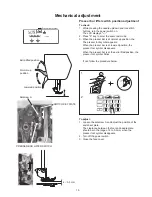
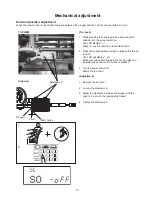
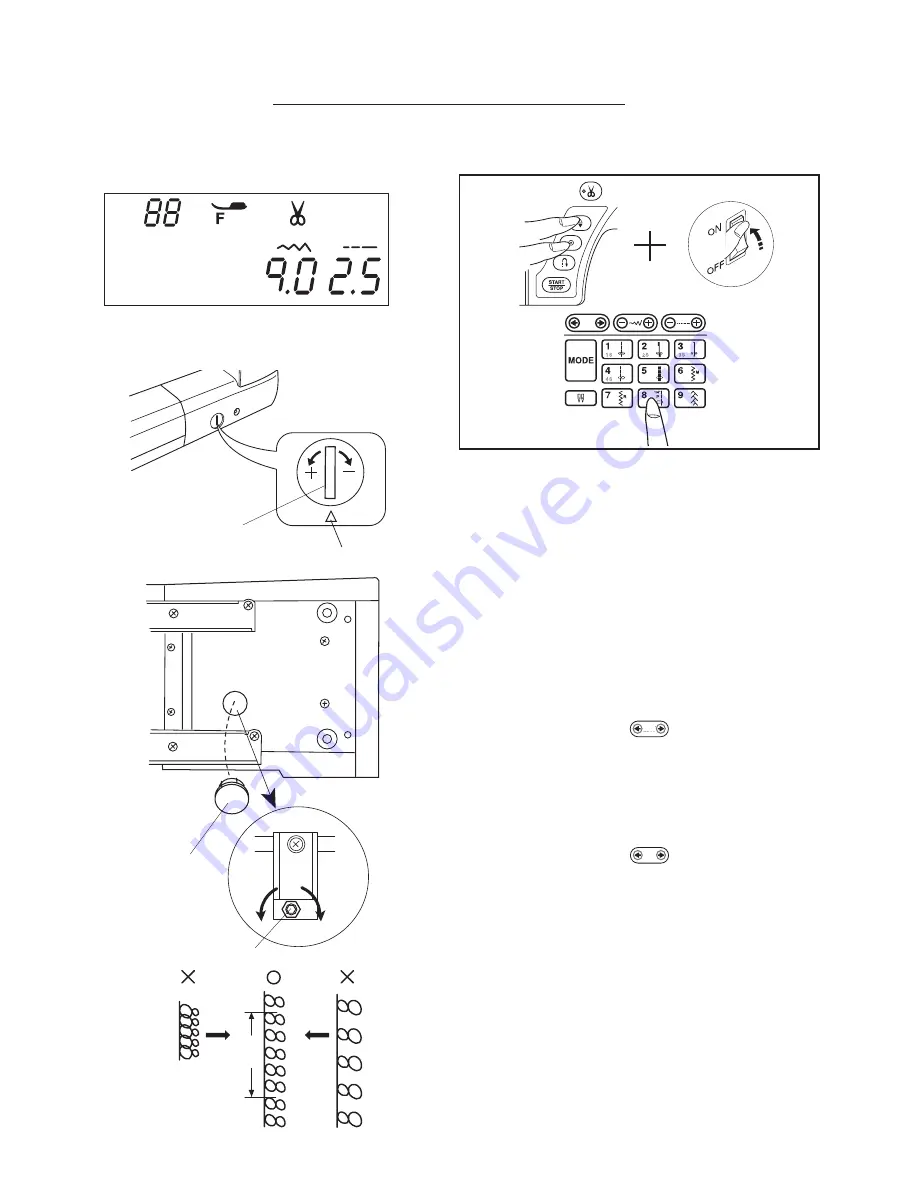
1. While pressing the needle up/down and lock stitch
buttons, turn the power switch on.
The LCD display “----”.
Press “8” key.
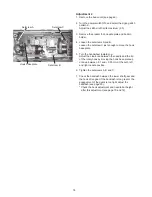
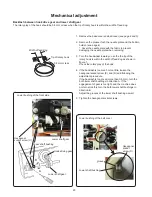
2. Set the stretch stitch balance dial C at the setting
mark D.
3. Sew test patterns and check the measurement of five
of them.
The range of patterns should be in the range of 33 to
39.
4. If not, remove the base lid E.
Press the right arrow of button.
The adjusting screw F comes to the adjusting position.
• Turn the adjusting acrew in the direction of A if the
measurement is more than 39 mm.
• Turn the adjusting screw in the direction of B if the
measurement is less than 33 mm.
5. Press the right arrow of button and sew test
patterns.
Check the measurement of five of them.
6. Turn off the power switch.
7. Attach the base lid E.
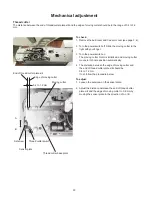
(A)
(B)
33 –
39 mm
(A)
(B)
Stretch stitch
balance dial (C)
Setting mark (D)
Base lid (E)
Adjusting screw (F)
MECHANICAL ADJUSTMENT
Stretch stitch feed balance
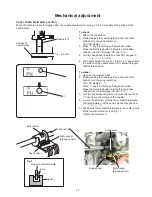
Adjust the stretch stitch balance dial C at the setting mark D.
The measurement of five of test patterns should be in the range of 33 to 39 mm as shown.
1
2
Содержание HQ Stitch 710
Страница 1: ...Service Manual 05 29 18 HQ Stitch 710...
Страница 18: ...Oil Put a drop of oil on the following 1 The presser bar at the bottom bushing inside the left hinged cover 15...
Страница 24: ...Oil Put a drop of oil on the following 7 The hook felt under the needle plate and the bobbin case 21...
Страница 92: ...Appendix II Diagnostic Tests 89...

