31
Mechanical adjustment
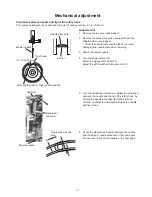
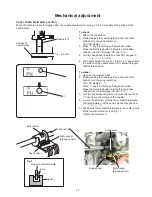
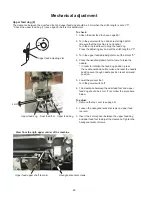
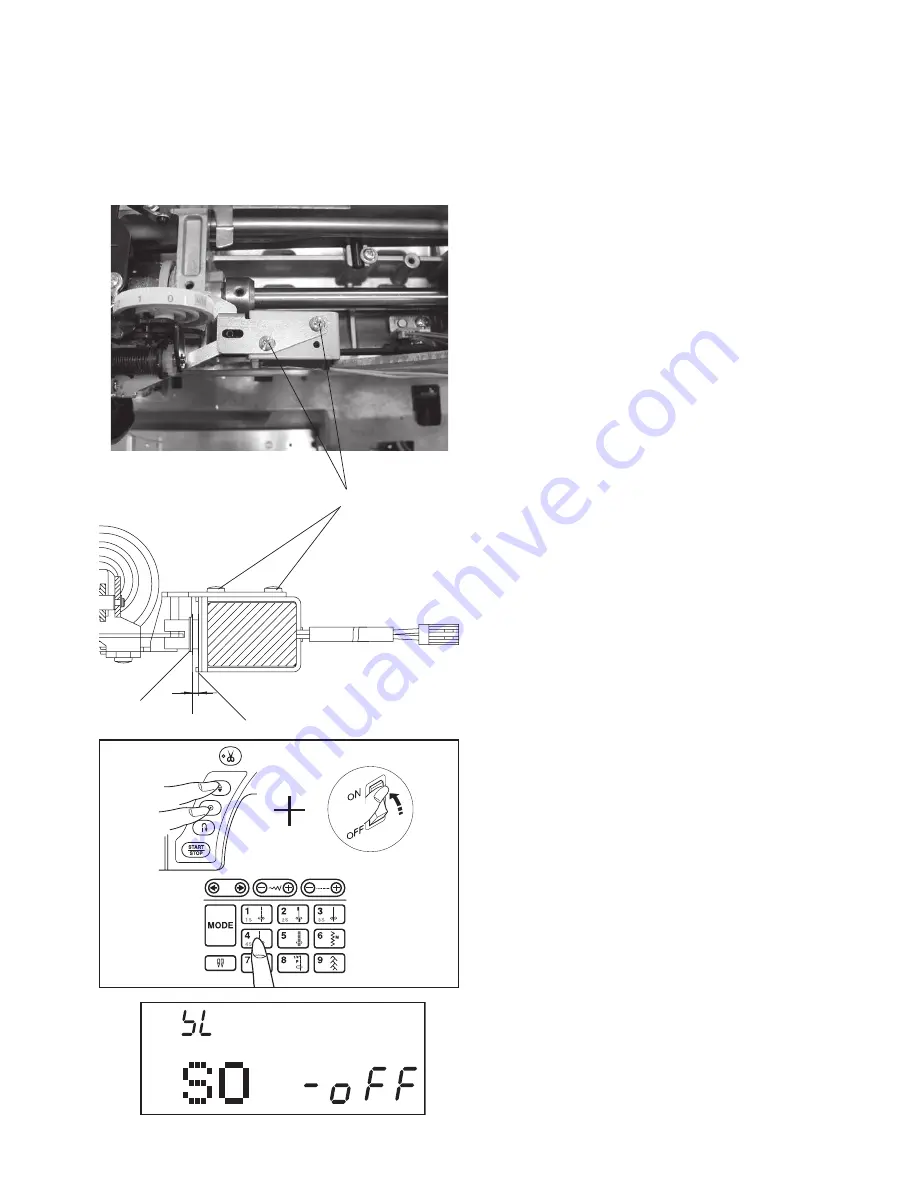
Setscrews
A
2 mm
TOP VIEW
Side view
End of yoke
Plunger
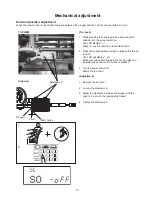
Solenoid position adjustment
When the tension disk is closed, the clearance between the plunger and the end of yoke should be 2.0 mm.
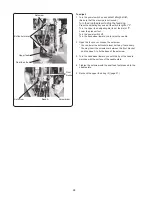
[To check]
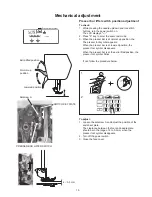
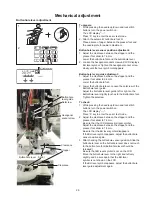
1. While pressing the needle up/down and lock stitch
buttons, turn the power switch on.
The LCD display “----”.
Press “4” key to enter the solenoid test mode.
2. Press the needle up/down button to release the thread
tension.
The LCD will display “--on”.
Make sure the needle thread in the tension disk can
be pulled when the confirm button is pressed.
3. Turn the power switch off.
Attach the top cover.
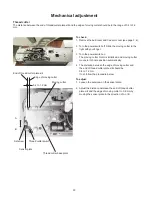
[Adjustment]
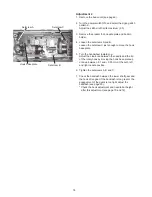
1. Remove the top cover.
2. Loosen the setscrews A.
3. Adjust the clearance between the plunger and the
yoke to 2 mm with the tension disk closed.
4. Tighten the setscrews A.
1
2
Содержание HQ Stitch 710
Страница 1: ...Service Manual 05 29 18 HQ Stitch 710...
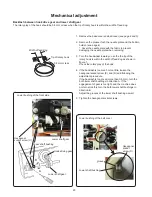
Страница 18: ...Oil Put a drop of oil on the following 1 The presser bar at the bottom bushing inside the left hinged cover 15...
Страница 24: ...Oil Put a drop of oil on the following 7 The hook felt under the needle plate and the bobbin case 21...
Страница 92: ...Appendix II Diagnostic Tests 89...

