Data transfer from keypad to frequency converter
NOTICE
Stop the motor before performing this operation.
To transfer the data from the LCP to the frequency
converter:
1.
Go to
.
2.
Press the [OK] key.
3.
Select
[2] All from keypad
.
4.
Press the [OK] key.
The parameter settings stored in the keypad are now
transferred to the frequency converter indicated by the
progress bar. When 100% is reached, press [OK].
2.1.3 Parameter Set-Up
The frequency converter can be used for practically all
assignments, thus offering a significant number of
parameters. The series offers a choice between 2
programming modes - the
Quick Menu
mode and the
Main
Menu
mode.
The
Main Menu
provides access to all parameters. The
Quick Menu
takes the user through a few parameters
making it possible to program the majority of applications.
Regardless of the programming mode, parameters can be
changed in both
Quick Menu
mode and in
Main Menu
mode.
2.1.4 Quick Menu Mode
Parameter data
The keypad provides access to all parameters listed in the
Quick Menu
. To set parameters pressing [Quick Menu] -
enter or change parameter data or settings in accordance
with the following procedure:
1.
Press Quick Menu key then press Quick Start.
2.
Press [
▲
] or [
▼
] to find the parameter to change.
3.
Press [OK].
4.
Press [
▲
] or [
▼
] to select the correct parameter
setting.
5.
Press [OK].
6.
To move to a different digit within a parameter
setting, use the [
◀
] and [
▶
].
7.
Highlighted area indicates digit selected for
change.
8.
Press [Cancel] to disregard change, or press [OK]
to accept change and enter the new setting.
Example of changing parameter data
Assume F-07 Accel Time 1 is set to 6 s and you want to
change it to 10 s. Use the following procedure:
1.
Press [Quick Menu].
2.
Press [
▼
] to select Quick Start.
3.
Press [OK].
4.
With [
▼
]find par. F-07 Accel Time 1.
5.
Press [OK].
6.
Use the arrow keys to change the 6.00 to 10.00..
7.
Press [OK].
The drive now accelerates to rated speed in 10 s instead of
6 s.
Do the set-up in the order that the parameters are listed!
Select [Parameter Data Check] to obtain information
about:
•
The last 10 changes. Press [
▲
] and [
▼
] to scroll
between the last 10 changed parameters.
•
The changes made since default setting.
Trendings
Loggings show information about the display line
readouts. The information is shown as graphs.
Only display parameters selected in
parameter K-20 Display
Line 1.1 Small
and
parameter K-24 Display Line 3 Large
can
be viewed. Up to 120 samples can be stored in the
memory for later reference.
Efficient parameter set-up for HVAC applications
The parameters can easily be set up for most HVAC
applications only by using the
Quick Set-up
.
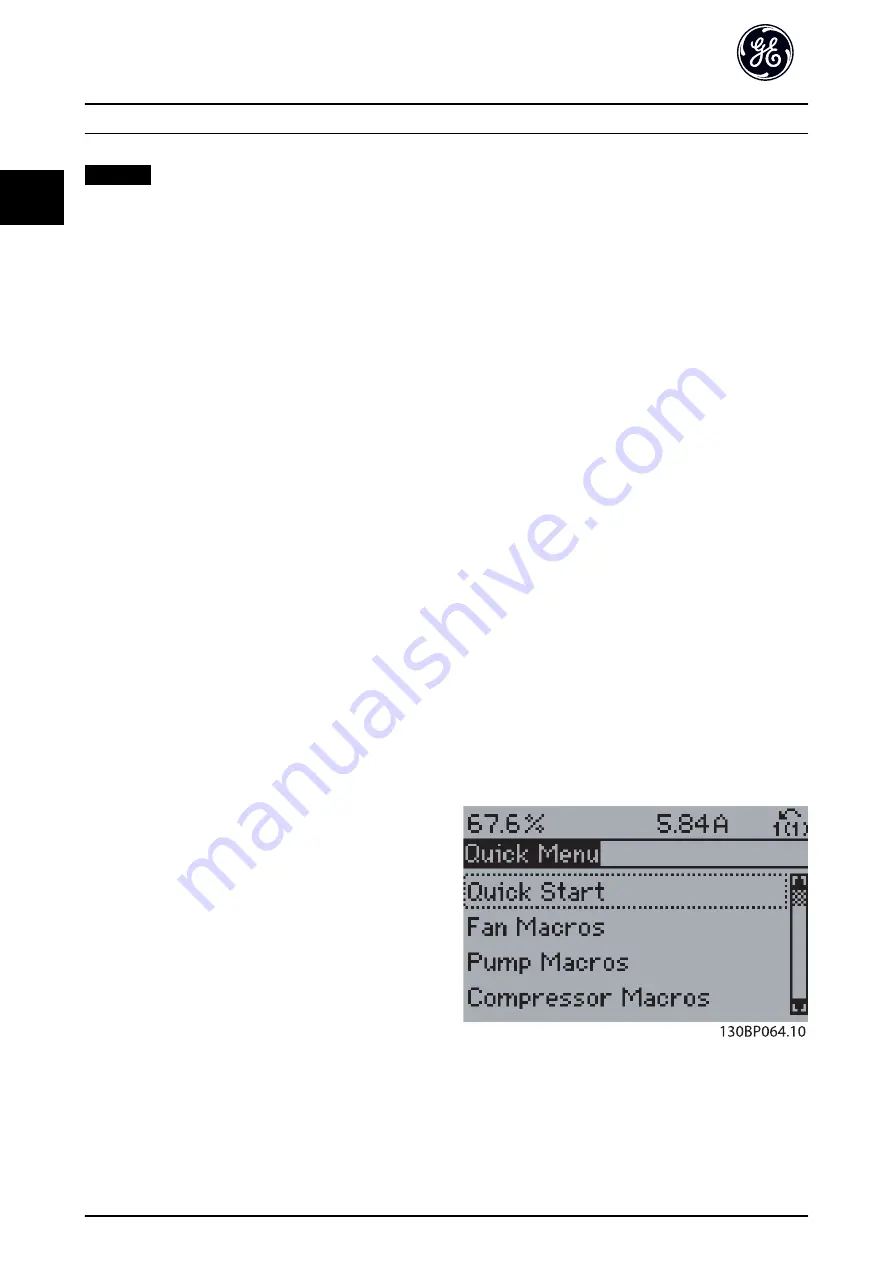
After pressing [Quick Menu], the different options in the
Quick Menu
are listed.
Example of using the Quick Set-up
Illustration 2.14 Quick Menu View
Access the most important set-up parameters of the
frequency converter via
Quick Set-up
. After programming,
the frequency converter is ready for operation. The
Quick
Set-up
How to Program
16
03/2016 All rights reserved.
DET-620D
2
2


