6.5 Sending the Scanned Data by Fax
324
6.5
Sending the Scanned Data by Fax
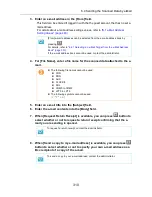
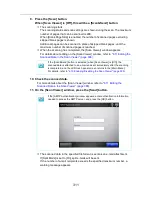
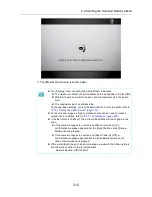
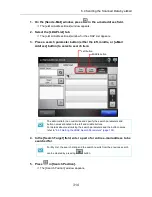
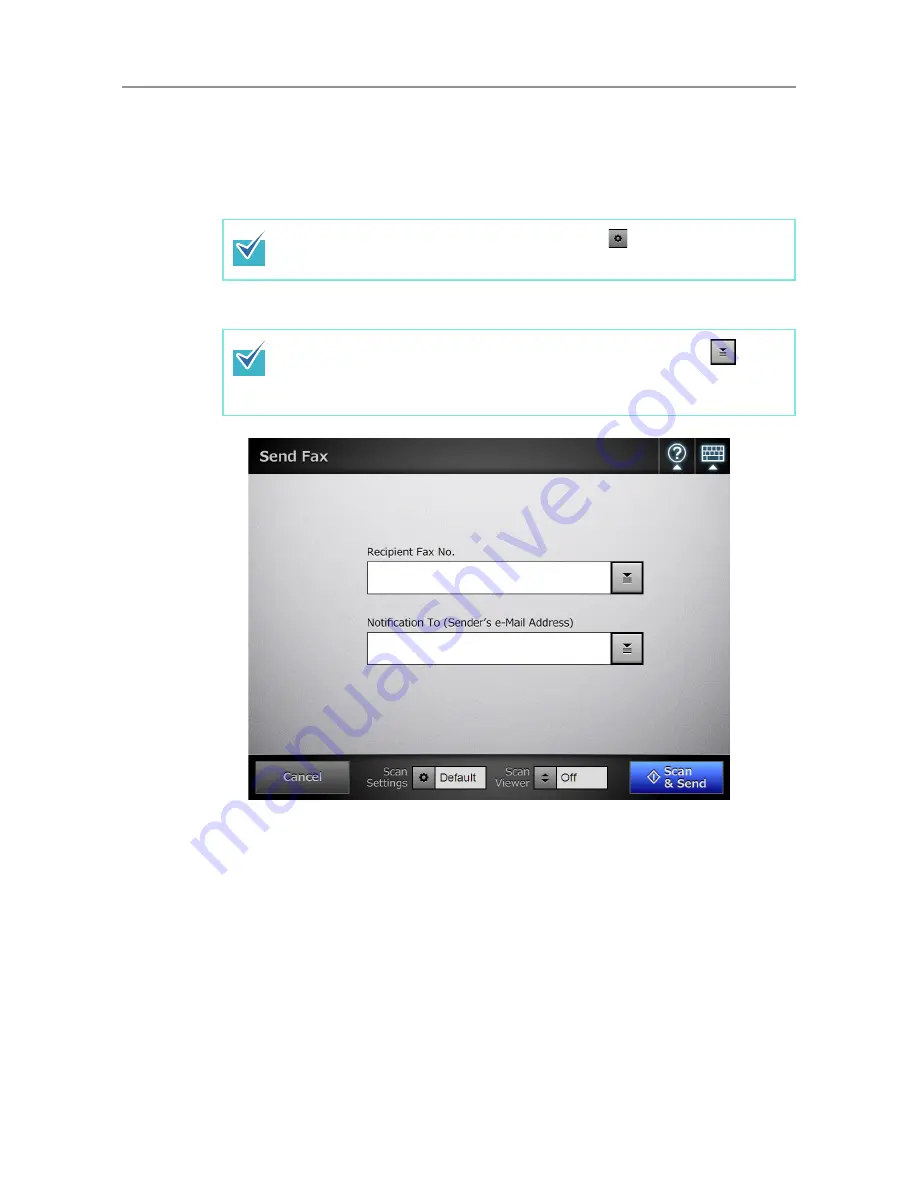
1. On the [Main Menu] window, press the [Fax] button.
D
The [Send Fax] window appears.
2. Enter a fax number into the [Recipient Fax No.] field.
3. In the [Notification To (Sender's e-Mail Address)] field, enter an e-mail
address to which a notification of the results of the fax sending should
be sent.
For details about e-mail address settings values, refer to
"B.1 e-Mail Address
Setting Values" (page 483)
.
The scan information can be changed by pressing
of [Scan Settings]. For
details, refer to
"6.9 Setting the Scan Options" (page 356)
.
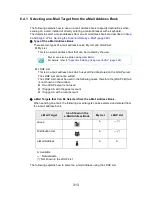
Fax numbers can be selected from the fax number list by pressing
.
For details, refer to
"6.5.1 Selecting a Fax Number from the Fax Number List"
(page 327)
.
Содержание ScanSnap N1800
Страница 1: ...ScanSnap N1800 Network Scanner Operator s Guide P3PC 3182 01ENZ0 ...
Страница 17: ...17 ...
Страница 29: ...29 ...
Страница 55: ...55 ...
Страница 65: ...65 ...
Страница 73: ...73 ...
Страница 271: ...271 7 Press the Back button D The Central Admin Console main window appears again ...
Страница 355: ...355 D The Main Menu window is shown again ...
Страница 379: ...379 4 Enter a password and confirm password 5 Press the OK button D The PDF will be created with password protection ...
Страница 415: ...415 ...
Страница 441: ...441 ...
Страница 481: ...481 ...
Страница 488: ...488 Appendix C Root Certification Authority This appendix provides an explanation of root certification authority ...
Страница 492: ...492 Appendix D Scanner Specifications This appendix gives specifications for the scanner ...
Страница 527: ...527 ...
Страница 528: ...528 Appendix G Glossary ...
Страница 533: ...533 ...
Страница 535: ...535 ...

