4.9 Configuring the LDAP Settings
136
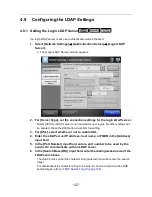
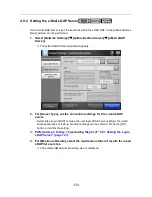
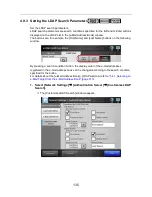
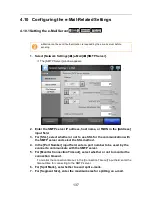
2. Select the search item(s) to set for the left or middle button.
Multiple search items can be selected.
If multiple items are selected, a search operation tries to find entries containing any
of the search words.
3. For [Result Format], specify the format of the LDAP search result.
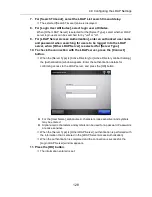
4. Enter the button name in the [Button Name] input field.
The characters input here are displayed on the button name on the [LDAP List] tab
in the [e-Mail Address Book] window.
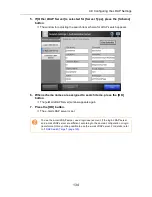
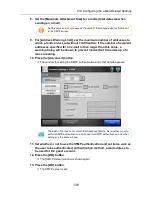
5. Press the [OK] button.
D
The LDAP search parameters are set.
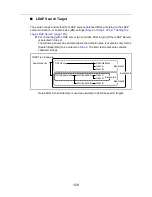
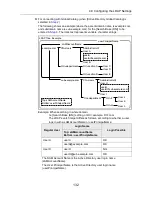
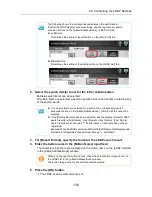
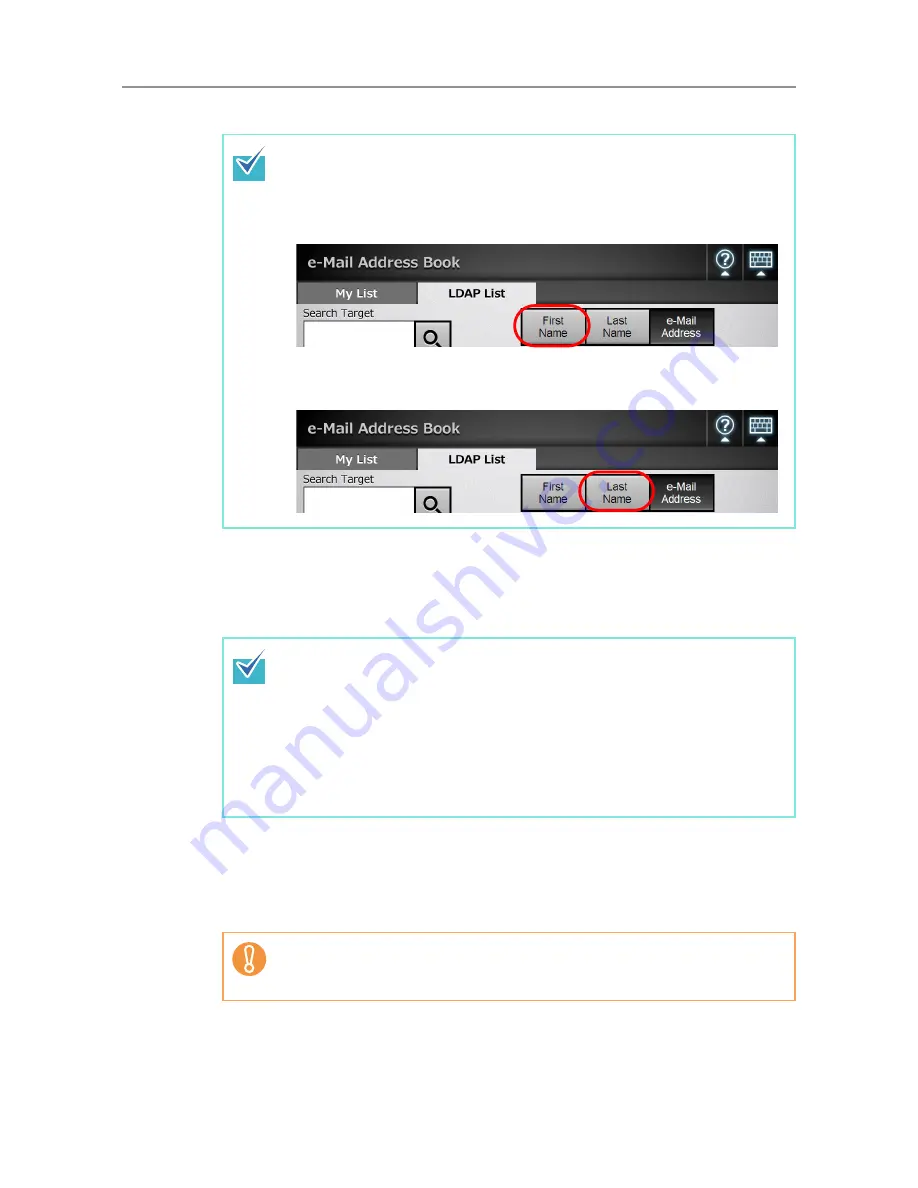
The following shows the correspondence between the administrator
[Customize LDAP Search] window settings, and the regular user search
condition buttons on the [e-Mail Address Book] - [LDAP List] tab.
z
Left Button
Determines the setting of the left button on the [LDAP List] tab.
z
Middle Button
Determines the setting of the middle button on the [LDAP List] tab.
z
If no search items are selected for a button, the corresponding search
parameter button on the [e-Mail Address Book] - [LDAP List] tab cannot be
selected.
z
If the [Display Name] check box is selected, and the display format for LDAP
search results is [First Name] - [Last Name] or [Last Name] - [First Name],
search results are shown as a "-" if a first name or last name has not been
registered.
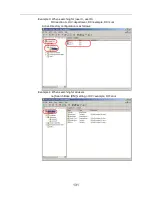
Example: When the LDAP search results format is [First Name] - [Last Name] and a
first name is not registered, the search result shows "----
Last Name
".
When you change the button names, check the actual button image shown on
the LDAP List in the [e-Mail Address Book] window.
The button image may not show all characters entered.
Содержание ScanSnap N1800
Страница 1: ...ScanSnap N1800 Network Scanner Operator s Guide P3PC 3182 01ENZ0 ...
Страница 17: ...17 ...
Страница 29: ...29 ...
Страница 55: ...55 ...
Страница 65: ...65 ...
Страница 73: ...73 ...
Страница 271: ...271 7 Press the Back button D The Central Admin Console main window appears again ...
Страница 355: ...355 D The Main Menu window is shown again ...
Страница 379: ...379 4 Enter a password and confirm password 5 Press the OK button D The PDF will be created with password protection ...
Страница 415: ...415 ...
Страница 441: ...441 ...
Страница 481: ...481 ...
Страница 488: ...488 Appendix C Root Certification Authority This appendix provides an explanation of root certification authority ...
Страница 492: ...492 Appendix D Scanner Specifications This appendix gives specifications for the scanner ...
Страница 527: ...527 ...
Страница 528: ...528 Appendix G Glossary ...
Страница 533: ...533 ...
Страница 535: ...535 ...

