67
Chapter 2 Button & LED
29
30
31
32
33
34
35
36
37
38
39
40
41
42
43
44
45
46
47
48
49
50
51
52
53
54
55
56
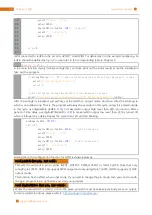
//if changing-state of the button last beyond the time we set, we considered that
//the current button state is an effective change rather than a buffeting
if
(
millis
()
-
lastChangeTime
>
captureTime
){
//if button state is changed ,update the data.
if
(
reading
!=
buttonState
){
buttonState
=
reading
;
//if the state is low ,the action is pressing
if
(
buttonState
==
LOW
){
printf
(
"Button is pressed!\n"
);
ledState
=
!
ledState
;
if
(
ledState
){
printf
(
"turn on LED ...\n"
);
}
else
{
printf
(
"turn off LED ...\n"
);
}
}
//if the state is high ,the action is releasing
else
{
printf
(
"Button is released!\n"
);
}
}
}
digitalWrite
(
ledPin
,
ledState
);
lastbuttonState
=
reading
;
}
return
0
;
}
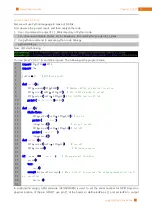
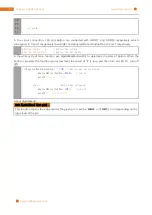
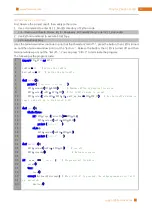
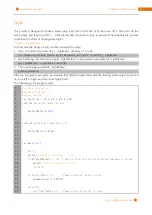
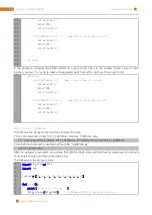
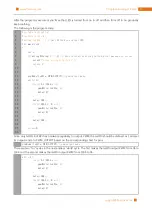
This code focuses on eliminating the buffeting of button. We define several variables to save the state of LED
and button. Then read the button state in while () constantly, and determine whether the state has changed.
If it is, record this time point.
reading
=
digitalRead
(
buttonPin
);
//read the current state of button
if
(
reading
!=
lastbuttonState
){
lastChangeTime
=
millis
();
}
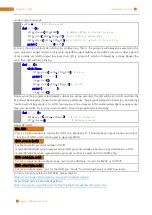
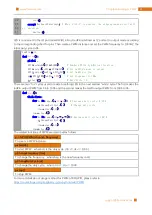
millis()
Returns the number of milliseconds since the Arduino board began running the current program.
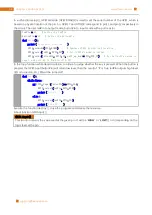
Then according to just recorded time point, judge the duration of the button state change. If the duration
exceeds captureTime (buffeting time) we set, it indicates that the state of the button has changed. During that
time, the while () is still detecting the state of the button, so if there is a change, the time point of change will
be updated. Then duration will be judged again until the duration of there is a stable state exceeds the time
we set.
Содержание Ultimate Starter Kit
Страница 1: ...Free your innovation Freenove is an open source electronics platform www freenove com ...
Страница 116: ...Chapter 9 Potentiometer RGBLED 116 www freenove com support freenove com Circuit Schematic diagram ...
Страница 117: ...117 Chapter 9 Potentiometer RGBLED www freenove com support freenove com Hardware connection ...
Страница 136: ...Chapter 12 Joystick 136 www freenove com support freenove com Circuit Schematic diagram Hardware connection ...
Страница 155: ...155 Chapter 14 Relay Motor www freenove com support freenove com Hardware connection OFF 3 3V ...
Страница 173: ...173 Chapter 16 Stepping Motor www freenove com support freenove com Hardware connection ...
Страница 182: ...Chapter 17 74HC595 LEDBar Graph 182 www freenove com support freenove com Circuit Schematic diagram Hardware connection ...
Страница 197: ...197 Chapter 18 74HC595 7 segment display www freenove com support freenove com Circuit Schematic diagram ...
Страница 198: ...Chapter 18 74HC595 7 segment display 198 www freenove com support freenove com Hardware connection ...
Страница 239: ...239 Chapter 22 Matrix Keypad www freenove com support freenove com Circuit Schematic diagram ...
Страница 240: ...Chapter 22 Matrix Keypad 240 www freenove com support freenove com Hardware connection ...
Страница 270: ...Chapter 26 WebIOPi IOT 270 www freenove com support freenove com Circuit Schematic diagram Hardware connection ...

