225
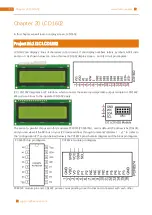
Chapter 20 LCD1602
58
59
60
61
62
63
64
65
66
67
68
69
70
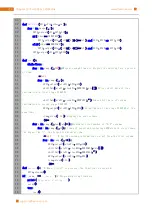
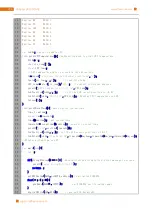
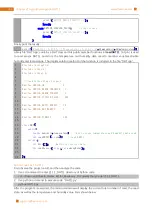
digitalWrite
(
RW
,
LOW
);
// allow writing to LCD
lcdhd
=
lcdInit
(
2
,
16
,
4
,
RS
,
EN
,
D4
,
D5
,
D6
,
D7
,
0
,
0
,
0
,
0
);
// initialize LCD and return “handle”
used to handle LCD
i f
(
lcdhd
= =
-
1
) {
printf
(
"lcdInit failed !"
) ;
r e turn
1
;
}
w h ile
(
1
){
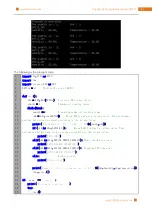
printCPUTemperature
();
// print CPU temperature
printDataTime
();
// print system time
delay
(
1000
);
}
r e turn
0
;
}
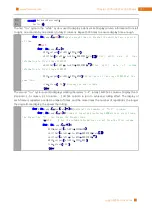
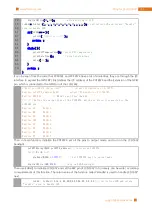
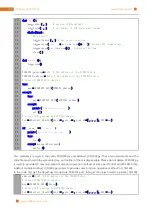
It can be seen from the code that PCF8591 and PCF8574 have a lot of similarities, they are through the I2C
interface to expand the GPIO RPI. First defines the I2C address of the PCF8574 and the Extension of the GPIO
pin, which is connected to the GPIO pin of the LCD1602.
//#define pcf8574_address 0x27 // default I2C address of Pcf8574
#define pcf8574_address 0x3F // default I2C address of Pcf8574A
#define BASE 64
// BASE is not less than 64
//////// Define the output pins of the PCF8574, which are directly connected to the
LCD1602 pin.
#define RS BASE+0
#define RW BASE+1
#define EN BASE+2
#define LED BASE+3
#define D4 BASE+4
#define D5 BASE+5
#define D6 BASE+6
#define D7 BASE+7
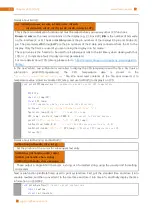
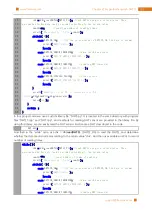
Then, in main function, initialize the PCF8574, set all the pins to output mode, and turn on the LCD1602
backlight.
pcf8574Setup
(
BASE
,
pcf8574_address
);// initialize PCF8574
for
(
i
=
0
;
i
<
8
;
i
++){
pinMode
(
BASE
+
i
,
OUTPUT
);
// set PCF8574 port to output mode
}
digitalWrite
(
LED
,
HIGH
);
// turn on LCD backlight
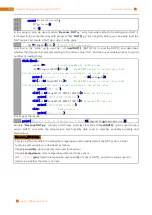
Then use lcdInit() to initialize LCD1602 and set the RW pin of LCD1602 to 0 (namely, can be write ) according
to requirements of this function. The return value of the function called "Handle" is used to handle LCD1602"
next.
lcdhd
=
lcdInit
(
2
,
16
,
4
,
RS
,
EN
,
D4
,
D5
,
D6
,
D7
,
0
,
0
,
0
,
0
);// initialize LCD and return
“
handle
” used to handle LCD
Содержание Ultimate Starter Kit
Страница 1: ...Free your innovation Freenove is an open source electronics platform www freenove com ...
Страница 116: ...Chapter 9 Potentiometer RGBLED 116 www freenove com support freenove com Circuit Schematic diagram ...
Страница 117: ...117 Chapter 9 Potentiometer RGBLED www freenove com support freenove com Hardware connection ...
Страница 136: ...Chapter 12 Joystick 136 www freenove com support freenove com Circuit Schematic diagram Hardware connection ...
Страница 155: ...155 Chapter 14 Relay Motor www freenove com support freenove com Hardware connection OFF 3 3V ...
Страница 173: ...173 Chapter 16 Stepping Motor www freenove com support freenove com Hardware connection ...
Страница 182: ...Chapter 17 74HC595 LEDBar Graph 182 www freenove com support freenove com Circuit Schematic diagram Hardware connection ...
Страница 197: ...197 Chapter 18 74HC595 7 segment display www freenove com support freenove com Circuit Schematic diagram ...
Страница 198: ...Chapter 18 74HC595 7 segment display 198 www freenove com support freenove com Hardware connection ...
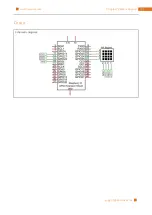
Страница 239: ...239 Chapter 22 Matrix Keypad www freenove com support freenove com Circuit Schematic diagram ...
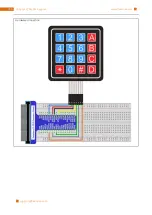
Страница 240: ...Chapter 22 Matrix Keypad 240 www freenove com support freenove com Hardware connection ...
Страница 270: ...Chapter 26 WebIOPi IOT 270 www freenove com support freenove com Circuit Schematic diagram Hardware connection ...

