225
2.2.9
Screen Capture
The R8100 can save display screen content in *.jpg (JPEG) file format to an attached USB flash memory
drive. Screen captures are performed using a front panel key sequence. The R8100 can save the entire
display screen or the content of individual Operating Zones. Each screen capture is initiated by first
pressing the “Shift” key, then a key corresponding to the display area being saved. File names are
correlated to the display area being saved but are appended with a date timestamp in the form of
yyyymmdd_hhmmss
. The key combinations are as follows:
Display area
saved
Key sequence
File name
Main
Shift + 0
R8100yyyymmdd_hhmmss.jpg
RF Zone
Shift + 1
RFZoneyyyymmdd_hhmmss.jpg
Audio Zone
Shift + 2
Audioyyyymmdd_hhmmss.jpg
Display Zone
Shift + 4 or 5
Displayyyyymmdd_hhmmss.jpg
Meter Zone
Shift + 7 or 8
Meteryyyymmdd_hhmmss.jpg
The flash drive can be inserted in any available USB slot on the R8100. Most flash drives have an activity
light that flashes momentarily as the R8100 acknowledges the drive. Once the activity light stops flashing
the drive is ready to accept screen captures.
Note:
There is always a risk that pre-existing files can be
erased or corrupted. So it is highly recommended that the flash drive has no other critical files stored on
the device. The R8100 will display a message before allowing files to be written to the USB flash drive.
Once a screen capture is initiated the R8100 displays a warning about potential corruption of existing files
on the flash drive – the message appears once per operating session. The user is given the option of
proceeding by pressing Enter, or hitting the Esc key to cancel the action. For best assurance of file integrity
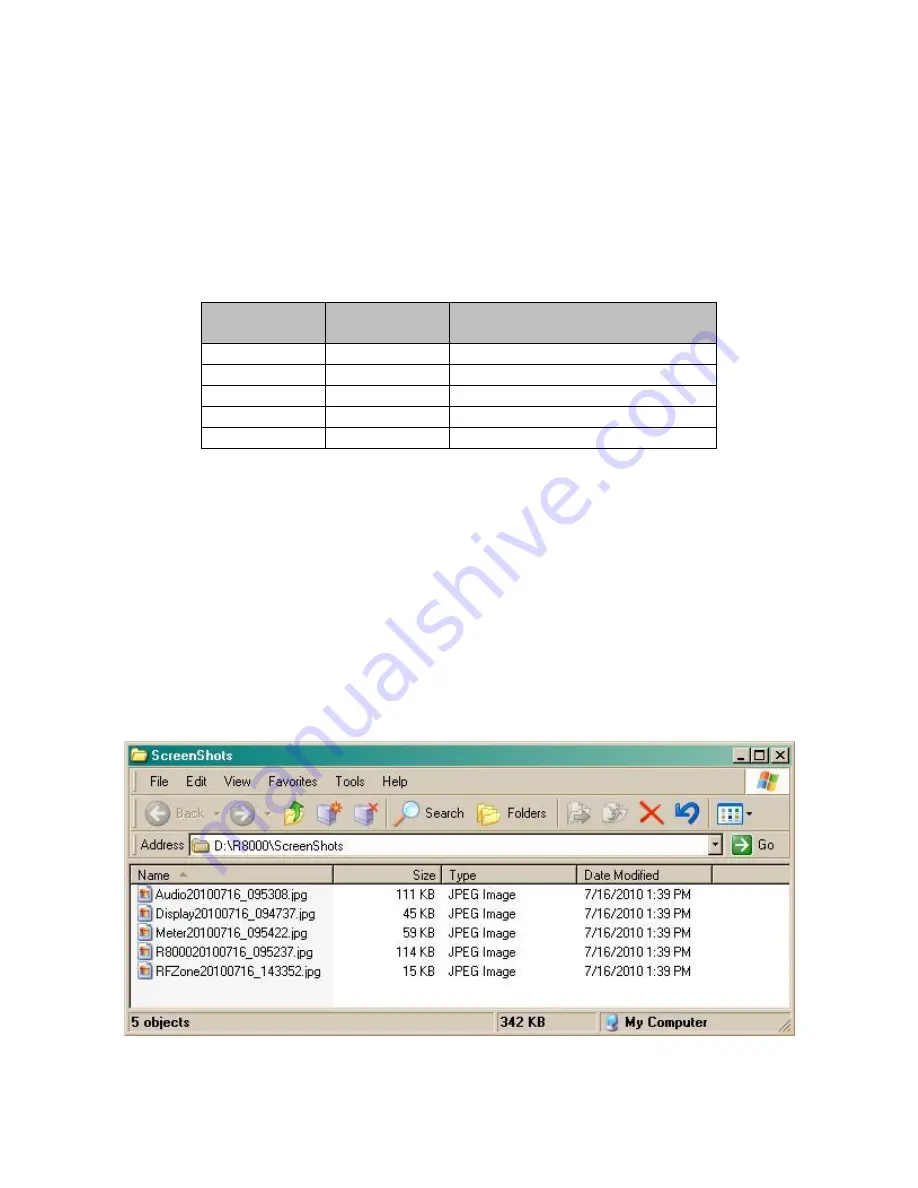
a waiting period of 30 seconds is recommended before removing the flash drive. Files are saved in folder
location \R8100\ScreenShots\ created on the root directory of the flash drive - see Figure 3.10.-1.
Figure 3.2.10-1 File folder location and names for R8100 Screen Captures
Содержание R8100 SERIES
Страница 19: ...19 Figure 2 1 2 Left and Right Sides of the R8100...
Страница 164: ...164 Figure 2 2 7 7 5 Power Profile Frame with Markers...
Страница 224: ...224 Figure 3 2 9 6 1 Submenu after pressing Options soft key in the Settings menu...
Страница 243: ...243 PTC Test in Monitor Mode Eye Diagram Display...
Страница 244: ...244 Power Profile Display Linear and Circular Constellation Displays...
Страница 245: ...245 Symbol Distribution Plot...


