Operating manual (MC).
CNC 8060
CNC 8065
O
PERATING
IN JO
G MODE
2.
T
ool
cal
ibratio
n
·49·
(R
EF
: 1709)
2.7.2
Semi-automatic calibration. Calibration with a probe
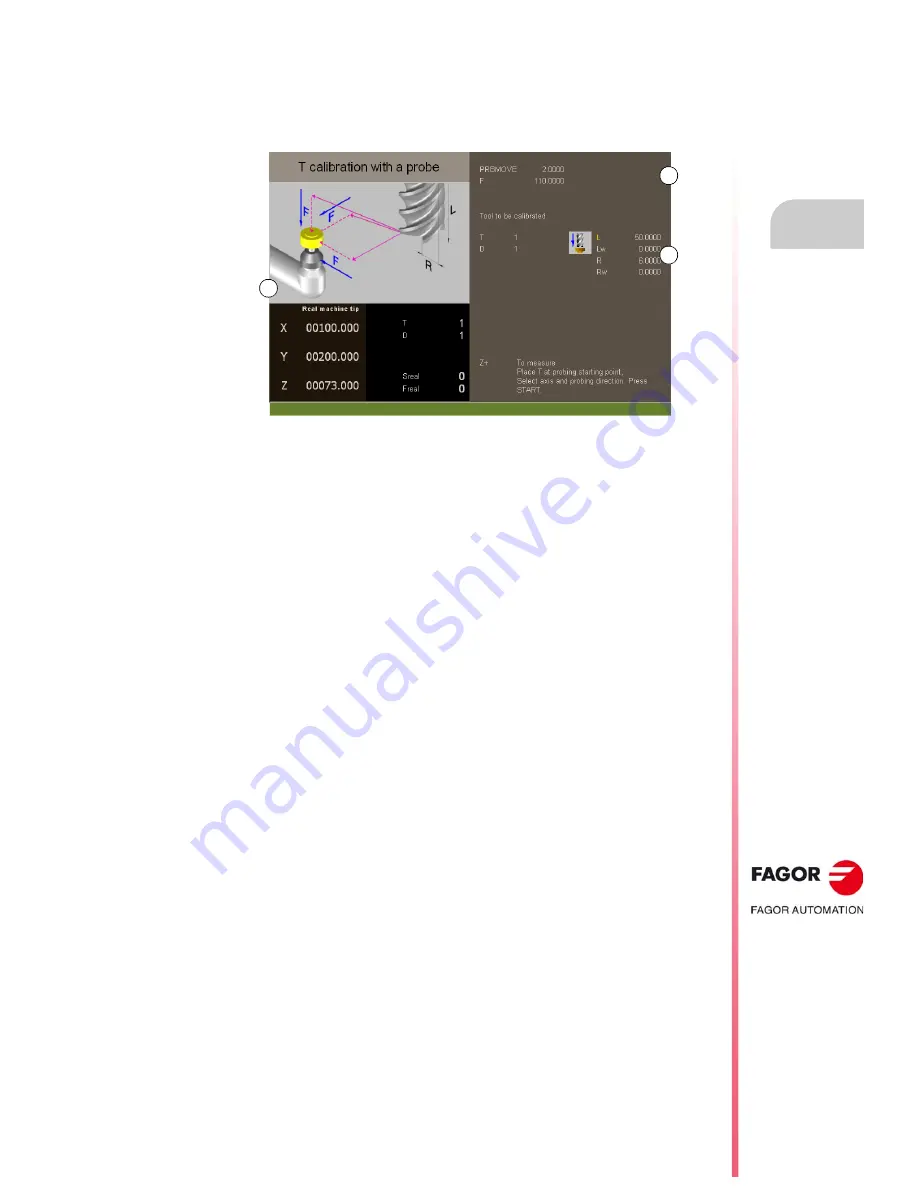
This option is only available when using a tabletop probe installed on the machine. On a
milling model, it may be used to calibrate the length and radius of the milling tools and the
offsets of the lathe tools.
A
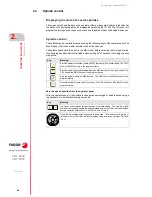
Machine data. Position of the axes, tool and active tool offset, real spindle speed and
real feedrate of the axes.
B
Data of probing movement.
C
Necessary data for calibration.
The tool must be in the spindle. After the calibration, the wear is reset to zero.
When changing the tool data, the tool table data is updated after calibration.
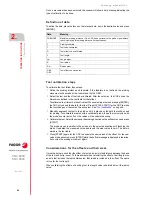
Tool calibration
The calibration consists in manually approaching the tool to the probe and then command
the CNC to execute the probing movement. The CNC will move the tool on the selected axis
until touching the probe. After touching the probe, it concludes the calibration on that axis
and updates the values.
Selecting a tool
The tool and the active tool offset may be changed from the calibration mode. After defining
the new tool or tool offset in the cycle data, press [CYCLE START] and the CNC will execute
the tool change.
Bear in mind that in this calibration mode, the [CYCLE START] key has two functions. If a
new tool has been selected, it executes the tool change. If the selected tool is the active one,
pressing [CYCLE START] initiates the calibration.
Tool calibration
On milling tools, it calibrates the radius and length of the tool. After calibrating one of the two
dimensions, its wear value is reset to zero.
For the lathe tools, it calibrates the tool offsets on each axis. The offset wears are set to zero.
Validating the calibration
Use the horizontal softkey menu to select the axis and the moving direction for the calibration.
Once selected and after placing the tool in the spindle, press [CYCLE START] to start the
calibration. The tool will move in the indicated direction until touching the probe and it will
then conclude the calibration updating the tool data with the measured values.
Once the tool has been calibrated, the CNC shows a message proposing to press [START]
so the CNC assumes the new values of the offset. When pressing [START] while this
message is displayed, the CNC assumes the new values of the offset; if the message is not
displayed, pressing [START] executes the probing movement again.
B
A
C
Содержание CNC 8060
Страница 1: ...Ref 1709 8060 8065 CNC Operating manual MC...
Страница 8: ...BLANK PAGE 8...
Страница 14: ...BLANK PAGE 14...
Страница 16: ...BLANK PAGE 16...
Страница 18: ...BLANK PAGE 18...
Страница 22: ...BLANK PAGE 22...
Страница 24: ...BLANK PAGE 24...
Страница 26: ...BLANK PAGE 26...
Страница 28: ...Operating manual MC CNC 8060 CNC 8065 1 GENERAL CONCEPTS Accessing the conversational mode 28 REF 1709...
Страница 169: ...Operating manual MC CNC 8060 CNC 8065 169 User notes REF 1709...
Страница 170: ...Operating manual MC CNC 8060 CNC 8065 170 User notes REF 1709...
Страница 171: ...Operating manual MC CNC 8060 CNC 8065 171 User notes REF 1709...


