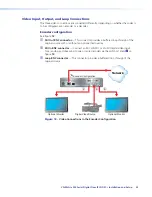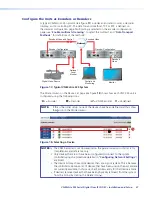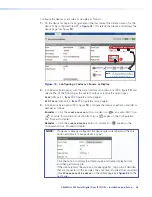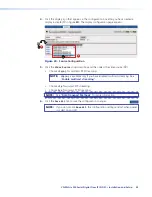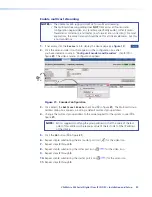
6.
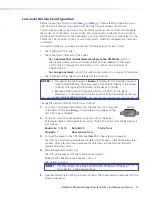
Type the default password
config
and press <Enter>. The connected unit downloads
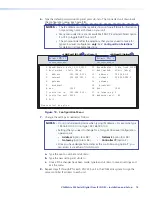
the configuration menu (see figure
10
).
NOTES:
•
The IP addresses and other variable shown in figure
10
are for illustration
only and may not match those on your unit.
•
Many menu selections are not available if DHCP is selected. Select option
1
or
11
to toggle DHCP on and off.
•
This procedure identifies the selections that you may need to make for
typical low level configuration
only
. See “
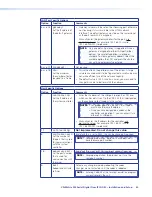
Configuration Selections
“
for details on all available selections.
Network Port 1 Network Port 2
============== ==============
0. Speed/Duplex: auto_10_100_1000 10. Speed/Duplex: fibre_fixed_1000F
1. Boot method: static [dhcp] 11. Boot method: static [dhcp]
2. address: 192.168.0.104 12. address: 192.168.1.2
3. netmask: 255.255.255.0 13. netmask: 255.255.255.0
4. gateway: 14. gateway:
5. broadcast: 15. broadcast:
6. mtu: 1500 16. mtu: 1500
7. controller ip: 192.168.0.101 17. ip forwarding: 0
8. controller port: 5432 18. webserver port: 80
9. Exit
Please select an option:
LAN Port 1 (RJ-45, , on
figure 2
)
LAN port 2 (Optical, )
4
5
Figure 10.
Configuration Menu
7.
Change the settings as needed as follows:
NOTES:
•
Do not include leading zeros when typing IP addresses. For example, type
192.168.0.104; do not type 192.168.000.104.
•
Settings that you need to change for a for typical low level configuration
operation are:
•
Address
(option
2
or
12
)
•
Netmask
(option
3
or
13
)
•
Gateway
(option
4
or
14
)
•
Controller IP
(option
7
)
•
Once you have designated a codec as the controller using option
7
, you
can access it via either of its LAN ports.
a.
Type the option number and <Enter>.
b.
Type the new setting and <Enter>.
c.
Once all the changes have been made, type
9
and <Enter> to save all settings and
exit the menu.
8.
Repeat steps
1
through
7
for each VNC 325 unit in the VN-Matrix system. Assign the
same controller IP address to each unit.
VN-Matrix 325 Serial Digital Over IP CODEC • Installation and Setup
18

