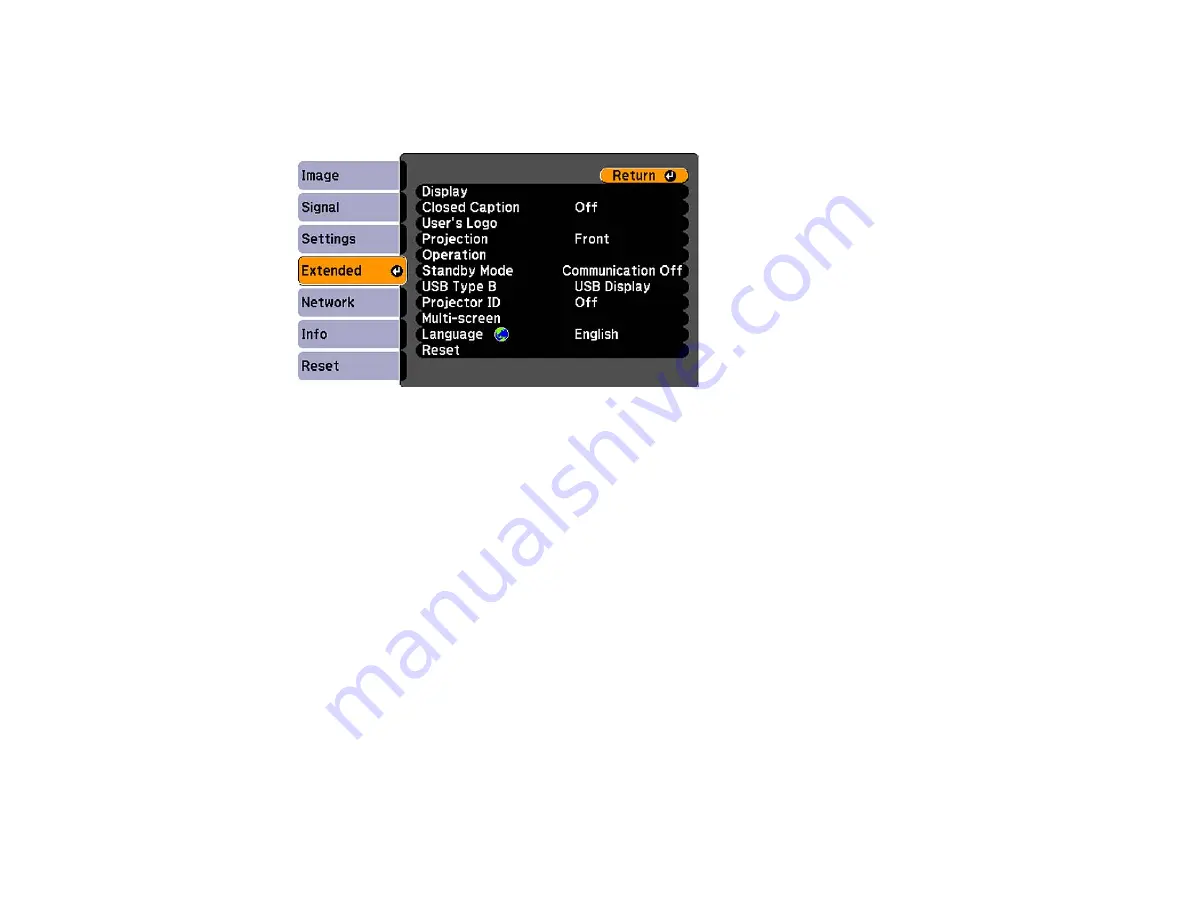
1.
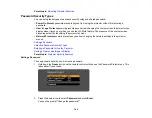
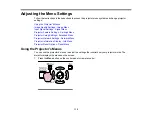
Display the image you want to project as the User's Logo from a connected computer or video
source.
2.
Press the
Menu
button, select the
Extended
menu, and press
Enter
.
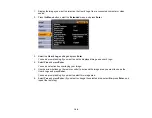
3.
Select the
User's Logo
setting and press
Enter
.
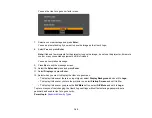
You see a prompt asking if you want to use the displayed image as a user's logo.
4.
Select
Yes
and press
Enter
.
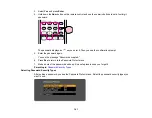
You see a selection box overlaying your image.
5.
Use the arrow buttons on the remote control to surround the image area you want to use as the
User's Logo and press
Enter
.
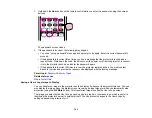
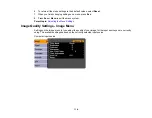
You see a prompt asking if you want to select this image area.
6.
Select
Yes
and press
Enter
. (If you want to change the selected area, select
No
, press
Enter
, and
repeat the last step.)
104
Содержание PowerLite 1830
Страница 1: ...PowerLite 1830 1915 1925W Projector User s Guide ...
Страница 2: ......
Страница 8: ......
Страница 21: ...Projector Parts Remote Control 1 Power button 2 Computer button cycles through connected computer sources 21 ...
Страница 24: ...Front Rear Ceiling 24 ...
Страница 47: ...1 Open the battery cover as shown 2 Insert the batteries with the and ends facing as shown 47 ...
Страница 52: ...5 Select the Basic menu and press Enter PowerLite 1830 PowerLite 1915 1925W 52 ...
Страница 56: ...2 Insert the wireless LAN module into the port 3 Replace the cover 56 ...
Страница 80: ...2 Press a keystone button on the projector s control panel PowerLite 1830 PowerLite 1915 1925W 80 ...
Страница 117: ...Component video input source Composite video input source 117 ...
Страница 134: ...2 Open the air filter cover 134 ...


