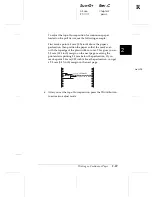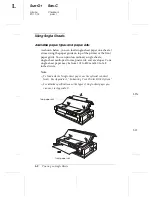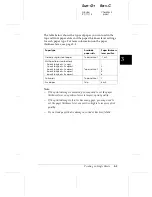
To use the front push tractor with the pull tractor, you need to
purchase the optional pull tractor (C80032
@
). The tractor in the
rear push position cannot be removed. Install the optional pull
tractor as described in “Installing the tractor in the pull
position” on page 2-23.
To use the rear push tractor with the pull tractor, you can
remove the tractor from the front push position as described on
page 2-16, and install it in the pull position as described on
page 2-23.
Note:
The tractor in the rear push position cannot be removed.
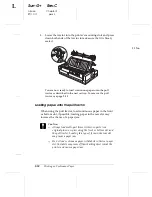
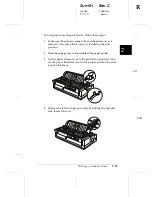
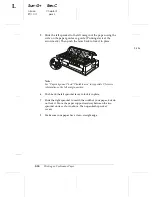
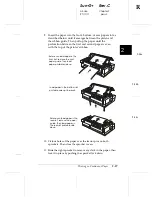
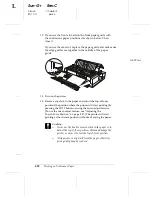
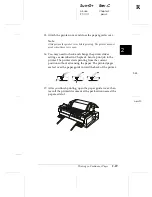
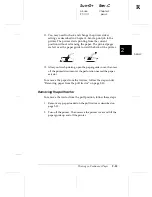
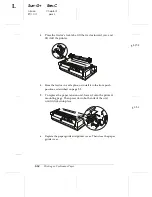
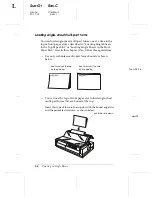
To load paper onto two tractors, follow these steps:
1.
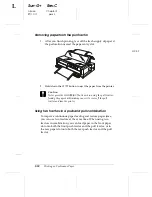
Remove the printer cover and paper guide.
2.
Make sure one tractor is in the front or rear push position and
one tractor is in the pull position. Set the paper release lever to
either the front push or rear push tractor position, depending
on which push tractor you are using. Also, set the paper
thickness lever to the proper position for your paper’s
thickness.
3.
Load paper onto the front or rear push tractor as described
earlier in this chapter.
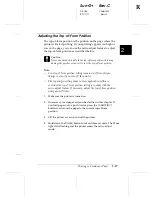
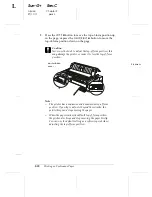
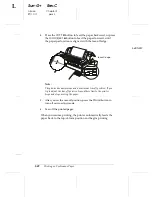
4.
Turn on the printer. Press the
Load/Eject
button to advance
the paper to the top-of-form position. Then press the
LF/FF
button until the perforation between the first and second
pages is even with the top of the printer’s ribbon.
c
Caution:
Never use the knob to move the paper; this may damage the
printer or cause it to lose the top-of-form position.
2
R
Sun-G+
Rev.C
A5 size
Chapter 2
97/11/17
pass 3
Printing on Continuous Paper
2-31


