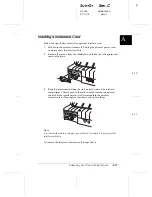
Installing an Interface Card
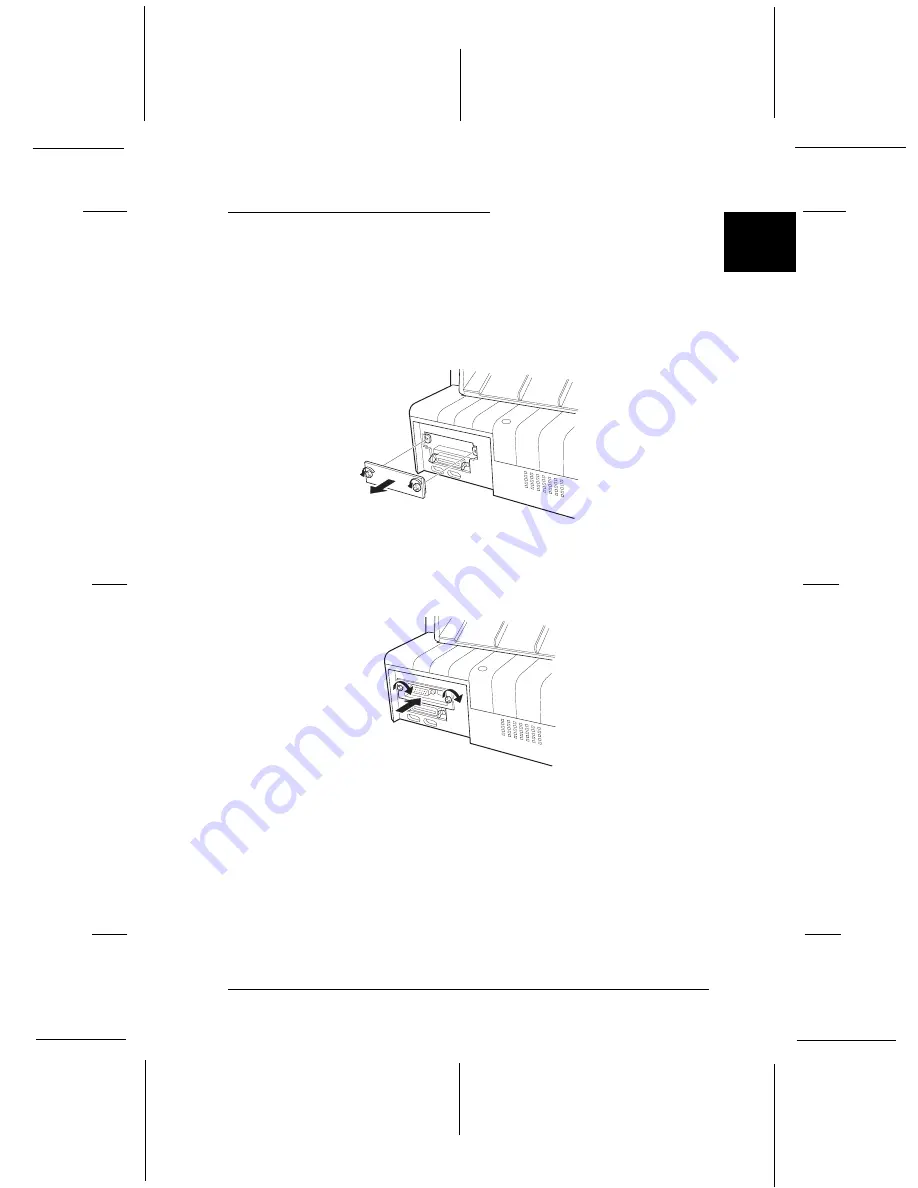
Follow the steps below to install an optional interface card.
1.
Make sure the printer is turned off. Unplug the printer’s power cord
and disconnect the interface cable.
2.
Remove the screws from the shield plate on the back of the printer and
remove the plate.
3.
Slide the interface card along the slots on both sides of the interface
compartment. Firmly push in the card to make sure the connector at
the back of the interface card is fully inserted into the printer’s
internal socket. Then replace the screws and tighten them.
Note:
Store the shield plate in a safe place; you will need to reattach it if you remove the
interface card later.
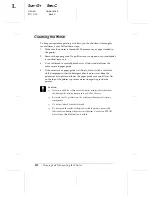
To remove the interface card, reverse the steps above.
4-10
4-11
A
R
Sun-G+
Rev.C
A5 size
Appendix A
97/11/14
pass 1
Enhancing Your Printer With Options
A-17

