81
Section 7: Quick Start & Easy
Setup
In This Section
Artwork Setup
Job Setup
Artwork Setup
Create your job in the graphics software of your choice, (for example –
CorelDraw). There are three different modes of operation for the laser and the
way you setup your artwork will determine if you raster engrave or vector cut.
Raster engraving
can best be described as very high resolution dot matrix
"printing" with a laser. Raster engraving is used to create highly detailed graphic
images. The laser head scans back and forth, left to right, engraving a series of
dots one line at a time. As the laser head moves down line by line, the dot pattern
forms the image that was printed from your computer. You can raster engrave
scanned images, text, clipart, photographs, or line drawings. Use your
imagination and creativity.
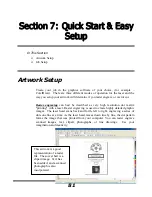
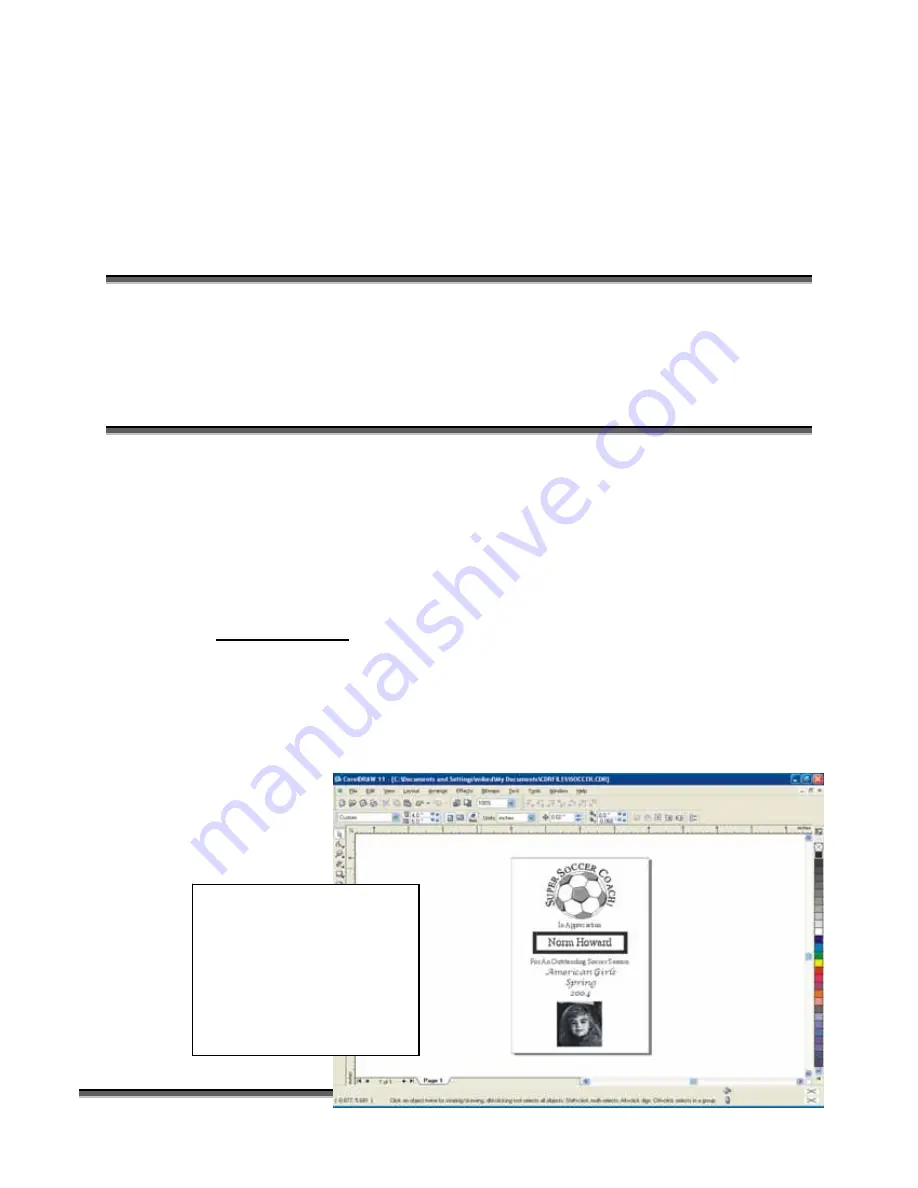
This artwork is a good
representation of a raster
file. The soccer ball is a
clipart image. Text has
been added, and a scanned
photograph is also
incorporated.
Содержание Fusion 13000
Страница 2: ...ii THIS PAGE WAS INTENTIONALLY LEFT BLANK ...
Страница 4: ...Contents at a Glance iv THIS PAGE WAS INTENTIONALLY LEFT BLANK ...
Страница 8: ...Table of Contents viii INDEX 195 THIS PAGE WAS INTENTIONALLY LEFT BLANK ...
Страница 10: ...Fire Warning x SEE PREVIOUS PAGE ...
Страница 14: ...Introduction xiv THIS PAGE WAS INTENTIONALLY LEFT BLANK ...
Страница 15: ...1 Manual Epilog Laser Setup ...
Страница 16: ...2 THIS PAGE WAS INTENTIONALLY LEFT BLANK ...
Страница 26: ...Section 1 Safety 10 ...
Страница 27: ...Section 1 Safety 11 ...
Страница 28: ...Section 1 Safety 12 THIS PAGE WAS INTENTIONALLY LEFT BLANK ...
Страница 41: ...Section 3 Getting Started 11 THIS PAGE WAS INTENTIONALLY LEFT BLANK ...
Страница 44: ...Section 4 Installing the ECC 14 ...
Страница 51: ...Section 4 Installing the ECC 21 THIS PAGE WAS INTENTIONALLY LEFT BLANK ...
Страница 57: ...Section 5 Installing the Epilog Dashboard Print Driver 27 8 Click on Change Settings 9 Click on the Driver tab ...
Страница 58: ...Section 5 Installing the Epilog Dashboard Print Driver 28 10 Click on Update Driver ...
Страница 68: ...Section 5 Installing the Epilog Dashboard Print Driver 38 Click on Add Local Printer ...
Страница 76: ...Section 5 Installing the Epilog Dashboard Print Driver 46 THIS PAGE WAS INTENTIONALLY LEFT BLANK ...
Страница 108: ...Section 6 Using the Epilog Dashboard 78 THIS PAGE WAS INTENTIONALLY LEFT BLANK ...
Страница 109: ...79 Manual Basic Operations ...
Страница 110: ...80 THIS PAGE WAS INTENTIONALLY LEFT BLANK ...
Страница 130: ...Section 8 Using the Front Control Panel 100 THIS PAGE WAS INTENTIONALLY LEFT BLANK ...
Страница 136: ...Section 9 Using the ECC Epilog Control Center 106 THIS PAGE WAS INTENTIONALLY LEFT BLANK ...
Страница 148: ...Section 10 Standard Optional Machine Features 118 ...
Страница 152: ...Section 11 Engraving Machine Cleaning 122 Crash Bar and locating pins ...
Страница 160: ...Section 11 Engraving Machine Cleaning 130 ...
Страница 184: ...Section 13 Material Engraving Techniques 154 THIS PAGE WAS INTENTIONALLY LEFT BLANK ...
Страница 191: ...161 Manual Technical Support Troubleshooting and Specifications ...
Страница 192: ...162 THIS PAGE WAS INTENTIONALLY LEFT BLANK ...
Страница 194: ...Section 15 In Case of Difficulty 164 THIS PAGE WAS INTENTIONALLY LEFT BLANK ...
Страница 200: ...Section 16 Specifications 170 THIS PAGE WAS INTENTIONALLY LEFT BLANK ...
Страница 208: ...APPENDIX A 178 THIS PAGE WAS INTENTIONALLY LEFT BLANK ...
Страница 214: ...Appendix C Additional Dashboard Instructions 184 Click on Network and Sharing Center Click on Change adapter settings ...
Страница 218: ...Appendix C Additional Dashboard Instructions 188 ...


