60
Phone:(910) 392
‐
2490
Fax: (910) 392
‐
2123
416 Landmark Drive
Wilmington, NC 28412
www.easterninstruments.com
Step 3:
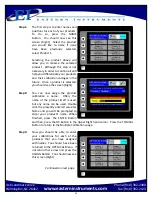
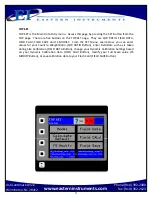
Enter the IP Address for your HMI by double clicking on the Address sec on. To
switch between numbers and le ers, press the SYMBOL Bu on that is located next
to the IP Address display.
*Please note that pressing the PREVIOUS and NEXT Arrow Keys will scroll between your
Address, NetMask and Gateway Fields un l you have begun entering your IP Address
numerically. At that me, the PREVIOUS and NEXT Arrows will move the cursor back and forth
to edit your IP Address.
Step 4:
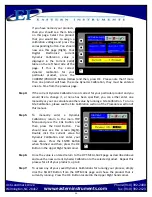
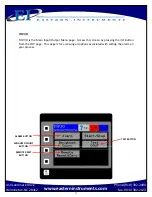
A er entering the IP Address for your HMI, press the ENTER key and then, press
the OK Bu on located in the Upper Right hand corner. A pop up will prompt you to
save the IP Address changes to your Flash. Pressing the YES Bu on will refresh the
HMI and will implement the changes made.
Step 5:
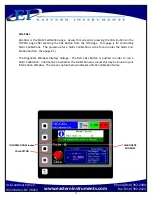
You have now con
fi
gured your HMI to communicate with your PLC and must
ensure that your PLC will receive the output from your HMI. The following sec on
o
ff
ers a speci
fi
c example of PLC con
fi
gura on using a ControlLogix PLC.


