Chapter 19: Plug-Ins
147
To reinstall a removed plug-in:
1
Put D-Show in Config mode.
2
Go to the Options page and click the Plug-Ins tab.
3
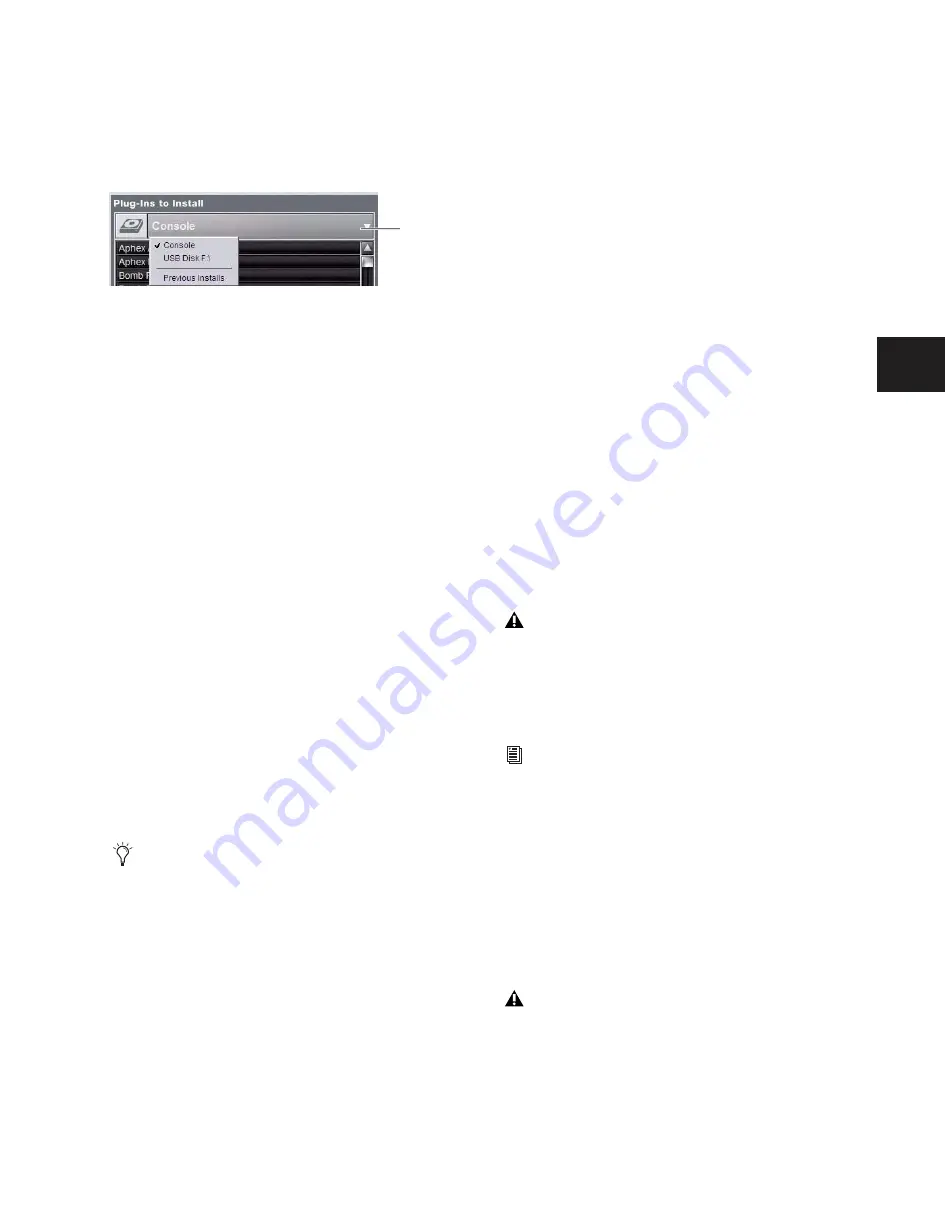
Click the Device selector and choose Previous Installs.
4
Select the plug-in and choose Install. If the desired plug-in
is not listed, it must be re-installed from the original CD-ROM
or other media.
Deleting Uninstalled Plug-Ins
Once a plug-in is uninstalled, its installer can be deleted from
the system. (Plug-ins which are currently installed cannot be
deleted).
To completely remove a plug-in and its installer:
1
Put D-Show in Config mode.
2
Go to the Options page and click the Plug-Ins tab.
3
Select Previous Installs from the Device selector.
4
Right-click the plug-in name and choose the Delete option
for the selected plug-ins. The plug-in is removed from the sys-
tem, and the stored plug-in installer is removed from the Pre-
vious Installs list.
Installing Plug-Ins Manually
If a plug-in does not appear in the Plug-Ins to Install list, it
may not have a fully compatible D-Show installer and must be
manually installed. This is required the first time you install
the plug-in, and whenever you need to re-install a plug-in
(such as after using the D-Show System Restore CD to update
or reset the system).
To install a plug-in manually:
1
Make sure all sound systems are shut down or muted.
2
Insert the plug-in installer disc into the CD-ROM drive on
the FOH Rack.
3
Go to the Options page and click the System Config tab.
4
Hold the Ctrl key and click Shutdown Console on-screen.
Follow on-screen directions to exit to the Desktop.
5
Copy the plug-in installer to the partition named User Data.
6
Launch the plug-in installer application and follow any
on-screen directions. If prompted, do not restart the system
from a plug-in installer. (Doing so will not harm the system,
but will take longer, especially if you have multiple plug-ins to
install manually.)
7
Quit the installer application and eject the installer disc.
8
Click the Return to D-Show shortcut on the desktop to
re-launch D-Show.
9
Go to the Options page and click the Plug-Ins tab. Verify
that the manually installed plug-in appears in the Console list
of available plug-ins.
Authorizing Plug-Ins
After installing a plug-in, the system re-creates the list of avail-
able plug-ins. Whenever the racks initialize, the system checks
authorizations for all installed plug-ins. If no previous autho-
rization for a plug-in is recognized, you will be prompted to
try a demo version, or authorize the full version of the plug-in.
D-Show supports challenge/response and iLok USB Smart Key
authorization, including pre-authorized iLoks and iLok Au-
thorization cards.
Challenge/Response
Challenge/response authorization is
only valid for the D-Show system the plug-in is currently in-
stalled on. Challenge/response codes can be communicated
using any computer with Internet access.
iLok USB Smart Key
Plug-Ins supporting web authorizations
through iLok.com can be authorized for your iLok Smart Key
from any computer with Internet access. This lets you take
your iLok and your plug-in authorizations anywhere, to use
plug-ins installed on any system.
To authorize a plug-in:
1
When a plug-in authorization dialog appears, do one of the
following:
• To try a demo of the plug-in, click Try.
– or –
• To have the system recognize the required authorization
on your iLok, click Authorize. Insert your iLok Smart Key
into any available USB port on D-Show when prompted.
2
Follow the instructions on-screen to complete the software
authorization process.
Choosing a Device
A plug-in without a D-Show installer may still be com-
patible with D-Show. Consult the plug-in manufacturer
for compatibility information.
Device
selector
It is not possible to connect D-Show to the Internet directly.
For more information on using iLoks, refer to the iLok
Usage Guide on the Standalone Software CD or at the
Digidesign website (www.digidesign.com).
Do not choose Internet Activation. Use Challenge/Response
or an already authorized iLok USB Smart Key for plug-in
authorization.
Содержание D-Show Profile
Страница 10: ...D Show Profile Guide x ...
Страница 11: ...Part I Overview and Installation ...
Страница 12: ......
Страница 16: ...D Show Profile Guide 6 ...
Страница 32: ...D Show Profile Guide 22 ...
Страница 33: ...Part II System Description ...
Страница 34: ......
Страница 50: ...D Show Profile Guide 40 ...
Страница 58: ...D Show Profile Guide 48 ...
Страница 67: ...Part III Signal Routing ...
Страница 68: ......
Страница 94: ...D Show Profile Guide 84 ...
Страница 102: ...D Show Profile Guide 92 ...
Страница 110: ...D Show Profile Guide 100 ...
Страница 134: ...D Show Profile Guide 124 ...
Страница 135: ...Part IV Processing ...
Страница 136: ......
Страница 144: ...D Show Profile Guide 134 ...
Страница 171: ...Part V Shows ...
Страница 172: ......
Страница 180: ...D Show Profile Guide 170 ...
Страница 204: ...D Show Profile Guide 194 ...
Страница 227: ...Part VI Specifications ...
Страница 228: ......
Страница 236: ...D Show Profile Guide 226 D Show Output Signal Flow Diagram Version 1 3 07 07 05 ...
Страница 245: ...Part VII Reference ...
Страница 246: ......
Страница 258: ...D Show Profile Guide 248 ...
Страница 269: ......


