19.
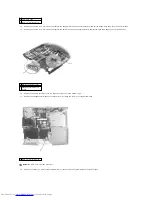
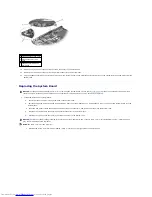
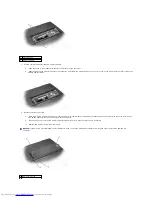
Remove the two hex nuts that secure the video connector to the bottom case.
20.
Remove the two hex nuts that secure the parallel connector to the bottom case.
21.
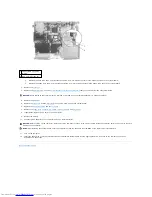
Pull the headphone/microphone flex-panel away from the system board as you simultaneously lift the front of the system board out and away from the
bottom case.
Replacing the System Board
1.
Install the replacement system board:
a.
Insert the video connector through the back of the bottom case.
b.
Pull the headphone and microphone flex-panel away from the system board as you simultaneously lower the front of the system board into the
bottom case.
c.
Press the flex panel toward the headphone and microphone connectors, and insert the bridge into the bottom case.
d.
Reinstall the two hex nuts that secure the parallel connector to the bottom case.
e.
Reinstall the two hex nuts that secure the video connector to the bottom case.
f.
Reinstall the six M2.5 x 4-mm screws labeled "circle L," starting on the right side of the bottom case.
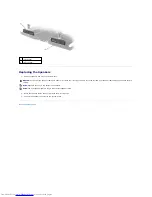
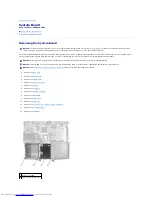
1 video-connector hex nuts
2 parallel-connector hex
nuts
3 headphone/microphone
flex-panel
NOTICE:
For Inspiron 2650 computers only, prior to replacing the system board, ensure that a
thermal pad
is present on the Memory Controller Hub
(MCH) heat sink, located on the base plastics. If a thermal pad is already present, you do not need to replace it.
NOTICE:
Secure the modem-cable grounding terminal to the system board with one of the six M2.5 x 4-mm screws labeled "circle L." Failure to do so
may result in damage to the computer.
HINT:
The M2.5 x 4-mm screws are silver.
Содержание Inspiron 2600
Страница 3: ......
Страница 22: ......
Страница 67: ...Back to Contents Page ...
Страница 75: ...Back to Contents Page ...

