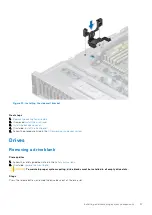


NOTE:
Ensure that the drive carrier's release handle is in the open position before inserting the carrier into the slot.
1. Follow the safety guidelines listed in the
.
2. If installed,
.
3. Remove the drive carrier or remove the drive blank when you want to assemble the drives in to the system.
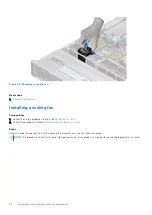
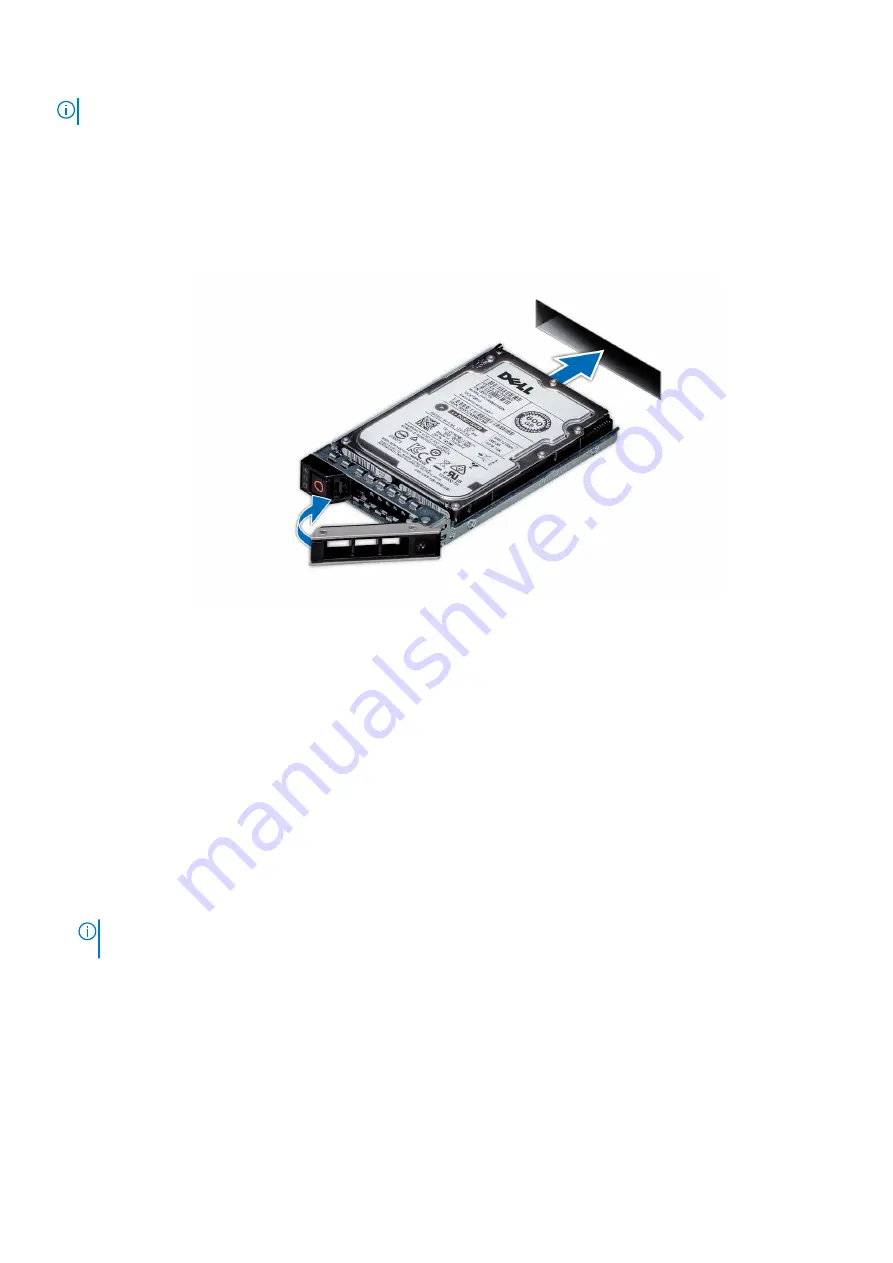
Steps
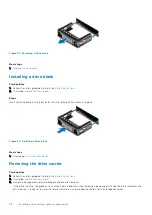
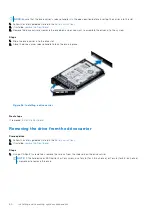
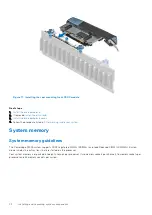
1. Slide the drive carrier into the drive slot.
2. Close the drive carrier release handle to lock the drive in place.
Figure 56. Installing a drive carrier
Next steps
.
Removing the drive from the drive carrier
Prerequisites
1. Follow the safety guidelines listed in the
.
2. If installed,
.
Steps
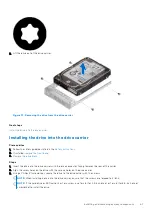
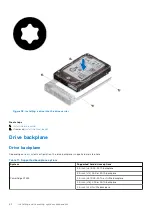
1. Using a Phillips #1 screwdriver, remove the screws from the slide rails on the drive carrier.
NOTE:
If the hard drive or SSD carrier has Torx screw, use Torx 6 (for 2.5-inch drive) or Torx 8 (for 3.5-inch drive)
screwdriver to remove the drive.
60
Installing and removing system components
Содержание E68S
Страница 19: ...Figure 14 Service information System overview 19 ...
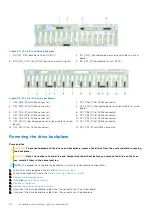
Страница 28: ...Cable routing Figure 18 12x 3 5 inch Figure 19 8 x 3 5 inch 28 Installing and removing system components ...
Страница 30: ...Figure 22 24 x 2 5 inch with NVMe Figure 23 16 x 2 5 inch 30 Installing and removing system components ...
Страница 31: ...Figure 24 8 x 2 5 inch with NVMe Figure 25 8 x 2 5 inch with NVMe Installing and removing system components 31 ...


